1. Important Safety Instructions
Read all instructions carefully before using the appliance. Keep this manual for future reference. Improper installation, adjustment, alteration, service, or maintenance can cause injury or property damage. Refer to this manual. For assistance or additional information, consult a qualified installer, service agency, or the gas supplier.
- Gas Safety: This appliance uses natural gas. Ensure proper ventilation and never store or use gasoline or other flammable vapors and liquids in the vicinity of this or any other appliance.
- Electrical Safety: Ensure the oven is properly grounded. Do not operate the oven with a damaged power cord or plug.
- Burn Hazard: The oven and its components become hot during use. Use oven mitts when handling hot items.
- Children Safety: Do not allow children to play with the oven. Supervise children when they are near the appliance.
- Cleaning: Always disconnect the power supply before cleaning.
2. Product Overview
The Teka FGE 724 is a built-in gas oven designed for efficient cooking. It features a 59-liter capacity and operates on natural gas with a power rating of 1370 watts.
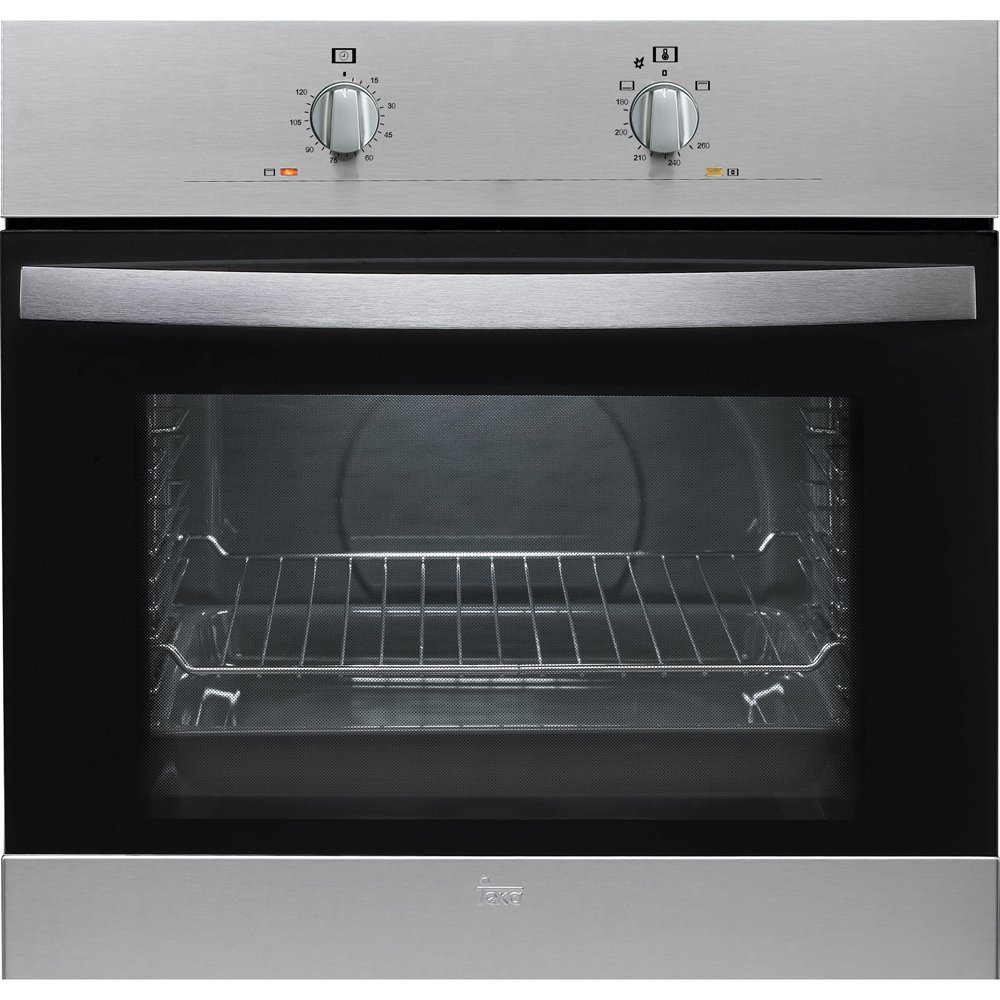
Image 1: Front view of the Teka FGE 724 Gas Oven, showing the control panel, oven door, and handle.
2.1 Components
- Control Panel: Located at the top, includes knobs for temperature and function selection.
- Oven Door: Features a heat-resistant glass panel.
- Oven Cavity: The interior cooking space with multiple shelf positions.
- Oven Racks: Removable racks for placing food.
- Gas Burner: Located at the bottom of the oven cavity.
3. Installation and Setup
Warning: Installation of this gas appliance must be performed by a qualified and certified technician in accordance with all local codes and regulations. Incorrect installation can lead to gas leaks, fire, or electric shock.
3.1 Unpacking
- Carefully remove all packaging materials from the oven.
- Inspect the oven for any damage during transit. Contact your retailer immediately if damage is found.
- Remove all accessories and internal packaging from the oven cavity.
3.2 Electrical Connection
Connect the oven to a properly grounded electrical outlet as specified in the technical specifications. Ensure the voltage and frequency match your household supply.
3.3 Gas Connection
The gas connection must be performed by a certified gas technician. Ensure the gas supply pressure is correct for natural gas and that all connections are leak-tested.
3.4 Cabinet Installation
Install the oven into a suitable kitchen cabinet opening. Ensure adequate ventilation around the appliance as per installation diagrams provided with the product packaging (not included in this manual). Secure the oven to the cabinet using the provided screws.
4. Operating Instructions
Before first use, heat the empty oven at maximum temperature for approximately 30 minutes to burn off any manufacturing residues. Ensure good ventilation during this process.
4.1 Setting the Time (if applicable)
Refer to the specific instructions on your control panel for setting the clock. This is usually done by pressing a button and rotating a knob.
4.2 Using the Oven
- Place Food: Position the oven rack at the desired height. Place the food in the center of the rack.
- Select Function: Turn the function selector knob to the desired cooking mode (e.g., conventional gas baking).
- Set Temperature: Turn the temperature control knob to the desired temperature. The gas burner will ignite automatically.
- Preheating: Allow the oven to preheat to the set temperature. An indicator light will typically turn off or change color when the oven reaches temperature.
- Cooking: Monitor the cooking process. Avoid opening the oven door frequently to maintain temperature.
- Switch Off: Once cooking is complete, turn both the function and temperature knobs to the "OFF" position.
4.3 Oven Light
The oven light can usually be turned on or off via a dedicated switch or by selecting a specific function on the control panel to illuminate the oven interior.
5. Cleaning and Maintenance
Warning: Always ensure the oven is cool and disconnected from the power supply before cleaning or performing any maintenance.
5.1 Exterior Cleaning
- Wipe the exterior surfaces with a soft cloth dampened with warm soapy water.
- For stainless steel surfaces, use a non-abrasive stainless steel cleaner and polish in the direction of the grain.
- Avoid using abrasive cleaners, scouring pads, or harsh chemicals that can damage the finish.
5.2 Interior Cleaning
- Remove oven racks and clean them separately in warm soapy water.
- Wipe the interior of the oven with a damp cloth and mild detergent.
- For stubborn stains, use a specialized oven cleaner, following the product's instructions carefully. Ensure adequate ventilation.
- Rinse thoroughly and dry the interior before using the oven again.
5.3 Replacing the Oven Light Bulb
- Ensure the oven is cool and unplugged.
- Locate the light cover inside the oven cavity.
- Carefully unscrew the protective glass cover.
- Unscrew the old bulb and replace it with a new, heat-resistant oven bulb (check specifications for correct type and wattage).
- Screw the protective glass cover back on securely.
6. Troubleshooting
Before contacting service, check the following common issues:
| Problem | Possible Cause | Solution |
|---|---|---|
| Oven does not heat. | No power supply. Gas supply off. Control knobs not set correctly. | Check power plug and circuit breaker. Ensure gas valve is open. Verify knobs are set to a function and temperature. |
| Gas burner does not ignite. | Gas supply issue. Ignition electrode dirty or faulty. | Check gas supply. Clean ignition electrode if accessible. If problem persists, contact a qualified technician. |
| Uneven cooking. | Food placed incorrectly. Oven not preheated. | Ensure food is centered and not overcrowding the oven. Always preheat the oven fully. |
| Oven light not working. | Bulb is faulty. | Replace the oven light bulb as per section 5.3. |
If the problem persists after checking these points, contact Teka customer service or a qualified service technician.
7. Specifications
| Feature | Specification |
|---|---|
| Brand | Teka |
| Model Number | 150276 |
| Product Dimensions | 59.5 x 56.2 x 59.5 cm |
| Capacity | 59 Liters |
| Power (Electrical) | 1370 Watts |
| Fuel Type | Natural Gas |
| ASIN | B015HDSUT2 |
8. Warranty and Customer Support
Teka appliances come with a manufacturer's warranty. Please refer to the warranty card included with your product for specific terms and conditions, including the warranty period and coverage details. Keep your proof of purchase for warranty claims.
For technical assistance, spare parts, or to schedule a service appointment, please contact Teka customer support. You can find contact information on the official Teka website or in the documentation provided with your appliance.
Teka Official Website: www.teka.com


