1. Introduction
This manual provides essential instructions for the safe and efficient operation of your Panasonic SD-YR2500 Bread Maker. Please read all instructions carefully before using the appliance to ensure proper function and to prevent damage or injury. Keep this manual for future reference.
2. Safety Instructions
Always follow basic safety precautions when using electrical appliances to reduce the risk of fire, electric shock, and/or injury to persons.
- Do not immerse the appliance, cord, or plug in water or other liquids.
- Ensure the voltage indicated on the appliance corresponds to your local mains voltage before connecting.
- Do not operate any appliance with a damaged cord or plug, or after the appliance malfunctions or has been damaged in any manner.
- Close supervision is necessary when any appliance is used by or near children.
- Avoid contact with moving parts.
- Do not place on or near a hot gas or electric burner, or in a heated oven.
- Always attach plug to appliance first, then plug cord into the wall outlet. To disconnect, turn any control to "off", then remove plug from wall outlet.
- Do not use the appliance for other than intended use.
- The bread pan and interior of the bread maker become very hot during and after operation. Use oven mitts when handling hot parts.
3. Components and Features
The Panasonic SD-YR2500 Bread Maker is designed for ease of use and versatility, featuring automatic dispensers and multiple baking modes.
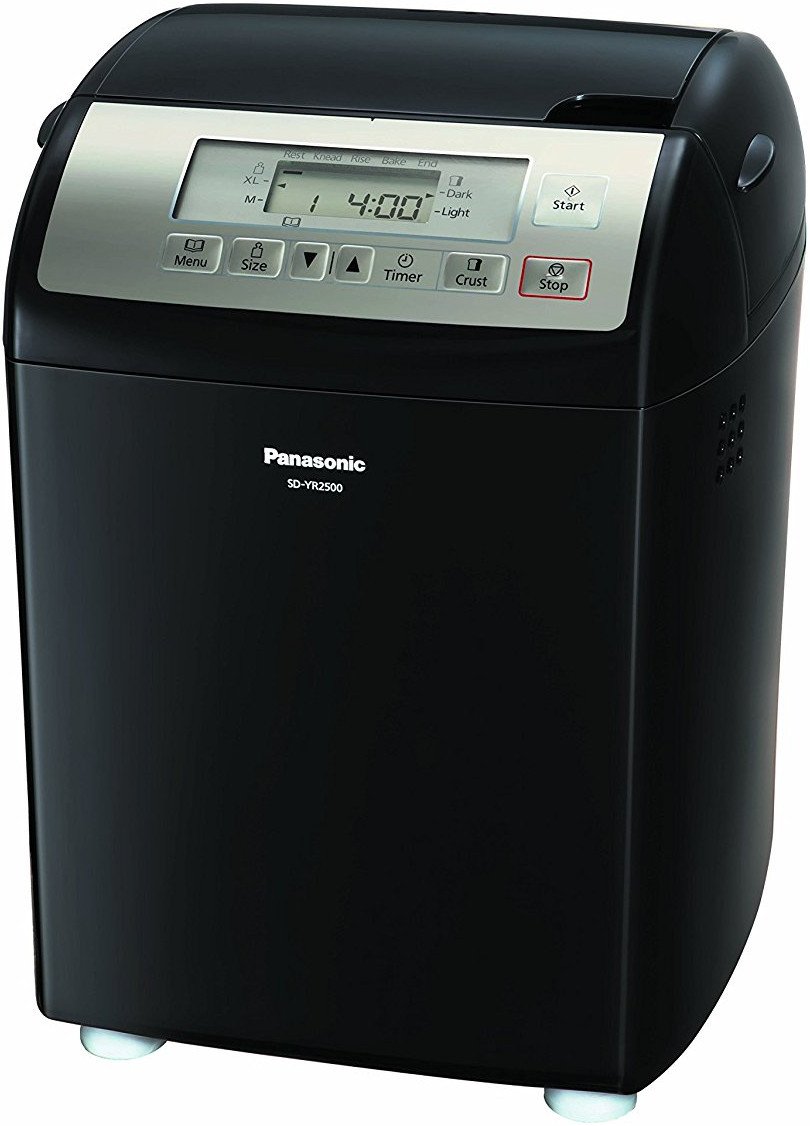
Figure 1: Front view of the Panasonic SD-YR2500 Bread Maker, showcasing its sleek black design and control panel.
Key Features:
- Automatic Dispensers: Smart dispensers for yeast, raisins, and nuts automatically release ingredients at the optimal time during the baking process.
- Gluten-Free Mode: A dedicated program for baking gluten-free bread.
- Multiple Menu Options: Eight distinct menu programs for various bread types.
- 13-Hour Digital Timer: Allows for delayed baking, so fresh bread is ready when you need it.
- Loaf Size and Crust Settings: Choose between medium or extra-large loaf sizes and light or dark crusts.
- Intuitive Control Panel: Large LCD display and touch-pad controls for easy program selection.

Figure 2: Close-up of the control panel with LCD display, menu, size, timer, and crust buttons, along with start/stop controls.

Figure 3: Top view of the bread maker, showing the lid and the automatic dispensers for yeast and other ingredients.
4. Setup
- Unpacking: Carefully remove the bread maker and all accessories from the packaging. Retain packaging for future transport or storage.
- Initial Cleaning: Before first use, wash the bread pan, kneading blade, and any removable dispensers with warm, soapy water. Rinse thoroughly and dry completely. Wipe the exterior of the main unit with a damp cloth.
- Placement: Place the bread maker on a stable, flat, heat-resistant surface, away from direct sunlight and heat sources. Ensure adequate ventilation around the appliance.
- Install Kneading Blade: Insert the kneading blade onto the shaft inside the bread pan.
- Insert Bread Pan: Place the bread pan into the main unit, ensuring it clicks securely into place.
5. Operating Instructions
5.1 Basic Bread Making
- Add Ingredients: Add liquid ingredients first, followed by dry ingredients (flour, sugar, salt, etc.) into the bread pan. Create a small indentation in the flour for the yeast.
- Fill Dispensers: Place yeast in the yeast dispenser. If using, add raisins or nuts to the raisin/nut dispenser.
- Select Menu: Press the Menu button to cycle through the available programs until your desired program is displayed on the LCD.
- Select Loaf Size: Press the Size button to choose between medium (M) or extra-large (XL) loaf sizes.
- Select Crust Color: Press the Crust button to select light or dark crust.
- Start Baking: Press the Start button. The bread maker will begin the baking cycle.
- Remove Bread: Once the cycle is complete, the bread maker will beep. Unplug the unit. Using oven mitts, carefully remove the bread pan. Invert the pan to release the bread onto a wire rack to cool.

Figure 4: Example of freshly baked bread, highlighting the gluten-free mode capability.
5.2 Gluten-Free Mode
The SD-YR2500 features a dedicated Gluten-Free mode. When using this mode, ensure all ingredients are certified gluten-free. Follow specific gluten-free recipes as gluten-free flours behave differently than wheat flours. Select the Gluten-Free program using the Menu button.
5.3 Using the Delay Timer
The 13-hour delay timer allows you to set the bread maker to finish baking at a later time.
- Add all ingredients to the bread pan and dispensers as usual.
- Select your desired menu, loaf size, and crust color.
- Press the Timer button repeatedly to set the desired delay time. The display shows the total time until baking is complete.
- Press Start. The timer will count down, and baking will begin automatically.
6. Maintenance and Cleaning
Proper cleaning ensures the longevity and hygiene of your bread maker.
- Always unplug the appliance and allow it to cool completely before cleaning.
- Bread Pan and Kneading Blade: These parts are Hand Wash Only. Wash with warm, soapy water using a soft sponge. Do not use abrasive cleaners or metal scouring pads. Ensure the kneading blade is removed and cleaned thoroughly.
- Dispensers: Remove and clean the yeast and raisin/nut dispensers with warm, soapy water. Rinse and dry completely before reattaching.
- Exterior: Wipe the exterior of the bread maker with a soft, damp cloth. Do not use harsh chemicals or abrasive materials.
- Interior: Wipe the interior of the baking chamber with a damp cloth to remove any crumbs or residue.

Figure 5: The non-stick inner pan with a stay-cool handle, designed for safe and easy bread removal.
7. Troubleshooting
If you encounter issues with your bread maker, refer to the following common problems and solutions:
| Problem | Possible Cause | Solution |
|---|---|---|
| Bread does not rise | Expired yeast, incorrect water temperature, too much salt/sugar. | Check yeast expiration, use lukewarm water (38-43°C), ensure correct ingredient measurements. |
| Bread is too dense | Too much flour, too little liquid, old yeast. | Measure ingredients precisely, ensure proper liquid-to-flour ratio, use fresh yeast. |
| Bread sticks to pan | Pan not properly greased (if recipe requires), pan coating damaged. | Ensure pan is clean and undamaged. Allow bread to cool slightly before removing. |
| Dispensers not working | Ingredients stuck, dispenser mechanism blocked. | Ensure dispensers are clean and dry. Do not overfill. |
8. Specifications
- Model Number: SD-YR2500
- Brand: Panasonic
- Color: Black
- Material: Plastic
- Number of Programmes: 8
- Voltage: 120 Volts
- Item Weight: Approximately 8 kg 160 g (18 Pounds)
- Item Dimensions (LxWxH): 26.7 x 33.7 x 36.8 Centimeters
- Product Care Instructions: Hand Wash Only (for removable parts)
- UPC: 885170251922, 759284085370, 063339952235
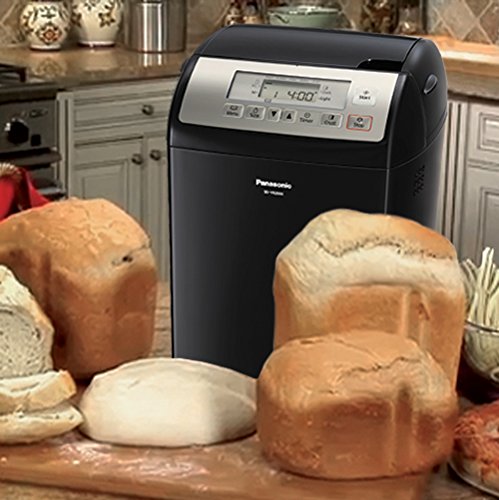
Figure 6: The Panasonic SD-YR2500 Bread Maker displayed with a selection of freshly baked loaves, demonstrating its versatility.
9. Warranty and Support
The Panasonic SD-YR2500 Bread Maker typically comes with a limited 1-year warranty from the date of purchase. For detailed warranty terms, conditions, and service information, please refer to the warranty card included with your product or visit the official Panasonic support website. Do not attempt to repair the appliance yourself; contact authorized service personnel for assistance.


