1. Package Contents
Verify that your package contains the following items:
- WiFi Mesh Extender (EX6120-100NAS)
- Quick start guide
2. Features
The NETGEAR EX6120 WiFi Range Extender offers several key features to enhance your wireless network:
- Extended Coverage: Adds WiFi range coverage up to 1500 sq ft, connecting up to 32 devices such as laptops, smartphones, speakers, IP cameras, tablets, and IoT devices.
- High-Speed Performance: AC1200 WiFi (up to 1200Mbps speed) performance using dual-band and patented FastLane™ technology for video streaming and casual gaming.
- Universal Compatibility: Works with any wireless router, gateway, or cable modem with WiFi, and with any internet service provider.
- Wired Connectivity: Includes one 10/100M Ethernet port for connecting game consoles, streaming players, or other nearby wired devices for maximum speed.
- Easy Setup: Features a simple 5-minute setup with one button press (WPS).
- Security: Supports WEP and WPA/WPA2 wireless security protocols.
- Regional Use: Built for use in the U.S. only.

Image: The extender expands WiFi coverage, eliminating dead zones and supporting multiple devices across your home.

Image: Key features of the EX6120, including dual-band WiFi for speeds up to 1200Mbps, FastLane Technology, external antennas for better performance, and a convenient Ethernet port.
3. Setup
Follow these steps to set up your NETGEAR EX6120 WiFi Range Extender:
- Placement: Plug the extender into an electrical outlet halfway between your router and the area where you want to improve WiFi coverage. Ensure the location is within the range of your existing router.
- Power On: Wait for the Power LED on the extender to turn solid green.
- Connect via WPS (Recommended):
- Press the WPS button on your existing WiFi router.
- Within two minutes, press the WPS button on the extender. The WPS LED on the extender should blink and then turn solid green, indicating a successful connection.
- Connect via NETGEAR Nighthawk App (Alternative):
- Download the NETGEAR Nighthawk app on your mobile device.
- Follow the in-app instructions to connect your extender to your existing WiFi network.
- Verify Connection: Once connected, the Router LED and Device LED on the extender should be solid green. This indicates a strong connection to both your router and your devices.
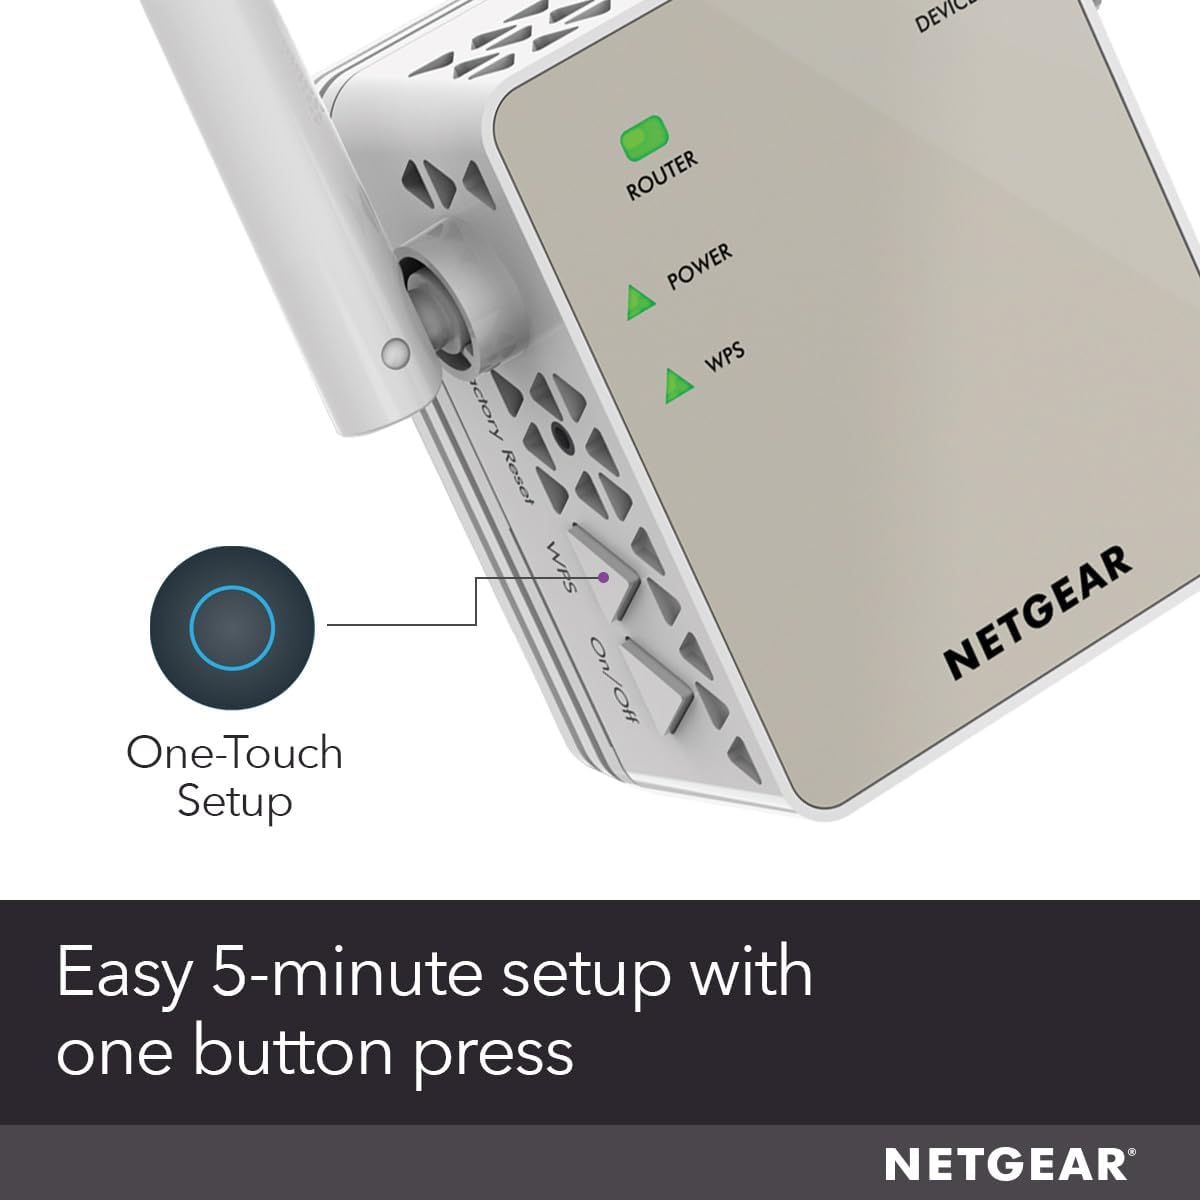
Image: The WPS button on the extender allows for a quick, one-touch setup process.
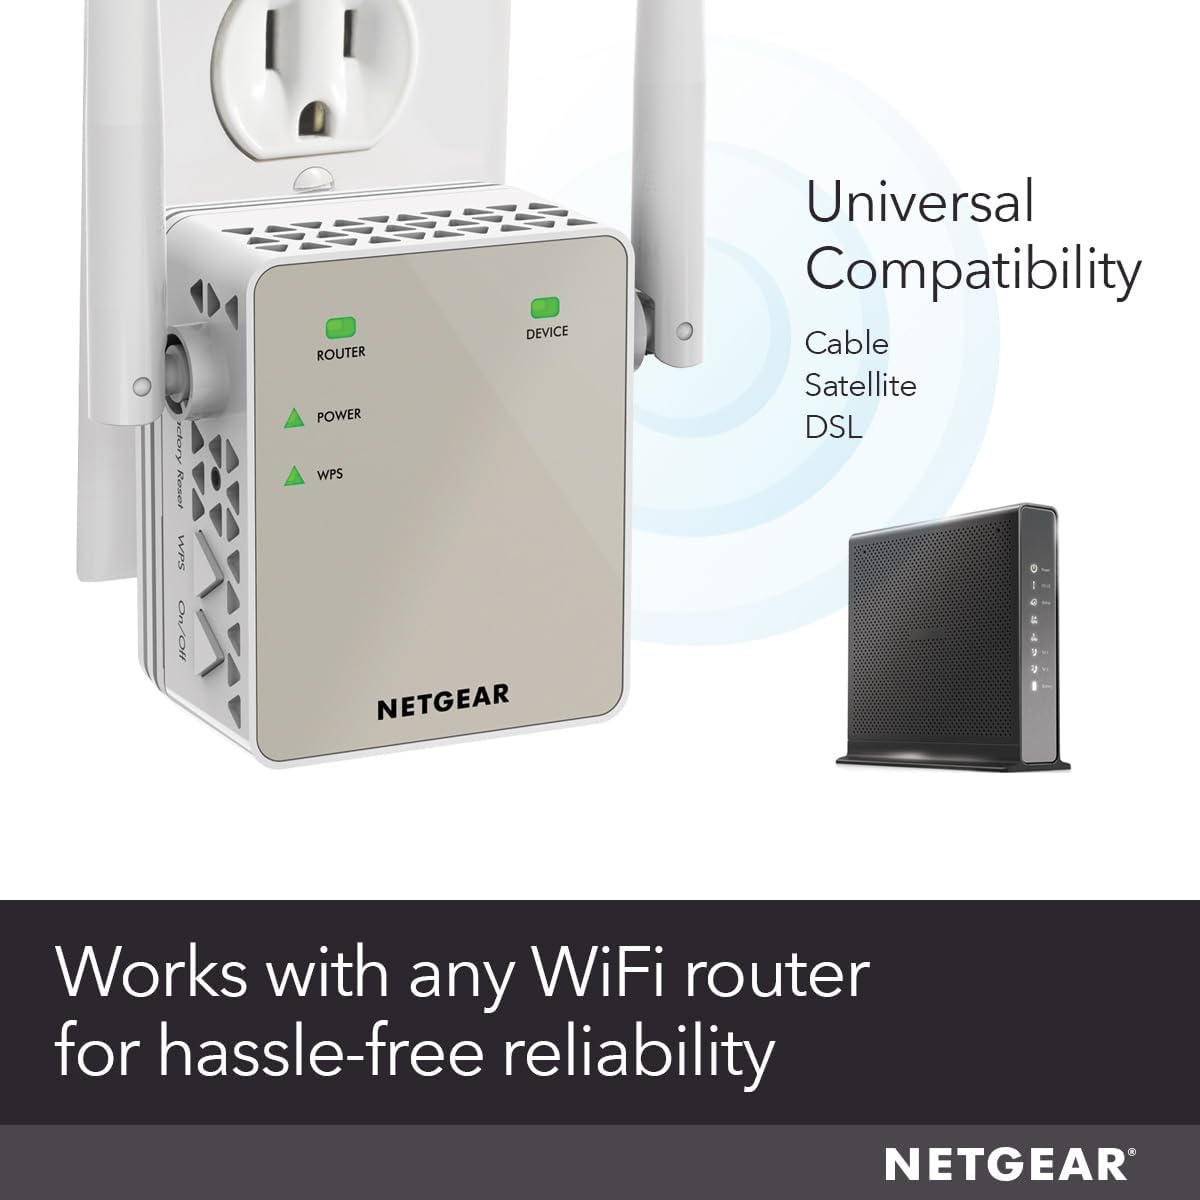
Image: The extender is universally compatible with various WiFi routers and modems.
Video: Official NETGEAR guide on how to set up Wall Plug WiFi Range Extenders. This video demonstrates the step-by-step process for connecting your extender to your existing network.
4. Operating
Once your extender is set up, it will create new extended WiFi networks. These networks will typically have your existing WiFi network name followed by '_EXT' (e.g., 'MyWiFi_EXT') for 2.4GHz and '_5GEXT' for 5GHz.
- Connecting Devices: Connect your wireless devices (laptops, smartphones, etc.) to the extended WiFi network for improved coverage.
- Ethernet Port: Use the Ethernet port on the side of the extender to connect a wired device directly for a stable and fast connection.
- LED Indicators: Monitor the LEDs on the front of the extender. A solid green light indicates a good connection, while a red light may indicate a weak signal or no connection to the router. Adjust placement if necessary.
5. Maintenance
To ensure optimal performance and longevity of your NETGEAR EX6120:
- Firmware Updates: Periodically check the NETGEAR support website for firmware updates. Keeping your firmware up-to-date ensures the best performance and security.
- Cleaning: Keep the extender clean and free from dust. Use a soft, dry cloth to wipe the exterior. Do not use liquid cleaners.
- Optimal Placement: If you notice a drop in performance, re-evaluate the extender's placement. Ensure it's still optimally located between your router and the devices needing extended coverage.
6. Troubleshooting
If you encounter issues with your NETGEAR EX6120, consider the following:
- No Connection/Weak Signal: If the Router LED is red or off, the extender might be too far from your router. Try moving it closer.
- Slow Speeds: Ensure your devices are connected to the appropriate extended network (2.4GHz for wider range, 5GHz for faster speeds over shorter distances). Check for interference from other electronic devices.
- WPS Setup Failure: If WPS setup fails, try using the NETGEAR Nighthawk app or manually connecting via a web browser (refer to the quick start guide for detailed instructions).
- Reset: If problems persist, perform a factory reset. Locate the reset button (usually a small pinhole) and press it for 5-10 seconds with a paperclip until the LEDs flash. Then, reconfigure the extender.
For further assistance, please visit the NETGEAR Store on Amazon or consult the official NETGEAR support resources.
7. Specifications
| Attribute | Value |
|---|---|
| Product Dimensions | 2.64 x 1.54 x 2.17 inches |
| Item Weight | 4.6 ounces |
| Item Model Number | EX6120-100NAS |
| Brand | NETGEAR |
| Wireless Communication Standard | 802.11ac |
| Data Transfer Rate | 1200 Megabits Per Second |
| Frequency Band Class | Dual-Band |
| Special Feature | FastLane Technology |
| Manufacturer | Netgear |
| Date First Available | September 14, 2015 |
8. Warranty and Support
NETGEAR products are designed for reliability and performance. For information regarding your product's warranty, please refer to the documentation included in your package or visit the official NETGEAR support website.
For technical support, FAQs, and additional resources, please visit the NETGEAR Store on Amazon or the official NETGEAR support portal.

Image: NETGEAR offers free expert help for product setup and optimization.


