Introduction
The Stack-On QAS-1512-B Quick Access Safe provides secure storage with rapid access through its biometric locking system. Designed for convenience and security, this safe allows for quick retrieval of contents using a registered fingerprint. It also includes a backup key for alternative access. The interior is foam-padded to protect valuables, and the safe is equipped with pre-drilled holes and hardware for secure mounting to a floor, wall, or shelf.
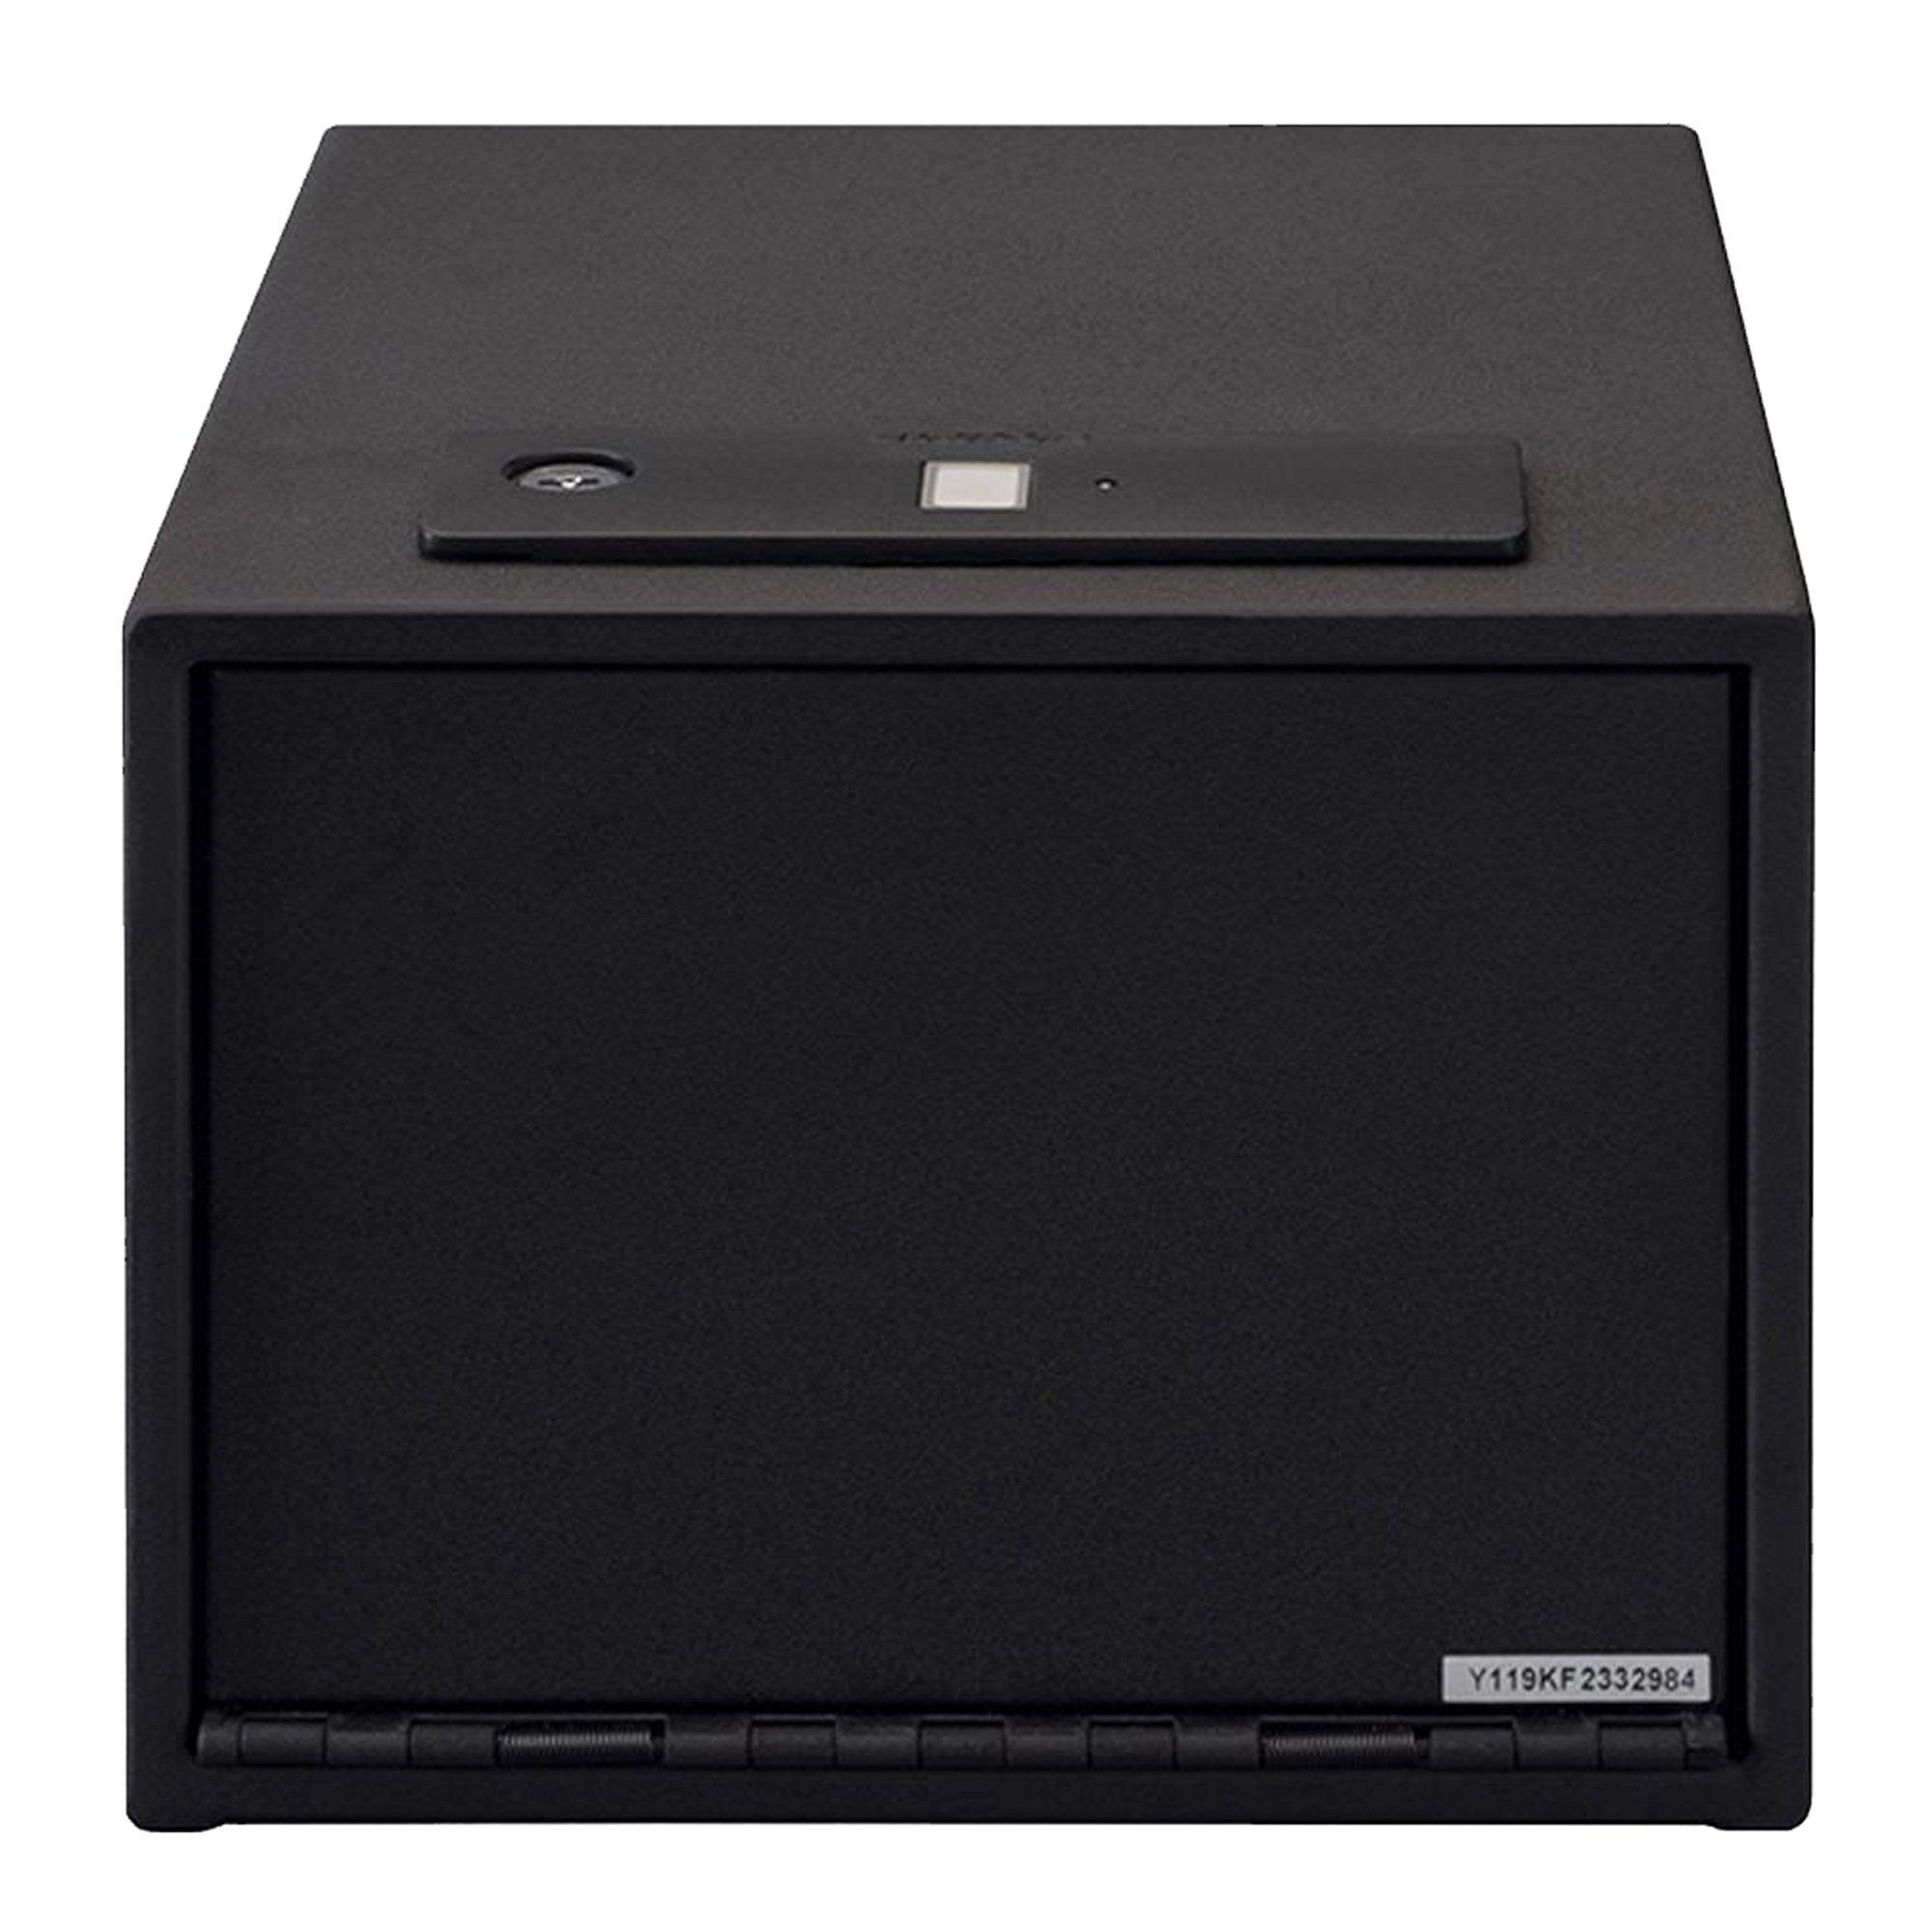
Figure 1: Front view of the Stack-On QAS-1512-B Quick Access Safe.
Safety Information
- Always keep the backup keys in a secure location away from the safe and out of reach of children.
- Do not store the backup keys inside the safe.
- Ensure the safe is securely mounted to prevent unauthorized removal.
- Keep the safe closed and locked when not in use.
- This safe is designed to deter theft and provide quick access to contents; it is not fireproof or waterproof.
- Do not allow children to play with or around the safe.
Package Contents
Verify that all items are present before proceeding with installation and setup:
- Stack-On QAS-1512-B Quick Access Safe
- Backup Keys (2)
- AA Batteries (4)
- Removable Shelf
- Fastening Hardware (for mounting)
- User Manual (this document)

Figure 2: Interior view showing the removable shelf and foam-padded interior.
Setup
1. Battery Installation
- Locate the battery compartment, typically on the inside of the safe door or back panel.
- Insert 4 AA batteries, ensuring correct polarity (+/-).
- Close the battery compartment cover securely.
2. Mounting the Safe
The safe features pre-drilled holes for secure mounting to a floor, wall, or shelf. Use the provided fastening hardware.
- Choose a secure and discreet location for mounting.
- Mark the drilling points through the pre-drilled holes on the safe.
- Drill pilot holes into the mounting surface.
- Align the safe with the pilot holes and secure it using the fastening hardware.
- Ensure the safe is firmly attached and cannot be easily removed.
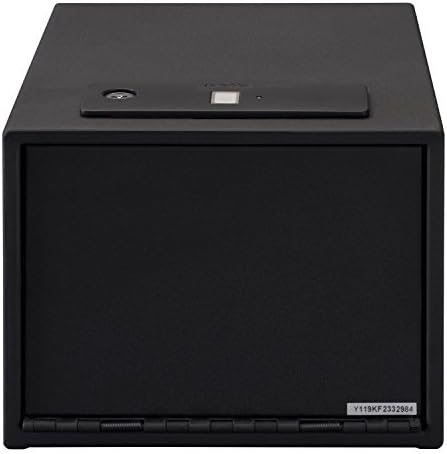
Figure 3: Example of the safe mounted securely inside a closet.
3. Initial Fingerprint Enrollment
Important: When you first receive your safe, it is in a factory default state where any fingerprint can open it. For security, you must record at least one fingerprint. Failure to do so will compromise the safe's security.
The safe can store up to 20 different fingerprints. For optimal performance, each user should register only one thumb or index finger.
- Open the safe using the provided backup key.
- Locate the reset button on the inside of the safe.
- Press and release the reset button. You will hear two beeps, see two flashes of blue light, and the scanner will turn blue.
- Place your chosen finger on the scanner until the safe beeps once and a green light flashes.
- Immediately place the same finger on the scanner for a second time until there is one beep and a green light flash.
- Place the same finger on the scanner for a third and final time, holding it in the same position until there are two beeps and two green light flashes.
- Your fingerprint is now recorded. Test the registered fingerprint to ensure it opens the safe.

Figure 4: Top view highlighting the biometric scanner.
For a visual guide on fingerprint enrollment, please refer to the official product video below:
Video 1: Official guide on how to record fingerprints for the Stack-On biometric safe. This video demonstrates the steps for enrolling a new fingerprint into the safe's system, ensuring secure access.
Operating Instructions
Opening with Fingerprint
- Place a registered finger on the biometric scanner.
- The safe will beep and the light will turn green, indicating successful recognition.
- The safe door will automatically open.
Opening with Backup Key
- Locate the keyhole, usually concealed near the biometric scanner.
- Insert the backup key and turn it to unlock the safe.
- Open the safe door manually.
Adding Additional Fingerprints
To add more fingerprints (up to 20 total), repeat the "Initial Fingerprint Enrollment" steps for each new finger or user.
Deleting All Fingerprints
To delete all stored fingerprints and reset the safe to its factory default (any fingerprint opens), press and hold the reset button for approximately 5 seconds until you hear a long beep and the lights flash. All previously registered fingerprints will be erased.
Maintenance
- Battery Replacement: Replace all 4 AA batteries annually or when the low battery indicator (if present) illuminates. Use only new, high-quality alkaline batteries.
- Cleaning: Wipe the exterior of the safe with a soft, damp cloth. Do not use abrasive cleaners or solvents. Keep the biometric scanner clean and free of dirt or oils for optimal performance.
- Key Storage: Periodically check the location of your backup keys to ensure they are secure and accessible in case of battery failure or biometric system issues.
Troubleshooting
| Problem | Possible Cause | Solution |
|---|---|---|
| Safe does not open with fingerprint. |
|
|
| Safe opens with any fingerprint (after initial setup). | Fingerprints were not recorded after initial setup, or all fingerprints were deleted. | Immediately follow the "Initial Fingerprint Enrollment" steps to register at least one fingerprint. |
| Safe makes no sound or light. | Dead or incorrectly installed batteries. | Replace batteries with new ones, ensuring correct polarity. |
| Door does not open smoothly. | Obstruction or misalignment. | Check for any obstructions around the door or hinges. Ensure the safe is mounted on a level surface. |
Specifications
| Feature | Detail |
|---|---|
| Brand | Stack-On |
| Model Number | QAS-1512-B |
| Lock Type | Biometric (Fingerprint) with Electronic Backup |
| Backup Access | Key |
| Fingerprint Capacity | Up to 20 |
| Color | Black |
| Mounting Type | Floor Standing, Wall Mount |
| Item Weight | 4.37 Pounds |
| Water Resistance Level | Not Water Resistant |
| Included Components | Battery, Key, Safe |
Warranty and Support
For warranty information or technical support, please refer to the documentation included with your purchase or visit the official Stack-On website. Keep your purchase receipt as proof of purchase for warranty claims.
For further assistance, you may contact Stack-On customer service directly. Contact details are typically available on the manufacturer's website or in the product packaging.