
1. Introduction
This manual provides essential information for the setup, operation, maintenance, and troubleshooting of your Acer Aspire Switch 11 NT.L69AA.007. The Aspire Switch 11 is a versatile 2-in-1 device designed to function as both a tablet and a notebook, adapting to various usage scenarios. Please read this manual thoroughly to ensure proper use and to maximize the device's capabilities.
2. Package Contents
Verify that all items listed below are present in your product package. If any item is missing or damaged, contact your retailer.
- Acer Aspire Switch 11 Tablet with Keyboard Dock
- 3-cell Lithium Ion Battery (integrated)
- Power Adapter
- Quick Start Guide (if applicable, not included in this digital manual)
- Warranty Card (if applicable)

Figure 2.1: The Acer Aspire Switch 11 shown in its notebook configuration, with the tablet screen attached to the keyboard dock. This image illustrates the complete device as it would appear when first unboxed.
3. Initial Setup
3.1 Charging the Battery
Before initial use, fully charge the device's battery.
- Connect the power adapter to the charging port on the device.
- Plug the power adapter into a wall outlet.
- The charging indicator light will illuminate. Allow the device to charge until the indicator shows a full charge.
3.2 Powering On and Initial Configuration
To power on your Acer Aspire Switch 11:
- Press and hold the power button located on the side of the tablet until the Acer logo appears on the screen.
- Follow the on-screen prompts to complete the initial Windows 8.1 Pro setup, including language selection, network connection, and user account creation.
4. Operating the Device
4.1 Understanding the Modes
The Acer Aspire Switch 11 offers four distinct modes for versatile use:
- Notebook Mode: The traditional laptop configuration with the tablet docked to the keyboard. Ideal for typing and productivity tasks.
Figure 4.1: The device configured as a traditional notebook, suitable for typing and general computing.
- Tablet Mode: Detach the screen from the keyboard dock for a standalone tablet experience. Perfect for touch-based applications, browsing, and media consumption.

Figure 4.2: The tablet portion detached from the keyboard, functioning as a standalone touch device.
- Display Mode (Tent Mode): Flip the screen around and stand the device in a "tent" shape. Ideal for presentations or watching videos without the keyboard in the way.

Figure 4.3: The device in tent mode, suitable for viewing content on a surface.
- Stand Mode: Position the screen facing outwards with the keyboard acting as a stable base. Useful for media viewing or touch interaction.

Figure 4.4: The device in stand mode, with the screen angled for comfortable viewing.
4.2 Detaching and Attaching the Keyboard
The tablet and keyboard dock connect magnetically.
- To Detach: Gently pull the tablet upwards from the keyboard dock. Ensure a firm grip on both components.
- To Attach: Align the tablet's bottom edge with the keyboard dock's hinge connectors. The magnets will guide it into place.
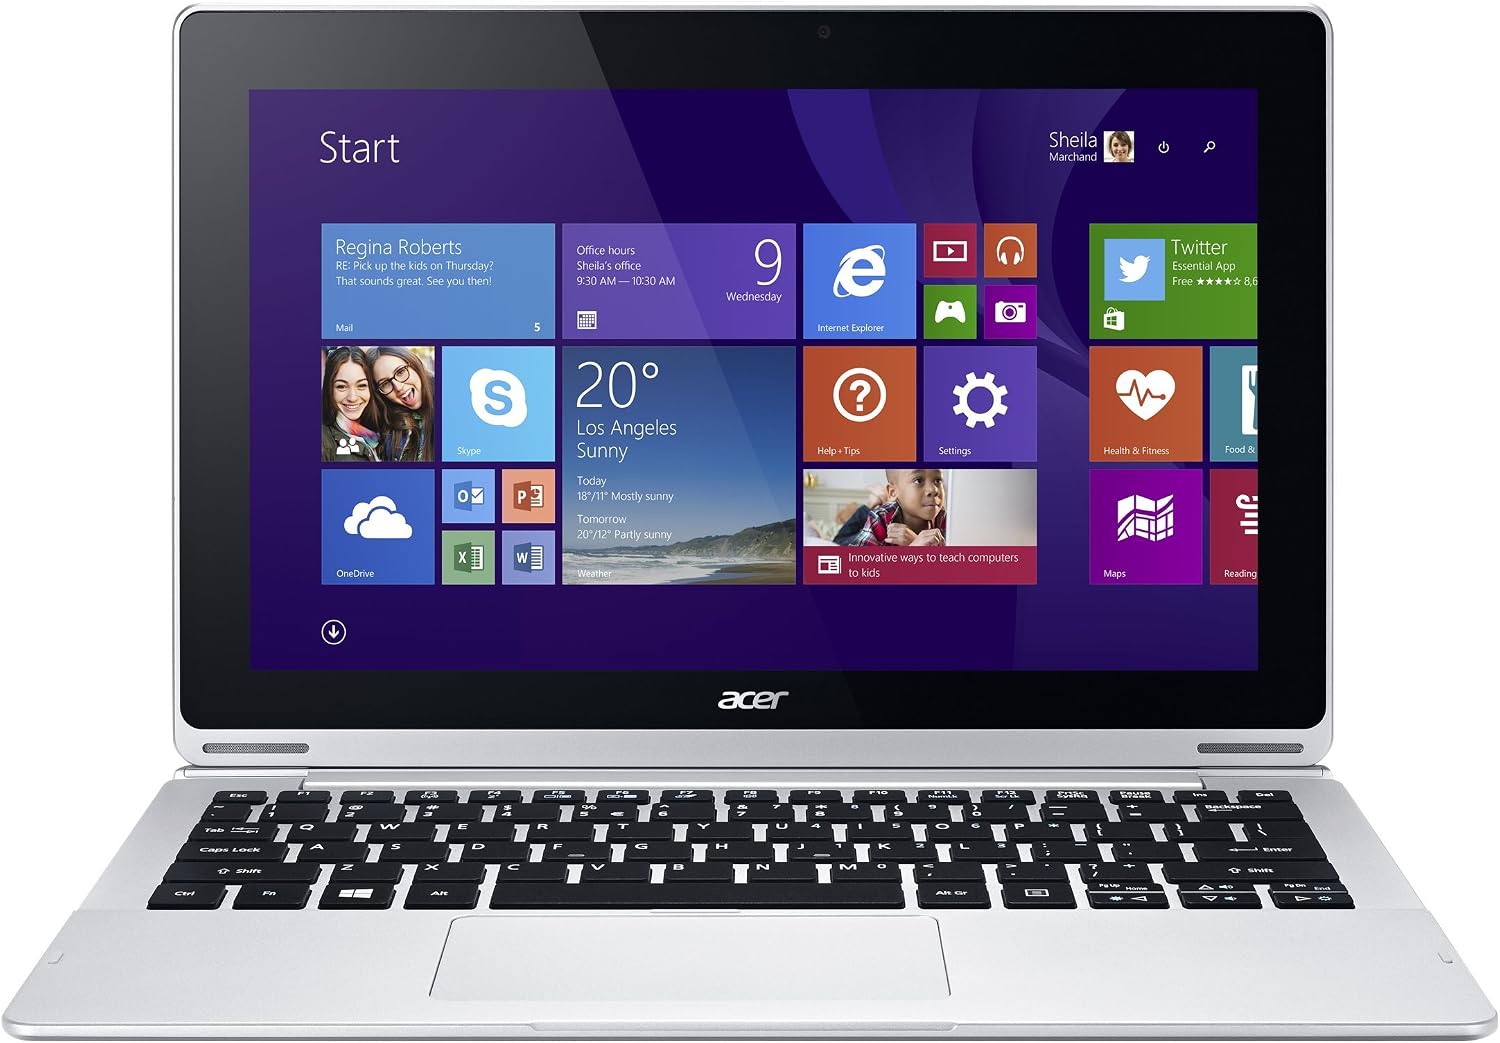
Figure 4.5: The Acer Aspire Switch 11 tablet separated from its keyboard dock, illustrating the modular design.
4.3 Basic Navigation (Windows 8.1 Pro)
- Start Screen: Access your applications and live tiles.
- Charms Bar: Swipe in from the right edge of the screen (or press Windows Key + C) to access Search, Share, Start, Devices, and Settings.
- Switching Apps: Swipe in from the left edge of the screen to cycle through open applications.
- Desktop: Tap the "Desktop" tile on the Start screen to access the traditional Windows desktop environment.
5. Maintenance and Care
5.1 Cleaning the Device
- Use a soft, lint-free cloth to clean the screen and exterior surfaces.
- For stubborn marks, lightly dampen the cloth with water or a screen-cleaning solution. Avoid harsh chemicals.
- Ensure the device is powered off and unplugged before cleaning.
5.2 Battery Care
- Avoid exposing the device to extreme temperatures.
- For optimal battery longevity, avoid frequently discharging the battery completely.
- If storing the device for an extended period, ensure the battery is charged to approximately 50%.
5.3 Software Updates
Regularly check for and install operating system and driver updates to ensure optimal performance and security. Access Windows Update through the Settings charm.
6. Troubleshooting
This section addresses common issues you might encounter.
- Device does not power on:
- Ensure the battery is charged. Connect the power adapter and wait a few minutes before attempting to power on.
- Press and hold the power button for 10-15 seconds to perform a hard reset.
- Screen is unresponsive:
- Restart the device.
- Ensure the screen is clean and free of debris.
- Keyboard not recognized:
- Ensure the tablet is securely docked to the keyboard. Detach and reattach it.
- Restart the device with the keyboard attached.
- Wi-Fi connection issues:
- Check if Wi-Fi is enabled in the device settings.
- Restart your Wi-Fi router.
- Forget the network and reconnect.
7. Technical Specifications
| Feature | Specification |
|---|---|
| Model Name | Acer Aspire Switch 11 NT.L69AA.007 |
| Display Size | 11.6 Inches |
| Max Screen Resolution | 1920 x 1080 Pixels |
| Processor | 1.6 GHz Intel Core i5-4202Y (2 Cores) |
| RAM | 4 GB DDR3 SDRAM |
| Storage | 128 GB Flash Memory (Serial ATA-600) |
| Graphics Coprocessor | Intel HD Graphics 4200 |
| Operating System | Windows 8.1 Pro |
| Wireless Type | Bluetooth |
| USB 3.0 Ports | 1 |
| Average Battery Life | 4.83 Hours |
| Item Weight | 1.1 pounds (tablet only) |
| Product Dimensions | 15.75 x 2.75 x 9.75 inches |
| Color | Gray |
8. Safety Information
Observe the following safety guidelines to prevent damage to your device or injury to yourself.
- Do not expose the device to water or excessive moisture.
- Avoid extreme temperatures, direct sunlight, or heat sources.
- Use only the provided power adapter and accessories.
- Do not attempt to disassemble or repair the device yourself. Refer to qualified service personnel.
- Keep the device away from strong magnetic fields.
9. Warranty and Support
For warranty information, please refer to the warranty card included in your product package or visit the official Acer support website. Technical support and additional resources can be found on the Acer website.