1. Introduction
Welcome to the Alarm Lock DL1300/10B1 Digital Keypad Lock. This high-security, commercial-grade lock is designed for reliable access control, offering advanced features and robust construction. This manual will guide you through the setup, operation, and maintenance of your new lock, ensuring optimal performance and security for your premises.
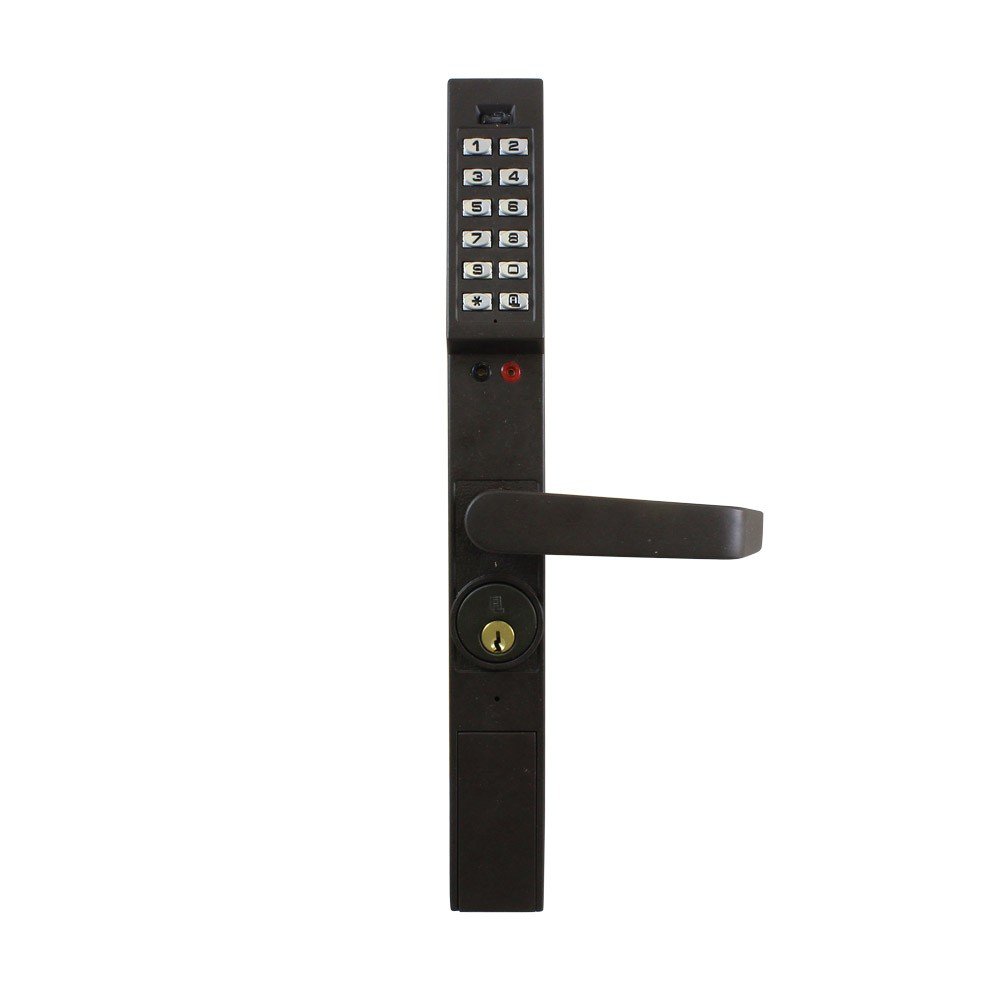
Figure 1: Alarm Lock DL1300/10B1 Digital Keypad Lock. This image displays the lock's exterior, featuring a 12-button keypad, a lever handle, and a key cylinder for manual override.
2. Product Features
The Alarm Lock DL1300/10B1 offers a comprehensive set of features for enhanced security and convenience:
- Commercial Grade Security: BHMA certified Grade 1 for robust commercial applications.
- Weatherproof Design: Operates reliably in extreme temperatures from -31° to +151°F (-35° to +66°C).
- Extensive Audit Trail: Features a 40,000-event audit trail for detailed access monitoring.
- Keypad Access: Equipped with a 12-button keypad supporting up to 2000 3-5 digit PIN user codes.
- ADA Compliance: Designed to meet Americans with Disabilities Act (ADA) standards.
- Durable Construction: Made from high-quality Zinc material.
- Lever Handle: Ergonomic lever handle style.
- Usage Monitoring: Integrated usage monitoring capabilities.
3. Setup and Installation
Proper installation is crucial for the optimal performance and security of your Alarm Lock DL1300/10B1. It is recommended that installation be performed by a qualified professional. The following provides a general overview of the installation process.
3.1. Pre-Installation Checklist
- Verify all components are included in the package.
- Ensure your door meets the specified dimensions: Door Thickness: 1-3/4"; Backset: 1-1/2", 1-1/8", or 31/32".
- Gather necessary tools (e.g., screwdriver, drill, measuring tape).
3.2. General Installation Steps
- Remove Existing Hardware: Carefully remove any existing lock hardware from the door.
- Prepare the Door: If necessary, prepare the door for the mortise lock body according to the provided template (not included in this manual, refer to full product documentation).
- Install Mortise Lock Body: Insert the mortise lock body into the prepared cavity in the door edge.
- Install Spindle and Wiring: Insert the spindle through the lock body and route any necessary wiring through the door.
- Attach Exterior Panel: Mount the exterior keypad panel, ensuring the spindle and wiring are correctly aligned.
- Attach Interior Panel: Mount the interior panel, connecting any wiring as instructed.
- Secure Components: Fasten all screws to secure both panels to the door.
- Test Operation: Test the mechanical and electronic functions of the lock before closing the door.
3.3. Installation Videos
Keypad Lock Installation Overview
This video provides a general overview of installing a keypad keyless storefront door lock, demonstrating the process of replacing a mortise lock directly without extra drilling.
Easy Keyless Storefront Door Lock Installation
This video illustrates a simplified installation process for a keyless storefront door lock, highlighting the ease of setup for a mechanical keypad system.
4. Operating Instructions
The Alarm Lock DL1300/10B1 is designed for straightforward operation, providing secure access with user-friendly controls.
4.1. Unlocking the Door with a PIN Code
- Activate Keypad: Touch any button on the 12-button keypad to activate it.
- Enter PIN Code: Enter your assigned 3-5 digit PIN code.
- Confirm Entry: Press the '#' or 'A' button (depending on your lock's configuration) to confirm the PIN.
- Open Door: Once the code is accepted (indicated by a green light or audible signal), turn the lever handle to open the door.
4.2. Locking the Door
The Alarm Lock DL1300/10B1 features an auto-lock function. After the door is closed, the lock will automatically engage the deadbolt after a pre-set time. To manually ensure the door is locked, simply close the door and verify the bolt is engaged.
4.3. Key Override
In situations where electronic access is unavailable (e.g., battery depletion, system malfunction), the lock can be opened using the provided physical key. Insert the key into the key cylinder located below the lever handle and turn to unlock the door.
4.4. Programming User Codes
The DL1300/10B1 allows for the programming of multiple user PIN codes. Detailed programming instructions, including how to set a master code, add new user codes, and delete existing codes, are typically found in the comprehensive programming guide supplied with your lock. This process usually involves entering a master programming code followed by specific sequences for each action.
5. Maintenance
Regular maintenance ensures the longevity and reliable operation of your Alarm Lock DL1300/10B1.
- Battery Replacement: The lock operates on batteries (type not specified in product data, typically AA or AAA). Replace batteries annually or immediately when a low battery indicator (visual or audible) is present.
- Cleaning: Clean the keypad and exterior surfaces with a soft, lint-free cloth dampened with water. Avoid using abrasive cleaners, solvents, or chemical sprays, as these can damage the finish or electronic components.
- Mechanical Lubrication: Periodically (e.g., every 6-12 months), apply a small amount of silicone-based lubricant to the latch bolt and deadbolt mechanisms to ensure smooth operation. Do not lubricate the key cylinder unless specifically recommended by the manufacturer.
6. Troubleshooting
If you encounter issues with your Alarm Lock DL1300/10B1, refer to the following common troubleshooting steps:
- Lock Not Responding:
- Check battery levels and replace if necessary.
- Ensure the correct PIN code is being entered.
- Intermittent Operation:
- Verify all internal and external connections are secure.
- Check for any physical obstructions in the door frame or around the latch/deadbolt.
- Code Entry Issues:
- Ensure each button press is firm and registered.
- Avoid entering codes too quickly, which may lead to missed inputs.
- Audit Trail Retrieval Problems:
- Consult the full product manual for specific instructions on audit trail download and analysis.
- Ensure any required software or connection cables are correctly used.
If problems persist after attempting these steps, please contact Alarm Lock customer support for further assistance.
7. Specifications
| Attribute | Detail |
|---|---|
| Brand | Alarm Lock |
| Model Name | DL1300/10B1 |
| Material | Zinc |
| Finish Type | Duronodic |
| Handle Style | Lever |
| Lock Type | Key Lock (with keypad access) |
| Special Feature | Auto-Lock |
| BHMA Certification | Grade 1 |
| Door Thickness | 1-3/4" |
| Backset | 1-1/2", 1-1/8", 31/32" |
| Handing | Left, Reversible, Right |
| Usage Monitoring | Yes (40,000 event audit trail) |
| Weatherproof Rating | -31° to +151°F (-35° to +66°C) |
| Keypad | 12-button, supports 2000 3-5 digit PIN codes |
| Compatibility | Adams Rite 4710, 4730, and 4900 series |
| Item Weight | 6.9 Pounds |
| Package Dimensions | 18 x 10 x 2 inches |
8. Warranty and Support
The Alarm Lock DL1300/10B1 is backed by a manufacturer's 2-year limited warranty, covering defects in materials and workmanship under normal use. For detailed warranty information, technical assistance, troubleshooting, or to initiate a warranty claim, please contact Alarm Lock customer support directly. Keep your purchase receipt as proof of purchase.


