1. Introduction and Overview
Thank you for choosing the TRUPER ROTO-1/2NX2 Hammer Drill/Screwdriver. This powerful 1200W tool is designed for various drilling and screwdriving tasks, offering versatility with its three functions: hammer drill, drill, and screwdriver. It features 2 variable reversible speeds, a robust double gear system, and an ergonomic non-slip handle for enhanced control and comfort. Please read this manual carefully before operating the tool to ensure safe and efficient use.

Figure 1.1: Front view of the TRUPER ROTO-1/2NX2 Hammer Drill. This image shows the overall design of the tool, including the chuck, auxiliary handle, and main body.
2. Product Features and Components
The TRUPER ROTO-1/2NX2 is equipped with several features designed for performance and user convenience. Familiarize yourself with the components shown below.
- Function Selector: Easily switch between drill, hammer drill, and screwdriver modes.
- Mechanical Speed Selector: Control for high or low speed settings.
- Depth Control Rod: For precise drilling depth adjustments.
- 360° Auxiliary Handle: Provides enhanced control and comfort for the operator.
- Variable Speed Control: Allows for precise speed adjustment during operation.
- Reversible Mode Lever: Changes the rotation direction for screwdriving or bit removal.
- Continuous Use Button: Locks the trigger for extended operation.
- Non-slip Grip: Ensures comfortable and secure handling.
- Ball Bearing Mounted Motor: Designed for increased durability and lifespan.
- LED Light: Illuminates the work area for better visibility.
- Heavy-duty Cable: Durable power cable for reliable connection.

Figure 2.1: Side view of the TRUPER ROTO-1/2NX2 Hammer Drill, illustrating the general location of the function selector, speed selector, depth rod, auxiliary handle, variable speed control, reversible lever, continuous use button, non-slip grip, and LED light.
3. General Safety Instructions
WARNING: Read all safety warnings, instructions, illustrations, and specifications provided with this power tool. Failure to follow all instructions listed below may result in electric shock, fire, and/or serious injury.
Work Area Safety
- Keep the work area clean and well-lit. Cluttered or dark areas invite accidents.
- Do not operate power tools in explosive atmospheres, such as in the presence of flammable liquids, gases, or dust. Power tools create sparks which may ignite the dust or fumes.
- Keep children and bystanders away while operating a power tool. Distractions can cause you to lose control.
Electrical Safety
- Power tool plugs must match the outlet. Never modify the plug in any way.
- Avoid body contact with earthed or grounded surfaces, such as pipes, radiators, ranges, and refrigerators. There is an increased risk of electric shock if your body is earthed or grounded.
- Do not expose power tools to rain or wet conditions. Water entering a power tool will increase the risk of electric shock.
- Do not abuse the cord. Never use the cord for carrying, pulling, or unplugging the power tool. Keep cord away from heat, oil, sharp edges, or moving parts.
Personal Safety
- Always wear eye protection. Use safety glasses, goggles, or a face shield.
- Wear appropriate personal protective equipment (PPE) such as hearing protection, dust mask, non-skid safety shoes, and work gloves.
- Stay alert, watch what you are doing, and use common sense when operating a power tool.
- Do not overreach. Keep proper footing and balance at all times.
4. Setup
Before starting any work, ensure the tool is unplugged from the power source.
4.1 Attaching the Auxiliary Handle
- Loosen the auxiliary handle by rotating it counter-clockwise.
- Slide the handle onto the front of the drill body.
- Adjust the handle to a comfortable and secure position (it can rotate 360°).
- Tighten the handle by rotating it clockwise until it is firmly secured.
4.2 Inserting Drill Bits/Accessories
- Open the chuck jaws by rotating the chuck key counter-clockwise.
- Insert the drill bit or accessory fully into the chuck.
- Tighten the chuck jaws firmly using the chuck key by rotating it clockwise. Ensure the bit is centered and secure.
- Remove the chuck key immediately after tightening to prevent injury.
4.3 Adjusting the Depth Control Rod
- Loosen the screw or lever that secures the depth control rod on the auxiliary handle.
- Adjust the rod to the desired drilling depth. The tip of the rod should indicate the maximum depth.
- Tighten the screw or lever to secure the depth control rod in place.

Figure 4.1: The TRUPER ROTO-1/2NX2 Hammer Drill in operation, illustrating proper grip and the use of the auxiliary handle and depth rod during a drilling task.
5. Operating Instructions
Always wear appropriate safety gear, including eye protection and hearing protection, before operating the tool.
5.1 Selecting Operating Mode (Function Selector)
The tool offers three operating modes:
- Drill Mode: For drilling into wood, metal, and plastics.
- Hammer Drill Mode: For drilling into masonry, concrete, and brick.
- Screwdriver Mode: For driving and removing screws.
To select a mode, rotate the function selector switch located on the top of the tool to the desired icon. Ensure the selector clicks into place.
5.2 Adjusting Speed (Mechanical Speed Selector and Variable Speed Control)
- Mechanical Speed Selector: Use the switch on the top of the tool to select between high (II) and low (I) mechanical speed ranges. Low speed provides higher torque, suitable for larger holes or screwdriving. High speed is for smaller holes and faster drilling.
- Variable Speed Trigger: The trigger allows for fine-tuning the speed within the selected mechanical range. Pressing the trigger lightly results in lower speed, while pressing it fully increases the speed.
5.3 Reversible Function
The reversible lever, located near the trigger, controls the direction of rotation.
- Push the lever to the left for forward (clockwise) rotation, used for drilling and driving screws.
- Push the lever to the right for reverse (counter-clockwise) rotation, used for removing screws or freeing jammed drill bits.
Note: Always ensure the tool has come to a complete stop before changing the direction of rotation.
5.4 Continuous Use Button
For extended drilling or screwdriving tasks, the continuous use button can lock the trigger in the "ON" position.
- Press the trigger fully to start the tool.
- While the trigger is pressed, push the continuous use button.
- Release the trigger; the tool will continue to operate.
- To turn off the tool, press the trigger again and release it.
6. Maintenance
Regular maintenance ensures the longevity and optimal performance of your TRUPER ROTO-1/2NX2. Always unplug the tool before performing any maintenance.
6.1 Cleaning
- Keep the ventilation openings clean to prevent motor overheating. Use a soft brush or compressed air to clear dust and debris.
- Wipe the tool's exterior with a damp cloth. Do not use harsh chemicals or abrasive cleaners.
- Clean the chuck jaws regularly to ensure proper grip on bits.
6.2 Carbon Brushes
The carbon brushes are wear parts. If the motor performance decreases or sparks become excessive, the carbon brushes may need replacement. This should ideally be done by a qualified service technician.
6.3 Storage
Store the tool in a dry, secure place, out of reach of children. Protect it from direct sunlight and extreme temperatures.
7. Troubleshooting
If you encounter issues with your TRUPER ROTO-1/2NX2, refer to the following common problems and solutions. If the problem persists, contact authorized service personnel.
| Problem | Possible Cause | Solution |
|---|---|---|
| Tool does not start. | No power supply, faulty switch, worn carbon brushes. | Check power connection. Ensure switch is not locked. Inspect/replace carbon brushes (professional service recommended). |
| Loss of power during operation. | Overload, worn carbon brushes, damaged motor. | Reduce load. Inspect/replace carbon brushes. Seek professional service for motor inspection. |
| Excessive sparking from motor. | Worn carbon brushes, dirty commutator. | Replace carbon brushes. Clean commutator (professional service recommended). |
| Tool overheats. | Blocked ventilation, continuous heavy load. | Clear ventilation openings. Allow tool to cool down. Reduce load or operating time. |
| Drill bit jams. | Incorrect bit for material, excessive pressure, hitting rebar. | Use appropriate bit. Apply steady, not excessive, pressure. Use reverse function to free bit. |
8. Specifications
Technical specifications for the TRUPER ROTO-1/2NX2 Hammer Drill/Screwdriver.
| Specification | Value |
|---|---|
| Brand | TRUPER |
| Power Source | Electric |
| Maximum Rotational Speed | 3300 RPM |
| Voltage | 120 Volts |
| Amperage | 9 Amperes |
| Color | Black |
| Special Feature | Variable Speed |
| Product Dimensions (L x W x H) | 40l. x 9.4w. x 26.8h. centimeters |
| Number of Speeds | 2 |
| Maximum Power | 1200 Watts |
| Drill Type | Hammer Drill |
| Item Weight | 3.35 Kilograms |
| Model Number | ROTO-1/2NX2 |
| Manufacturer | Truper SA de CV |
| Country of Origin | China |
| ASIN | B013R4PUD2 |
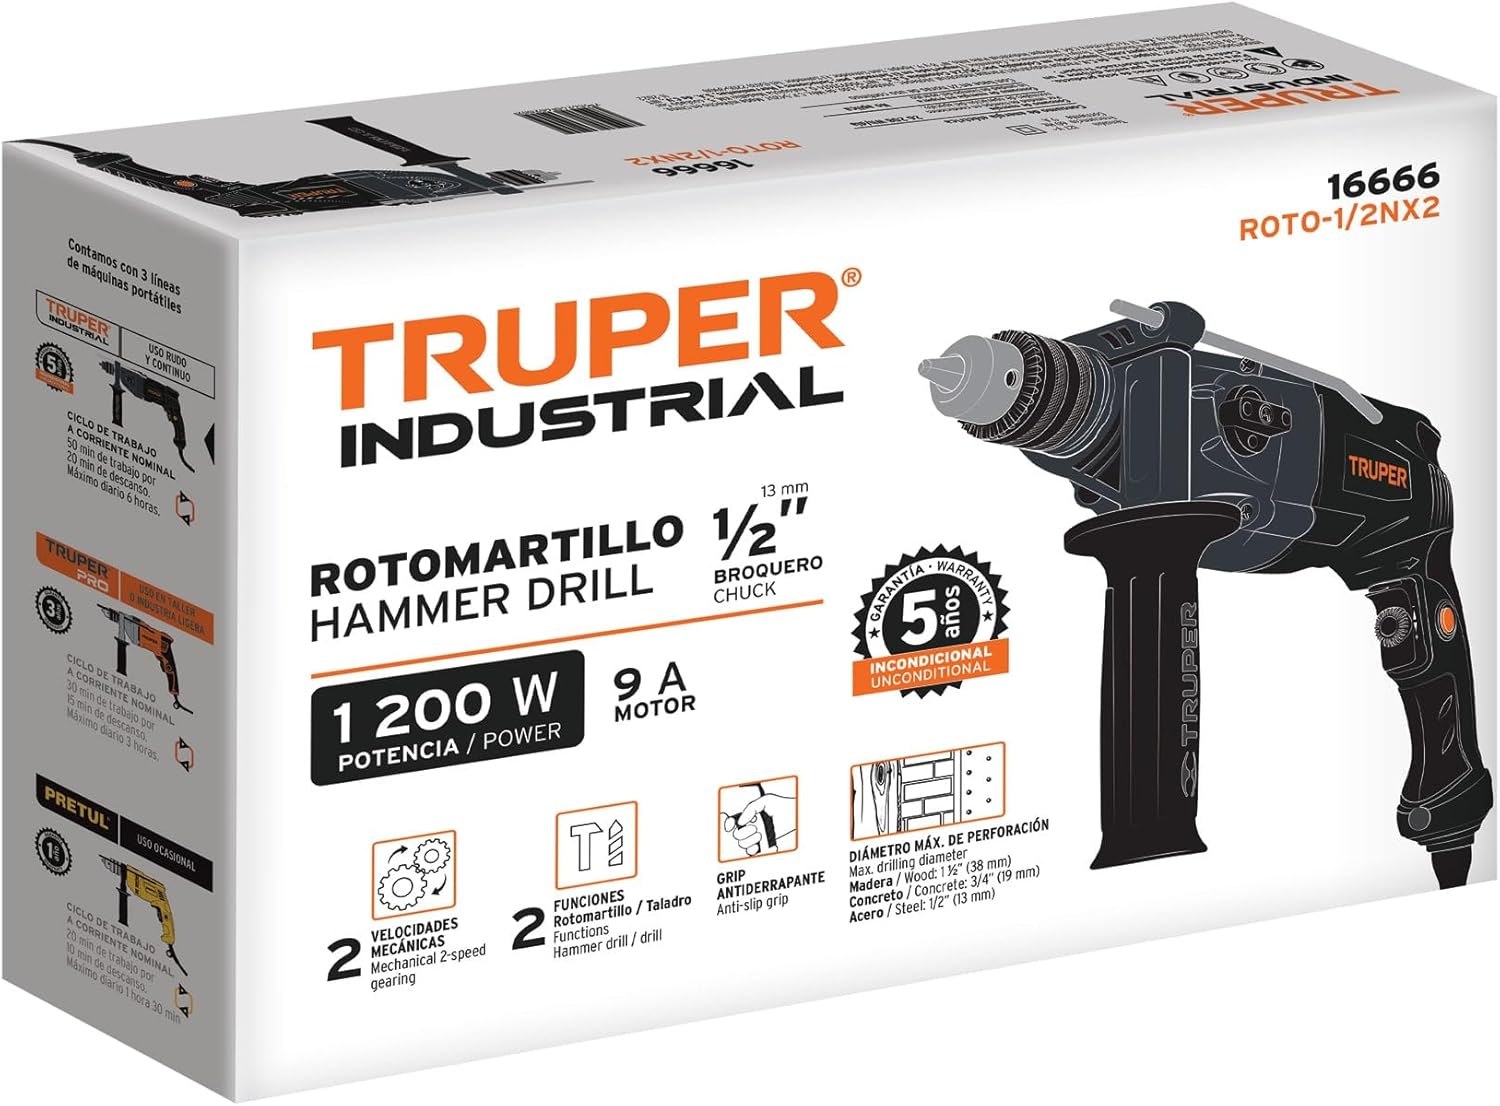
Figure 8.1: Product packaging for the TRUPER ROTO-1/2NX2, displaying key specifications and features.
9. Warranty and Support
The TRUPER ROTO-1/2NX2 Hammer Drill/Screwdriver comes with a 3-year warranty from the manufacturer, Truper SA de CV. This warranty covers defects in materials and workmanship under normal use.
For warranty claims, technical support, or service inquiries, please contact your retailer or the manufacturer directly. Keep your proof of purchase for warranty validation.
You can find more information about TRUPER products and support on their official website or through authorized distributors.


