
TRUPER HIDR-1/2X50
Truper HIDR-1/2X50 50L Hydropneumatic Pump User Manual
Model: HIDR-1/2X50 | Brand: TRUPER
1. Introduction
This manual provides essential information for the safe and efficient installation, operation, and maintenance of your Truper HIDR-1/2X50 50L Hydropneumatic Pump. Please read these instructions carefully before using the product and retain them for future reference. This hydropneumatic system is designed to increase and maintain constant water pressure in domestic applications.

Image 1.1: Truper HIDR-1/2X50 50L Hydropneumatic Pump. This image displays the complete hydropneumatic pump unit, featuring an orange 50-liter tank, a silver pump head, and a pressure switch with a manometer.
2. Product Overview
The Truper HIDR-1/2X50 hydropneumatic pump consists of several key components working together to deliver consistent water pressure. Understanding these parts is crucial for proper installation and maintenance.

Image 2.1: Labeled components of the Truper HIDR-1/2X50 Hydropneumatic Pump. This diagram highlights the main parts of the pump system, including the pressure switch, water outlet, manometer, jet pump with stainless steel head, electric motor, water inlet, pump-tank interconnection hose, tank, and fixing supports.
Key Components:
- Pressure Switch (Presostato): Automatically controls the pump's on/off cycles based on water pressure.
- Water Outlet (Salida de agua): Point where pressurized water exits the system.
- Manometer (Manómetro instalado): Displays the current water pressure within the system, allowing for continuous performance review.
- Jet Pump with Stainless Steel Head (Bomba tipo jet con cabezal de acero inoxidable): The core pumping unit, featuring a durable stainless steel head.
- Electric Motor (Motor eléctrico cerrado con ventilación externa): Powers the pump, designed with copper coils for durability and external ventilation for cooling.
- Water Inlet (Entrada de agua): Point where water enters the pump from the supply source.
- Pump-Tank Interconnection Hose (Manguera interconexión Bomba-Tanque): Connects the pump to the pressure tank.
- Tank (Tanque): A 50-liter steel tank that stores pressurized water and helps maintain constant pressure.
- Fixing Supports (Soportes para fijar el equipo): Base supports for securing the unit in place.
3. Installation
Proper installation is critical for the safe and efficient operation of your hydropneumatic pump. Follow these guidelines carefully.
3.1 Site Selection and Placement:

Image 3.1: Installation recommendations. This image illustrates key advice for pump installation, including placing it in covered, dry, and well-ventilated areas, ensuring ambient temperature does not exceed 40°C, filling the pump with clean water before first use, and securing it horizontally on flat surfaces with screws.
- Covered Locations: Install the pump in covered areas to protect it from weather elements.
- Dry and Ventilated: Ensure the installation site is dry and well-ventilated to prevent moisture damage and overheating.
- Temperature Limits: The ambient temperature should not exceed 40°C (104°F).
- Horizontal and Secure: Place the pump horizontally on a flat surface and secure it using screws through the fixing supports to prevent movement and vibration.
3.2 Initial Setup:
- Fill with Water: Before turning on the pump for the first time, completely fill the pump with clean water. This primes the pump and prevents dry running, which can cause damage.
- Electrical Connection: Connect the pump to a suitable electrical outlet. Ensure the power supply matches the pump's requirements (refer to specifications). It is recommended to use a dedicated circuit with appropriate overcurrent protection.
- Plumbing Connections: Connect the water inlet to your water supply (e.g., cistern or tank) and the water outlet to your domestic water distribution system. Ensure all connections are watertight to prevent leaks.

Image 3.2: Functionality diagram and performance curve. The diagram on the left illustrates how the pump draws water from a supply tank or cistern and increases its pressure for distribution. The graph on the right shows the pump's performance, indicating recommended usage based on height (m) and flow (L/min) for the HIDR-1/2X50 model.
4. Operation
Once properly installed and primed, the Truper HIDR-1/2X50 pump operates automatically to maintain consistent water pressure.
- Automatic Pressure Control: The integrated pressure switch monitors the system pressure. When water is consumed and the pressure drops below a set threshold, the pump automatically turns on to replenish the tank and restore pressure. Once the desired pressure is reached, the pump turns off.
- Monitoring Performance: The manometer provides a continuous reading of the system's water pressure. Regularly check this gauge to ensure the pump is operating within expected parameters.
- Performance Curve: Refer to the performance curve (Image 3.2) to understand the pump's capabilities regarding water flow (L/min) at various heights (m). This helps in understanding expected performance.
5. Maintenance
Regular maintenance ensures the longevity and optimal performance of your hydropneumatic pump.
- Check Air Pressure in Tank: Periodically, the air pressure in the tank may need to be checked and adjusted. If the pump starts and stops frequently (short cycling), it may indicate low air pressure in the tank. To check, turn off the pump, drain all water from the system, and use an air pressure gauge on the tank's air valve. Inflate to the recommended pressure (e.g., 28-30 PSI, as suggested in customer feedback for similar issues). If water comes out of the air valve, the tank's diaphragm may be damaged and require replacement.
- Inspect for Leaks: Regularly check all plumbing connections and the pump body for any signs of water leaks. Address any leaks promptly to prevent damage and maintain system efficiency.
- Cleanliness: Keep the pump and its surroundings clean and free from debris. Ensure the motor's external ventilation is not obstructed.
- Water Quality: If your water source has sediment, consider installing a filter before the pump inlet to protect the pump components.
6. Troubleshooting
This section addresses common issues you might encounter with your hydropneumatic pump.
- Pump Turns On and Off Frequently (Short Cycling):
- Cause: Low air pressure in the tank or a small leak in the system.
- Solution: Check and adjust the air pressure in the tank as described in the Maintenance section. Inspect for any leaks in the plumbing system.
- No Water Flow or Low Pressure:
- Cause: Pump not primed, clogged inlet, power issue, or pump malfunction.
- Solution: Ensure the pump is fully primed with water. Check for obstructions in the water inlet. Verify the pump is receiving power. If issues persist, professional inspection may be required.
- Excessive Noise:
- Cause: Air in the system, loose mounting, or internal pump issue.
- Solution: Ensure the pump is properly primed and all air is purged from the system. Verify the pump is securely mounted. If noise persists, consult a technician.
7. Specifications
Detailed technical specifications for the Truper HIDR-1/2X50 Hydropneumatic Pump.
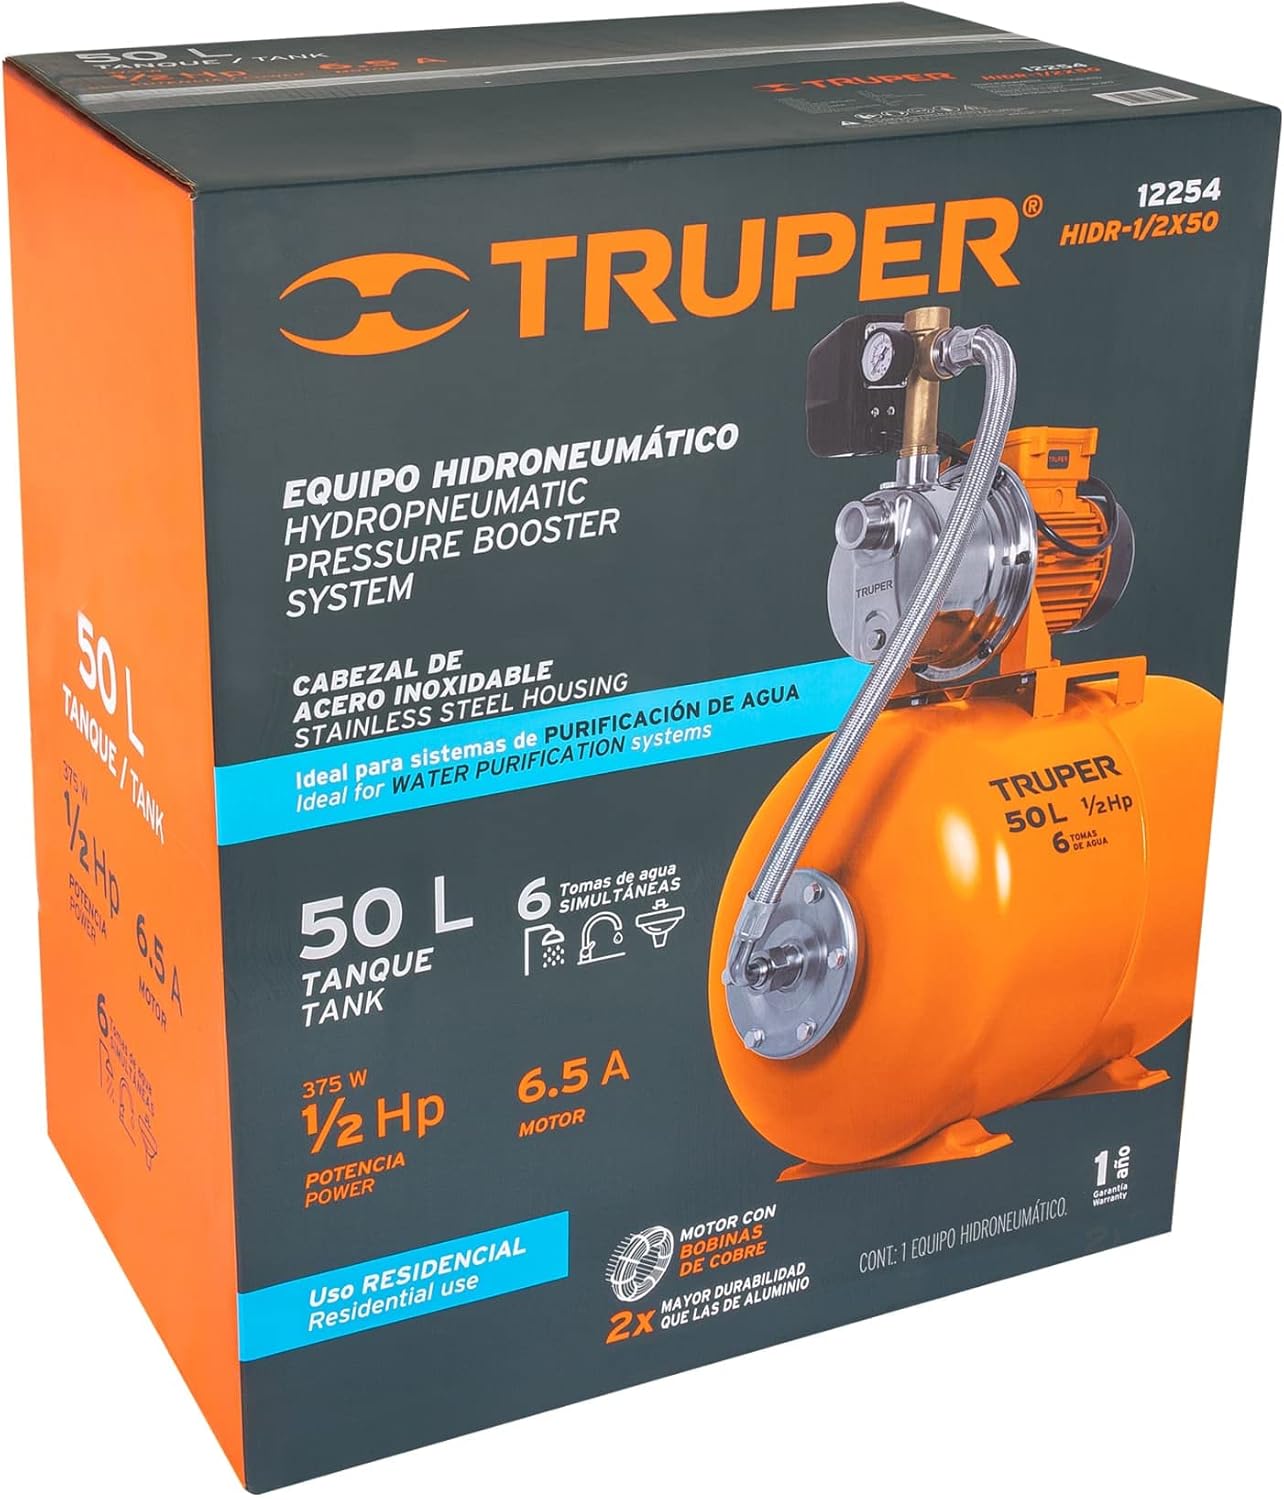
Image 7.1: Dimensions of the Truper HIDR-1/2X50 Hydropneumatic Pump. This image provides key measurements: Height (Alto) 77 cm, Diameter (Ø) 39 cm, and Base 65 cm.
| Feature | Detail |
|---|---|
| Manufacturer | Truper SA de CV |
| Model Number | HIDR-1/2X50 |
| Tank Size | 50 Liters |
| Color | Orange |
| Style / Horsepower | 1/2 HP |
| Material | Copper (motor coils), Steel (tank) |
| Power Source | Electricity |
| Flow Rate | 11 Gallons per minute |
| Weight | 17.6 Kilograms |
| Product Dimensions (L x W x H) | 62 x 39 x 64 cm |
| Components Included | As described on packaging (typically includes pump, tank, pressure switch, manometer, interconnection hose) |
8. Safety Information
Always observe basic safety precautions to reduce the risk of fire, electric shock, and personal injury.
- Electrical Safety: Ensure the pump is connected to a properly grounded outlet. Do not operate with damaged cords or plugs. Disconnect power before performing any maintenance or repairs.
- Water Safety: Do not operate the pump dry. Ensure the pump is always filled with water before starting to prevent damage.
- Installation: Follow all local plumbing and electrical codes. If unsure, consult a qualified professional for installation.
- Children and Pets: Keep children and pets away from the pump during operation.
- Temperature: Avoid installing the pump in areas where temperatures can exceed 40°C or drop below freezing.
9. Warranty and Support
For warranty information and technical support, please refer to the documentation provided with your purchase or contact Truper customer service directly. Warranty terms typically cover manufacturing defects for a specified period.
It is recommended to keep your purchase receipt as proof of purchase for warranty claims.
Ask a question about this manual
Ask about setup, troubleshooting, compatibility, parts, safety, or missing instructions. Manuals+ will review the question and use this page’s manual context to help answer it.