1. Introduction
Thank you for choosing the HOMCOM 12V Xenon Timing Light. This device is designed to accurately check and adjust the ignition timing on automotive and motorcycle engines. Proper ignition timing is crucial for engine performance, fuel efficiency, and emissions control. Please read this manual thoroughly before use to ensure safe and effective operation.
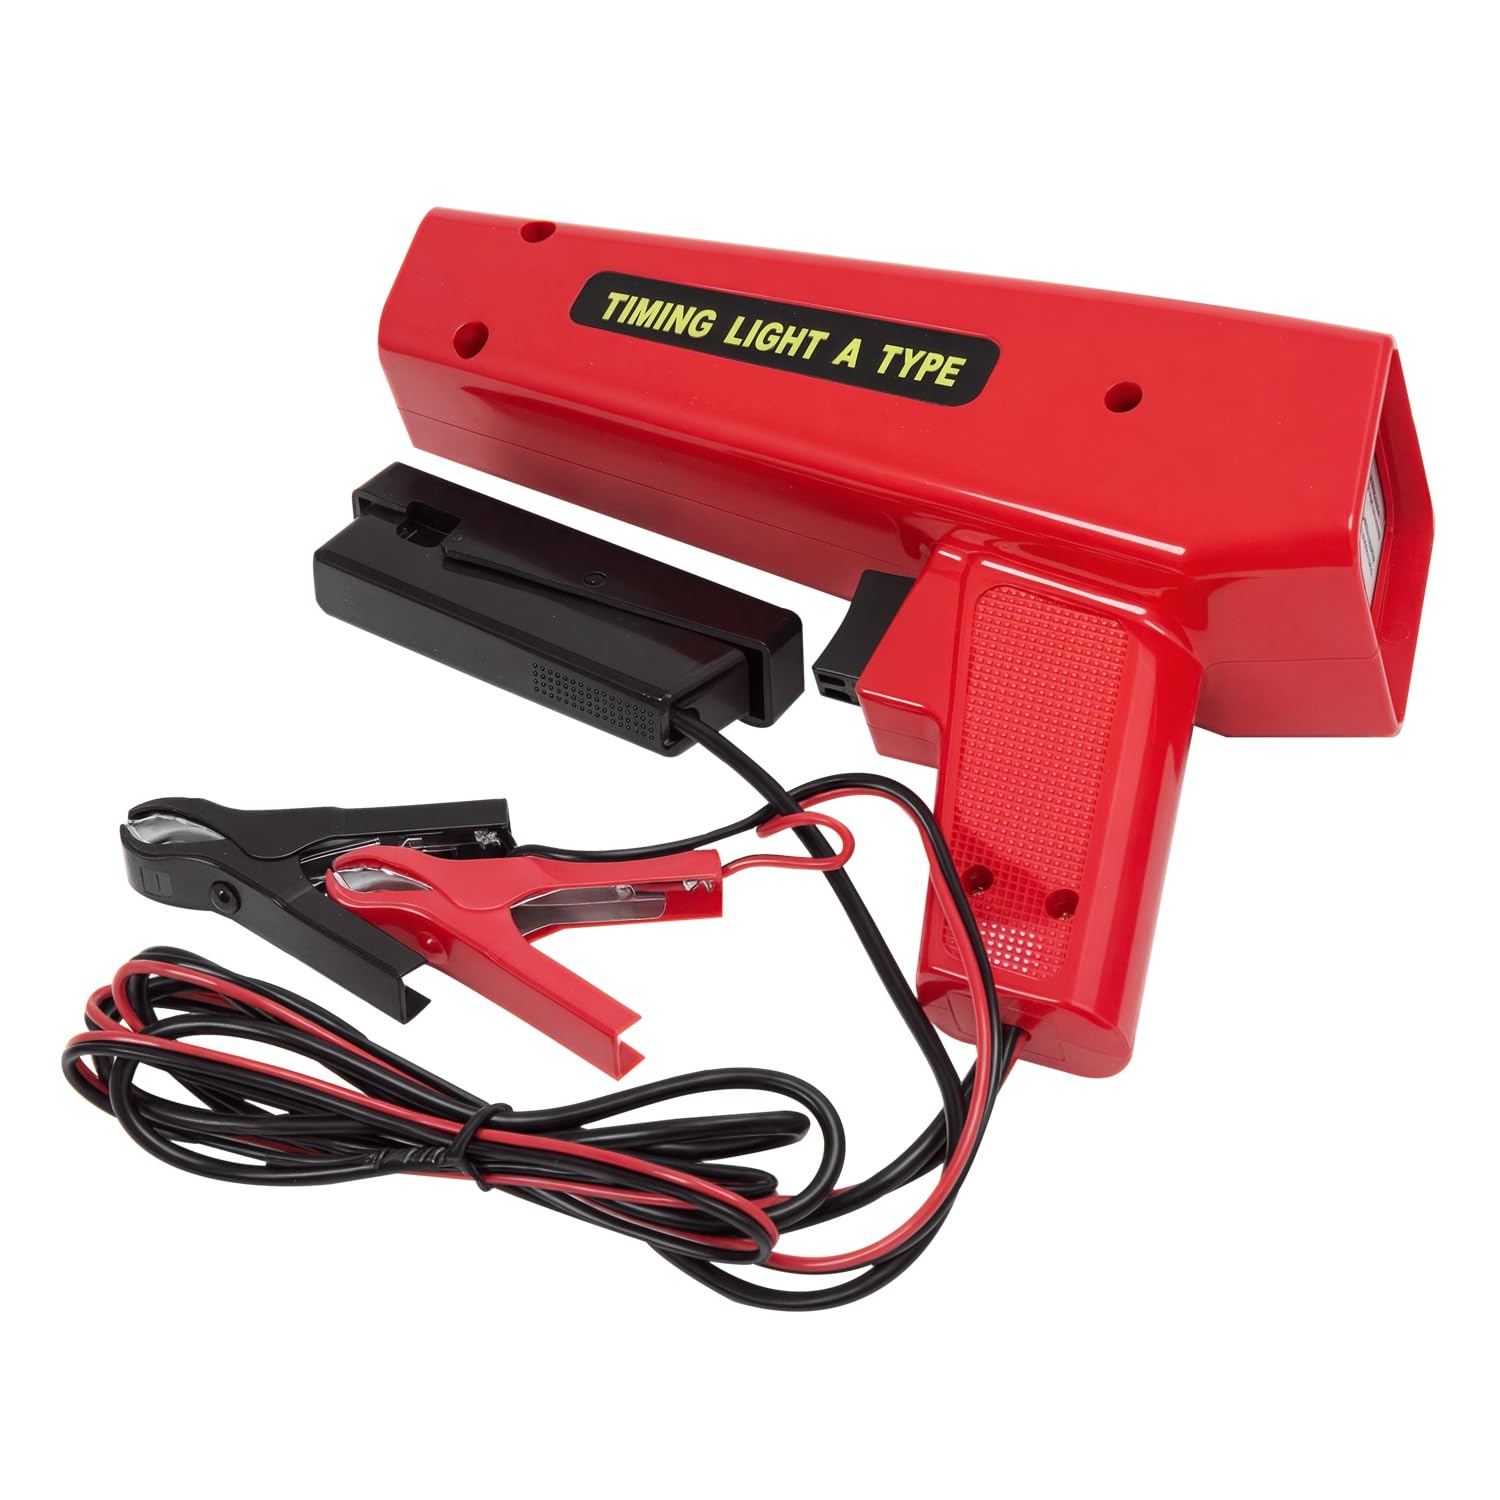
Image 1: The HOMCOM Timing Light held in hand, showing its pistol-grip design and light source.
2. Safety Information
Always observe the following safety precautions when using the timing light:
- Wear appropriate personal protective equipment, including safety glasses, to protect against flying debris or battery acid.
- Ensure the engine is off and cool before making any connections.
- Keep hands, tools, and clothing clear of moving engine parts (e.g., fan blades, belts) when the engine is running.
- Work in a well-ventilated area to avoid inhaling exhaust fumes.
- Avoid contact with hot engine components.
- Do not touch high-voltage ignition components (e.g., spark plug wires) while the engine is running.
- Connect the timing light to a 12V DC power source only.
- Ensure all connections are secure to prevent accidental disconnections or short circuits.
3. Product Components
The HOMCOM Timing Light consists of the following main components:
- Timing Light Unit: The main body with the Xenon flash tube and trigger.
- Power Cables: Red and black cables with alligator clips for connecting to the vehicle's 12V battery.
- Inductive Pickup Clamp: A clamp that attaches to the spark plug wire to detect ignition pulses.

Image 2: Overview of the timing light unit, including the power cables and inductive pickup.

Image 3: Detailed view of the red and black alligator clips for battery connection.
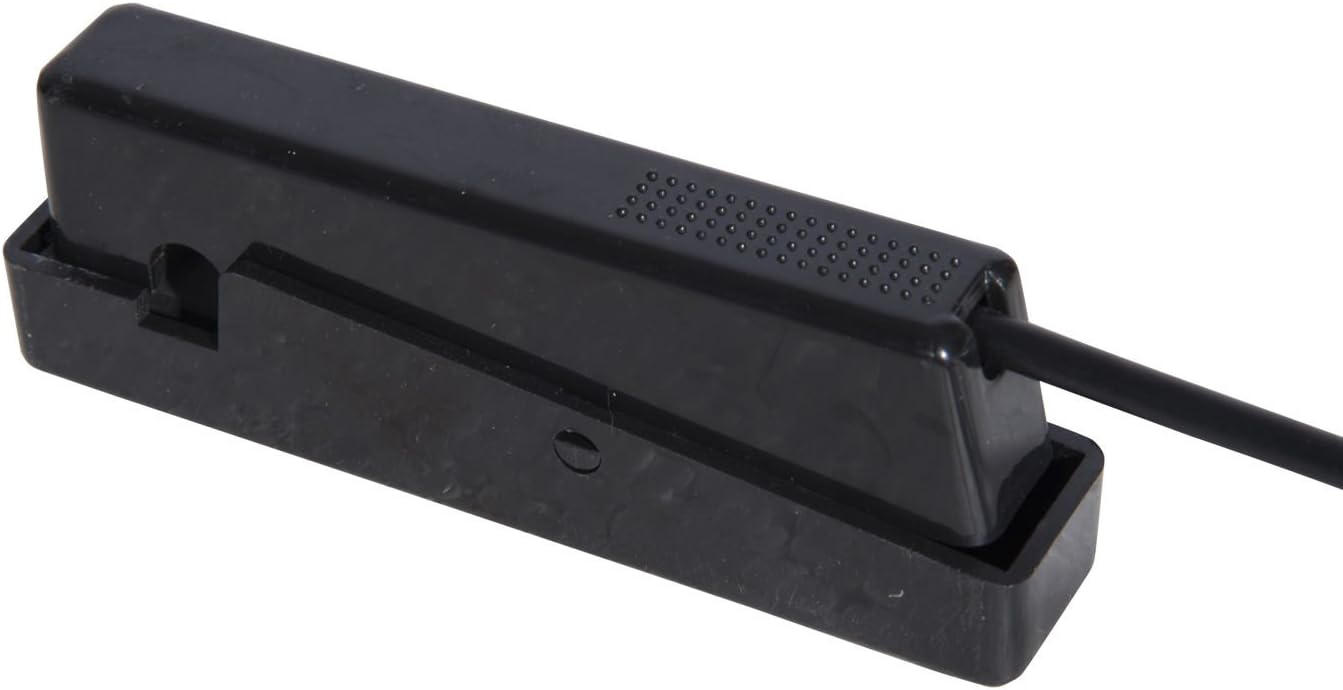
Image 4: Detailed view of the inductive pickup clamp, used to sense ignition pulses.
4. Specifications
| Feature | Specification |
|---|---|
| Model Number | C20-010 |
| Operating Voltage | 12 Volts DC |
| Bulb Type | Xenon |
| Maximum Power | 3.6 Watts |
| Material | Acrylonitrile Butadiene Styrene (ABS) |
| Dimensions (L x W x H) | 23.5 x 15.5 x 6.7 cm |
| Weight | 570 grams |
| Power Source | Vehicle Battery (12V) |
| Special Features | Ultra-bright Xenon light |

Image 5: Diagram illustrating the physical dimensions of the timing light.
5. Setup
- Prepare the Vehicle: Ensure the engine is off and cool. Locate the vehicle's 12V battery and the spark plug wire for cylinder #1 (or the cylinder specified by your vehicle's service manual for timing checks).
- Connect Power: Connect the red alligator clip of the timing light to the positive (+) terminal of the vehicle's 12V battery. Connect the black alligator clip to the negative (-) terminal of the battery or a good chassis ground point.
- Attach Inductive Pickup: Clamp the inductive pickup onto the spark plug wire for cylinder #1. Ensure the arrow on the clamp (if present) points towards the spark plug. The clamp should be securely closed around the wire.
- Locate Timing Marks: Identify the timing marks on your engine's crankshaft pulley or flywheel, as well as the pointer on the engine block. Consult your vehicle's service manual for the correct timing specifications and mark locations.
6. Operating Instructions
- Start the Engine: Start the vehicle's engine and allow it to reach normal operating temperature.
- Set Engine RPM (if applicable): If your vehicle's service manual specifies a particular engine speed for timing checks, adjust the engine RPM accordingly.
- Aim the Timing Light: Point the timing light at the timing marks on the crankshaft pulley/flywheel and the engine block pointer.
- Activate the Light: Squeeze the trigger on the timing light. The Xenon bulb will flash brightly with each ignition pulse from the spark plug wire.
- Read Timing: The flashes from the timing light will make the timing marks appear stationary. Compare the position of the timing marks on the pulley/flywheel with the pointer on the engine block. This indicates the current ignition timing.
- Adjust Timing (if necessary): If the timing is not within the manufacturer's specifications, adjust it according to your vehicle's service manual. This typically involves loosening the distributor hold-down bolt and rotating the distributor until the timing marks align correctly, then re-tightening the bolt.
- Verify Timing: After adjustment, re-check the timing with the timing light to ensure it is set correctly.
- Disconnect: Once timing is confirmed, turn off the engine. Disconnect the inductive pickup clamp from the spark plug wire, then disconnect the power clips from the battery terminals (negative first, then positive).
7. Maintenance
- Cleaning: Wipe the timing light unit with a clean, dry cloth after each use. Do not use abrasive cleaners or solvents.
- Storage: Store the timing light in a dry, cool place, away from direct sunlight and extreme temperatures. Keep it in its original packaging or a protective case to prevent damage.
- Cable Inspection: Periodically inspect the power cables and inductive pickup for any signs of wear, cuts, or damage. Replace the unit if any damage is found to ensure safe operation.
8. Troubleshooting
| Problem | Possible Cause | Solution |
|---|---|---|
| Timing light does not flash. |
|
|
| Inaccurate timing reading. |
|
|
| Light is dim or inconsistent. |
|
|
9. Warranty and Support
Specific warranty information for the HOMCOM Timing Light (Model C20-010) is not provided in the available product data. For warranty claims, technical support, or inquiries regarding spare parts, please contact your retailer or the HOMCOM customer service directly. Please have your proof of purchase and product model number (C20-010) ready when contacting support.
For more information about HOMCOM products, you may visit the official HOMCOM brand store:


