Product Overview
The AZZA Photios 250 is a high-performance gaming case designed for optimal aesthetics and thermal management. It features a sleek design with a tempered glass side panel, providing a clear view of internal components. The case supports extensive cooling solutions, including multiple water cooling radiators and various fan configurations, ensuring efficient heat dissipation for high-end hardware. Its thoughtful internal layout includes a dedicated power supply chamber and cable management options for a clean build and improved airflow.
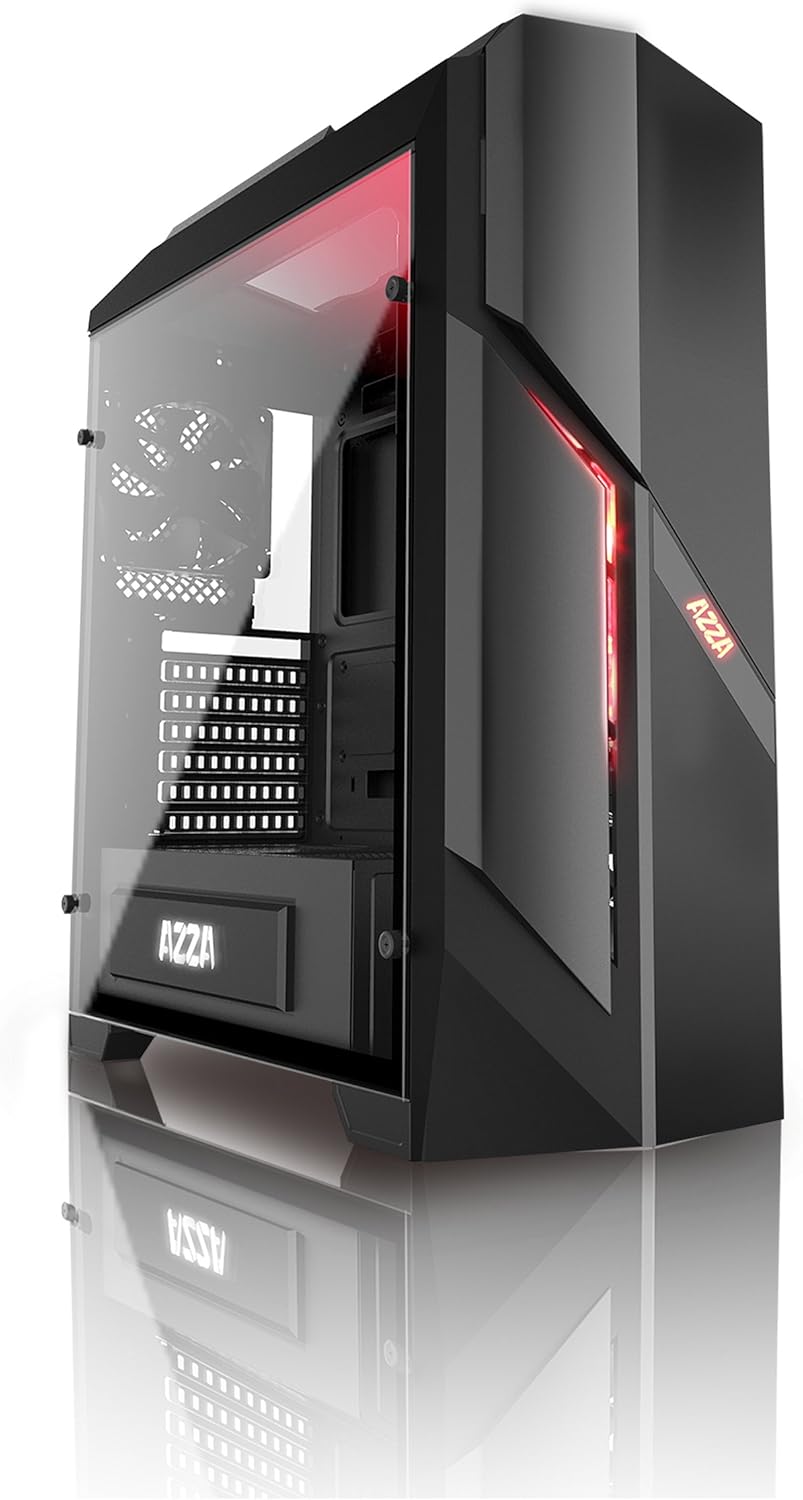
Figure 1: Front and side view of the AZZA PHOTIOS 250 Gaming Case, showcasing its tempered glass panel and red LED accents.
Key Features
- High-quality tempered glass side window: Allows for clear visuals to inner components.
- Extensive Water Cooling Support: Supports 120mm/240mm/280mm water cooling radiators for superior thermal performance.
- Isolated PSU Chamber: The power supply is situated in its own isolated chamber at the bottom of the case, minimizing residual heat affecting other components.
- Long VGA Card Compatibility: Supports graphics cards up to 380mm long.
- Front I/O Ports: Includes 1x USB 3.0 and 3x USB 2.0 ports for convenient connectivity.
- Pre-installed Fans: Comes with 1x 120mm red LED front fan and 1x 120mm black rear fan for immediate cooling.
Setup Guide
This section provides general instructions for setting up your AZZA PHOTIOS 250 gaming case and installing essential components.
- Prepare the Case:
- Carefully unbox the case and place it on a stable, flat surface.
- Remove the tempered glass side panel by unscrewing the four thumb screws. Set the panel aside safely.
- Remove the rear metal side panel to access the cable management area.
- Install the Motherboard:
- Install the I/O shield into the motherboard cutout at the rear of the case.
- Align your motherboard with the standoffs inside the case. Ensure all standoffs match the motherboard's screw holes.
- Secure the motherboard with the appropriate screws.
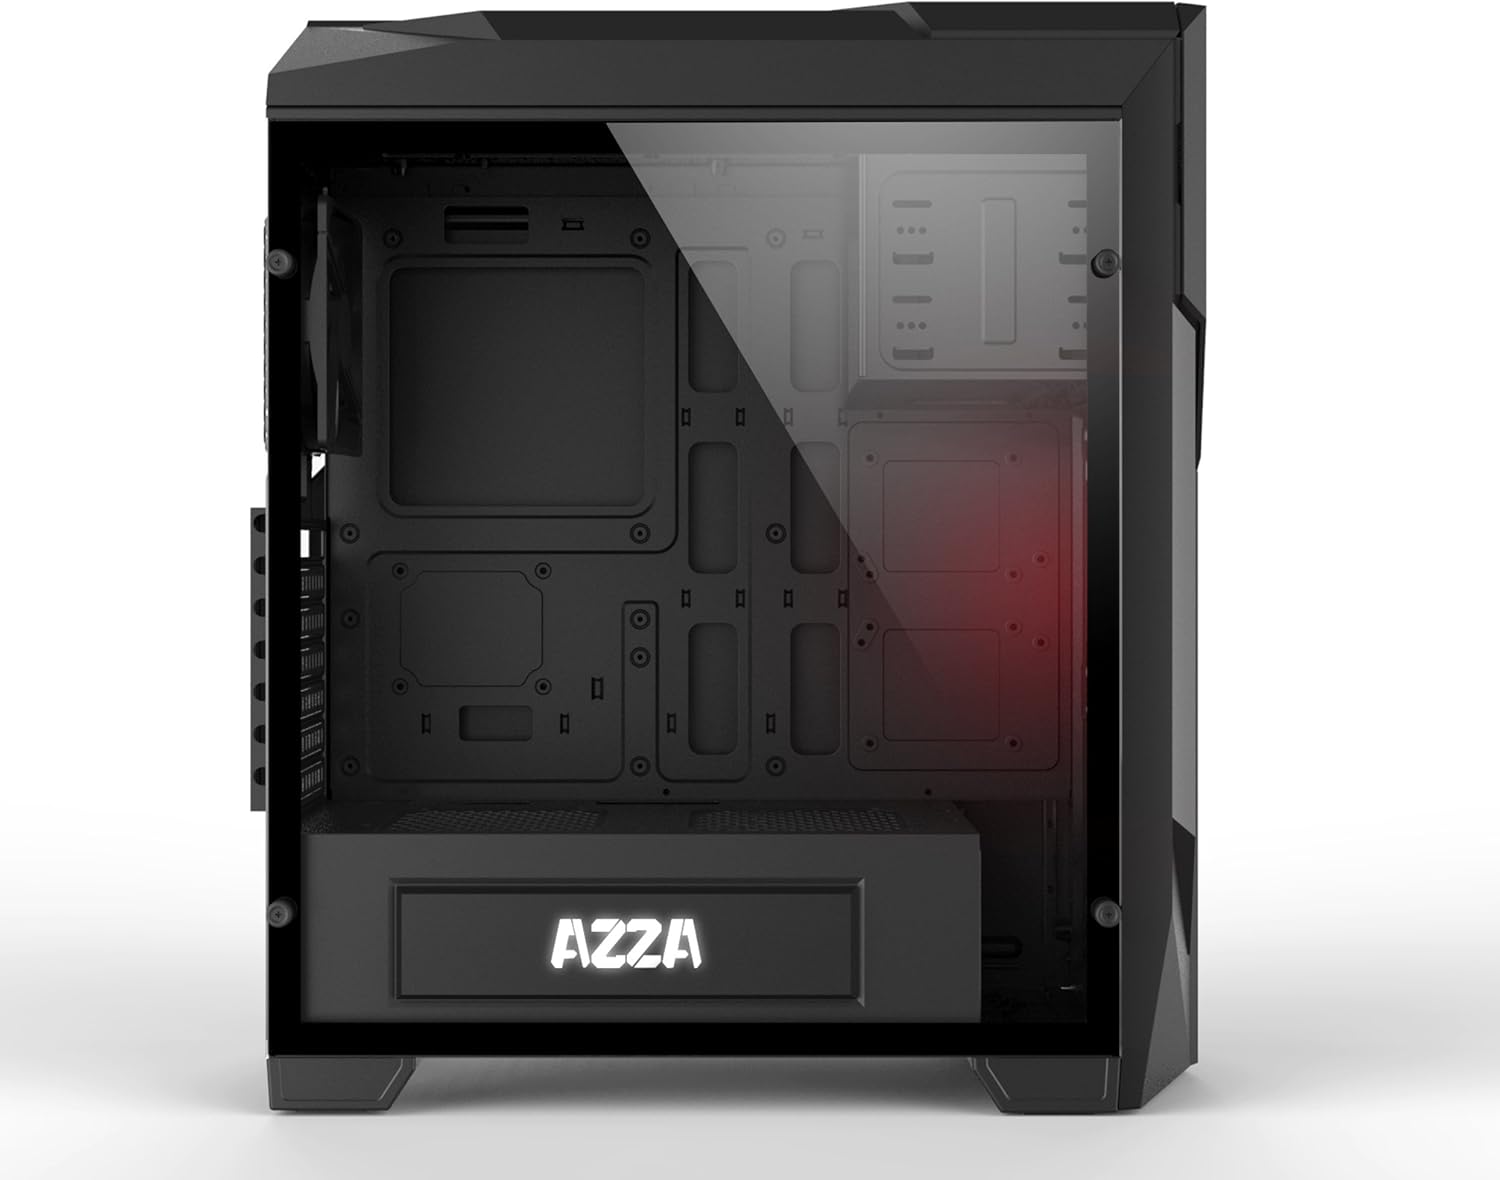
Figure 2: Interior view of the case, illustrating the spacious layout for component installation.
- Install the Power Supply (PSU):
- Slide the PSU into its dedicated chamber at the bottom rear of the case.
- Secure the PSU with screws from the rear of the case.
- Install Storage Drives:
- Locate the drive bays for 2.5" SSDs and 3.5" HDDs.
- Mount your storage drives using the provided screws or tool-less mechanisms.
- Install Graphics Card (VGA) and Expansion Cards:
- Remove the necessary PCIe slot covers at the rear of the case.
- Insert your graphics card into the primary PCIe slot on the motherboard.
- Secure the card with screws. Repeat for any other expansion cards.

Figure 3: Internal layout with the side panel removed, highlighting fan placement and component accessibility.
- Cable Management:
- Route all power cables from the PSU and data cables from storage drives through the cutouts in the motherboard tray to the rear of the case.
- Connect all necessary cables to the motherboard, graphics card, and storage drives.
- Use zip ties or Velcro straps to neatly bundle and secure cables behind the motherboard tray for improved airflow and aesthetics.

Figure 4: Rear view of the case, demonstrating the structure for cable management and component mounting.
- Connect Front I/O Cables:
- Connect the USB 3.0, USB 2.0, HD Audio, Power Switch, Reset Switch, Power LED, and HDD LED cables from the front panel to the corresponding headers on your motherboard. Refer to your motherboard manual for exact pinouts.
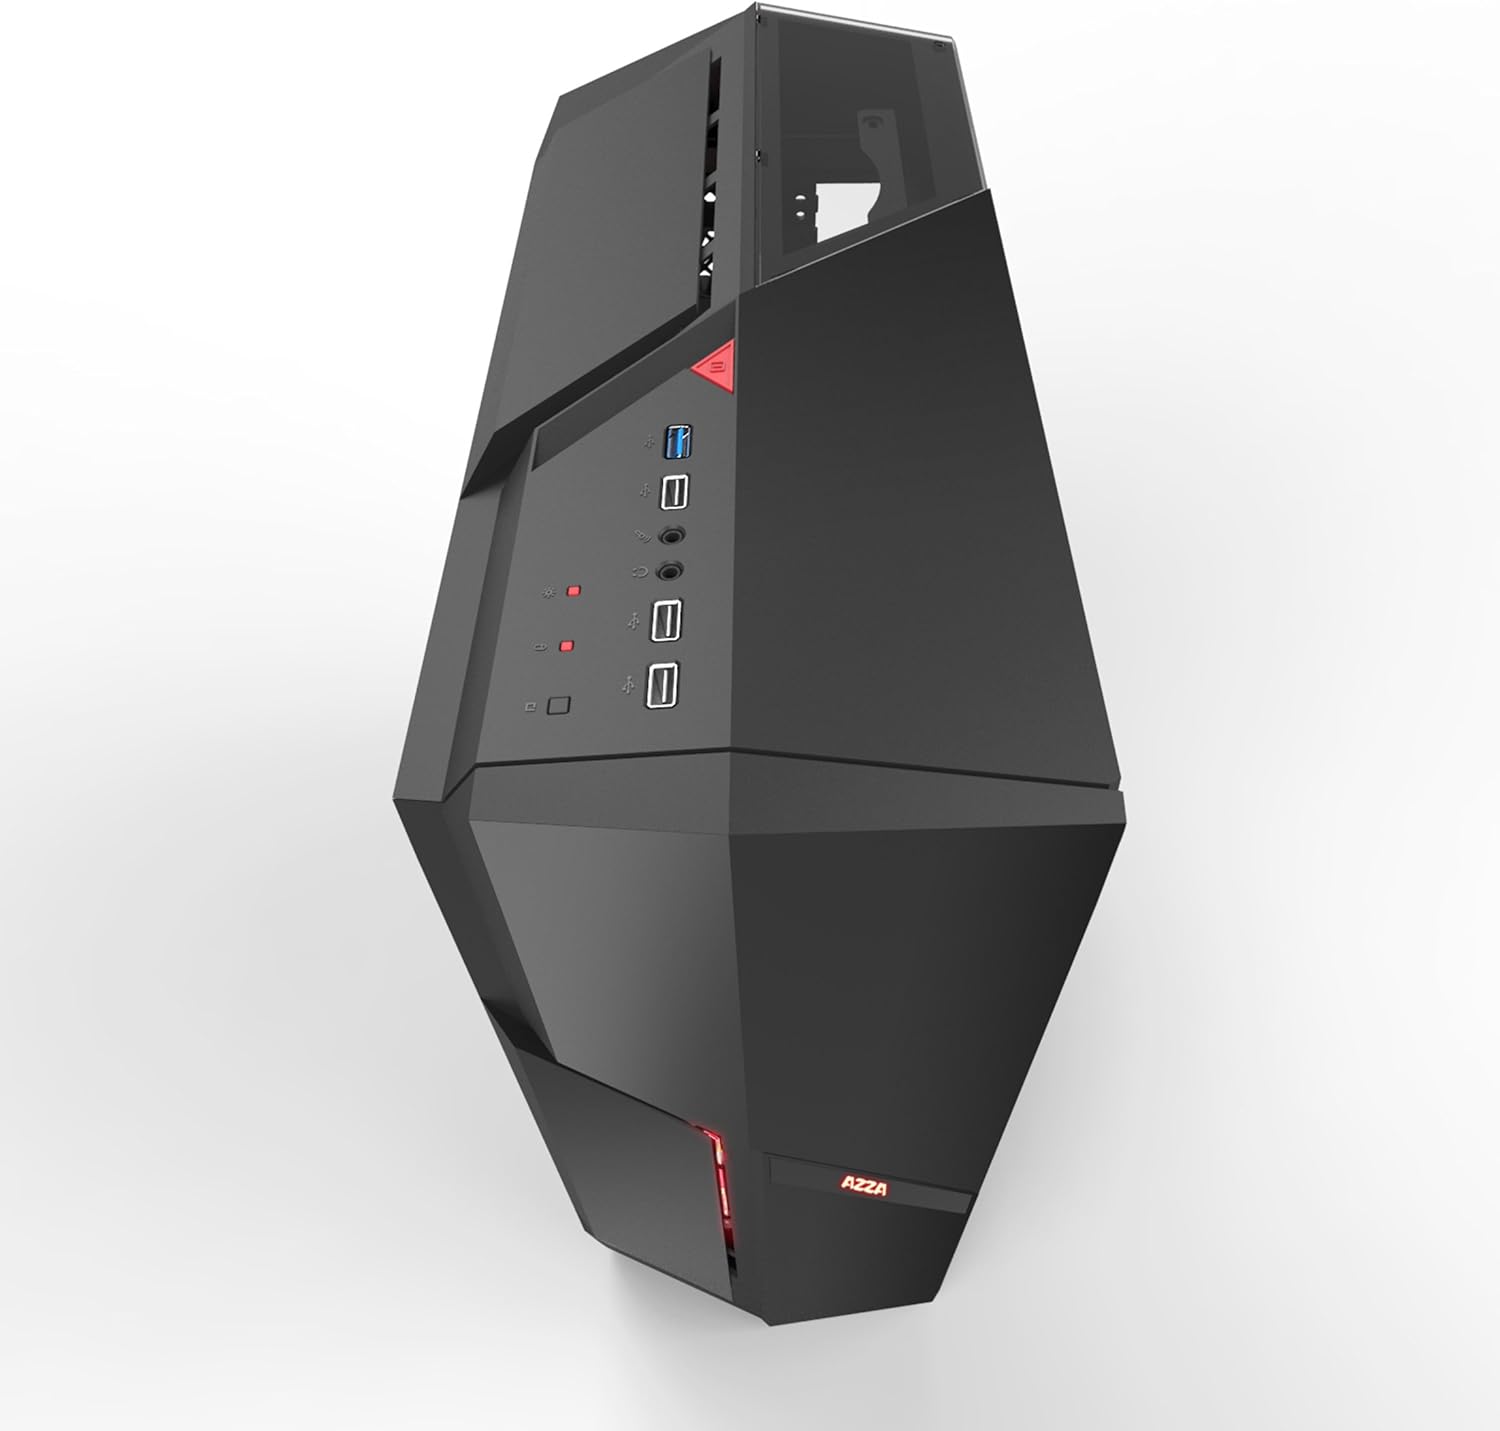
Figure 5: Top view of the case, showing the accessible front I/O panel with USB ports.
- Reassemble the Case:
- Once all components are installed and cables are managed, reattach the rear metal side panel and the tempered glass side panel.
- Ensure all screws are tightened securely.
Operation and Airflow
The AZZA PHOTIOS 250 is designed with optimal airflow in mind to keep your components cool. Understanding proper fan configuration is crucial for maintaining low temperatures.
- Airflow Direction: Generally, front fans should be configured as intake (bringing cool air into the case), and rear/top fans as exhaust (expelling hot air out of the case).
- Fan Control: Connect your case fans to your motherboard's fan headers or a dedicated fan controller to manage their speed and noise levels. Refer to your motherboard manual for fan header locations and BIOS/UEFI settings.
- LED Lighting: The pre-installed front LED fan will illuminate when the system is powered on.
Maintenance
Regular maintenance helps ensure the longevity and optimal performance of your PC case and its components.
- Dust Filters: The AZZA PHOTIOS 250 may include removable dust filters (e.g., on the front, top, or bottom). Regularly remove and clean these filters by rinsing them with water or using a soft brush/vacuum. Ensure they are completely dry before reattaching.
- Interior Cleaning: Periodically open the case and use compressed air to blow dust out of fans, heatsinks, and other components. Hold fan blades in place while blowing to prevent damage.
- Exterior Cleaning: Wipe down the exterior surfaces, including the tempered glass panel, with a soft, damp cloth. Avoid abrasive cleaners that could scratch the finish.
Troubleshooting
If you encounter issues with your PC build within the AZZA PHOTIOS 250 case, consider the following common troubleshooting steps:
- No Power/System Not Booting:
- Ensure the PSU is switched on and properly connected to the wall outlet.
- Verify all power cables (24-pin ATX, 8-pin CPU, PCIe for GPU) are securely connected to the motherboard and components.
- Check that the front panel power switch cable is correctly connected to the motherboard's front panel header.
- Overheating Issues:
- Confirm all case fans and CPU cooler fans are spinning.
- Ensure proper airflow direction (intake at front, exhaust at rear/top).
- Clean any dust buildup on fans, radiators, and dust filters.
- Verify thermal paste application on the CPU cooler.
- Front Panel USB/Audio Not Working:
- Check that the USB 3.0, USB 2.0, and HD Audio cables from the front panel are correctly plugged into their respective headers on the motherboard.
- Ensure motherboard drivers are installed.
- Excessive Noise:
- Identify the source of the noise (e.g., fan, HDD vibration).
- Ensure all screws are tightened and components are securely mounted to prevent vibrations.
- Adjust fan speeds through BIOS/UEFI or fan control software.
Technical Specifications
| Specification | Value |
|---|---|
| Brand | AZZA |
| Model Number | CSAZ-250 PHOTIOS 250 |
| Colour | Black |
| Material | Tempered Glass |
| Item Dimensions (L x W x H) | 45.72 x 19.69 x 52.07 cm (18 x 7.75 x 20.5 inches) |
| Item Weight | 6.8 kg |
| Front I/O Ports | 1x USB 3.0, 3x USB 2.0 |
| Pre-installed Fans | 1x 120mm Red LED Front Fan, 1x 120mm Black Rear Fan |
| Water Cooling Support | 120mm/240mm/280mm Radiators |
| Max VGA Card Length | 380mm |
| Compatible Devices | CPU (PC Components) |
| UPC | 690568011572 |
Warranty and Support
The AZZA PHOTIOS 250 Gaming Case is covered by a manufacturer's warranty. For specific warranty terms, duration, and conditions, please refer to the documentation included with your purchase or visit the official AZZA website.
For technical support, troubleshooting assistance beyond this manual, or warranty claims, please contact AZZA customer service through their official support channels. Keep your proof of purchase handy when contacting support.