
1. Introduction
This manual provides detailed instructions for the installation, operation, maintenance, and troubleshooting of your Rain Bird 8005 Part/Full Circle Rotor. The 8005 rotor is designed for reliable and efficient landscape irrigation, offering both part-circle and full-circle operation within a single unit.
2. Safety Information
- Always turn off the water supply before installing or performing maintenance on the rotor.
- Use appropriate tools and follow all local plumbing and electrical codes.
- Keep children and pets away from the irrigation system during operation.
- Do not attempt to modify the rotor beyond the instructions provided in this manual.
3. Package Contents
Verify that all components are present before beginning installation:
- Rain Bird 8005 Part/Full Circle Rotor
- Screwdriver (for adjustments)
4. Setup and Installation
- Prepare the Site: Dig a trench for the lateral pipe and rotor body. Ensure the top of the rotor will be flush with the ground level when installed.
- Connect to Lateral Pipe: Thread the rotor onto a riser connected to the lateral irrigation pipe. Use thread sealant tape to ensure a watertight connection.
- Flush the System: Before fully securing the rotor, briefly turn on the water supply to flush out any debris from the pipes. This prevents clogging of the rotor's internal components.
- Position the Rotor: Once flushed, position the rotor so that the nozzle turret is aligned with the desired starting point of the spray pattern.
- Backfill: Carefully backfill the trench, ensuring the rotor remains upright and its top is level with the surrounding grade.
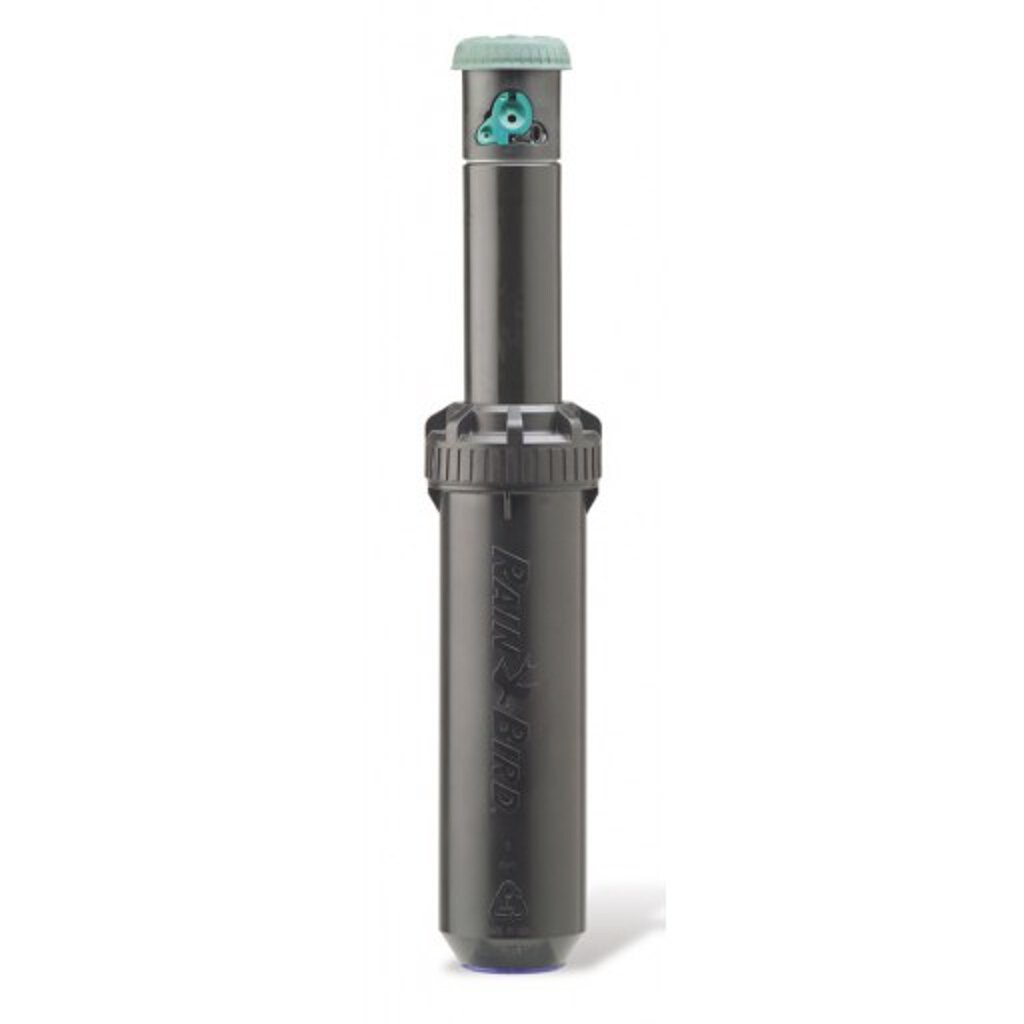
Image 1: Rain Bird 8005 Part/Full Circle Rotor. This image shows the main body of the rotor, which is designed for underground installation with the top flush to the ground.
5. Operating Instructions
The Rain Bird 8005 rotor operates automatically once connected to an irrigation controller and water supply. Ensure your controller is programmed correctly for desired watering times and durations.
6. Arc Adjustment
The 8005 rotor allows for easy arc adjustment from 50 degrees to 330 degrees part-circle, and 360 degrees non-reversing full-circle operation. The rotor features a Memory Arc that returns the rotor to its original arc setting even if tampered with.
- Identify Adjustment Slot: Locate the arc adjustment slot on the top of the rotor.
- Adjust Arc: Insert the provided slotted screwdriver into the adjustment slot.
- Increase Arc: Turn the screwdriver clockwise to increase the arc.
- Decrease Arc: Turn the screwdriver counter-clockwise to decrease the arc.
- Full Circle Operation: For 360-degree full-circle operation, adjust the arc to its maximum setting.
- Wet or Dry Adjustment: Adjustments can be made while the system is running (wet) or off (dry).
7. Maintenance
- Filter Screen Cleaning: Periodically check and clean the filter screen located at the base of the rotor. Turn off the water, unscrew the rotor cap, remove the screen, rinse it under running water, and reinsert.
- Winterization: In freezing climates, ensure the irrigation system, including rotors, is properly drained or blown out with compressed air before the first freeze to prevent damage.
- Nozzle Inspection: Inspect nozzles for clogs or damage. Replace if necessary to maintain optimal spray pattern.
8. Troubleshooting
| Problem | Possible Cause | Solution |
|---|---|---|
| Rotor not rotating | Low water pressure, clogged nozzle/filter, debris in drive mechanism | Check system pressure, clean filter screen and nozzle, flush system. |
| Uneven spray pattern | Clogged nozzle, incorrect nozzle installed, damaged nozzle | Clean or replace nozzle. Ensure correct nozzle for desired coverage. |
| Water leaking from rotor base | Loose connection, damaged seal | Tighten connection, inspect and replace seals if damaged. |
| Arc not adjusting | Adjustment mechanism jammed, incorrect procedure | Ensure screwdriver is fully inserted. Do not force adjustment. Refer to Section 6. |
9. Specifications
- Model: 8005
- Brand: Rain Bird
- Material: Plastic
- Color: Black
- Item Dimensions (L x W x H): 2.5 x 2.5 x 10.25 inches
- Arc Adjustment: 50° to 330° Part-Circle, 360° Non-Reversing Full-Circle
- Drive Mechanism: Non-strippable
- Key Features: Memory Arc, Brass reinforcing shaft of nozzle turret to riser
10. Warranty and Support
Rain Bird products are manufactured to high-quality standards and are backed by a manufacturer's warranty. For specific warranty details, please refer to the documentation included with your purchase or visit the official Rain Bird website. For technical support or further assistance, please contact Rain Bird customer service.
Rain Bird Customer Support: www.rainbird.com/contact


