
1. Introduction
This manual provides detailed instructions for the installation, operation, and maintenance of the Black Box KV04-REM SERVSWITCH CX Remote Unit, PS/2 Basic. Please read this manual thoroughly before using the device to ensure proper functionality and to prevent damage.
2. Product Overview
The Black Box KV04-REM is a remote unit designed to extend the reach of a SERVSWITCH CX KVM switch. It allows users to control a computer connected to the main KVM switch from a remote location using a PS/2 keyboard, PS/2 mouse, and a VGA monitor. This unit is ideal for environments where the computer equipment needs to be kept secure or in a separate location from the user workstation.
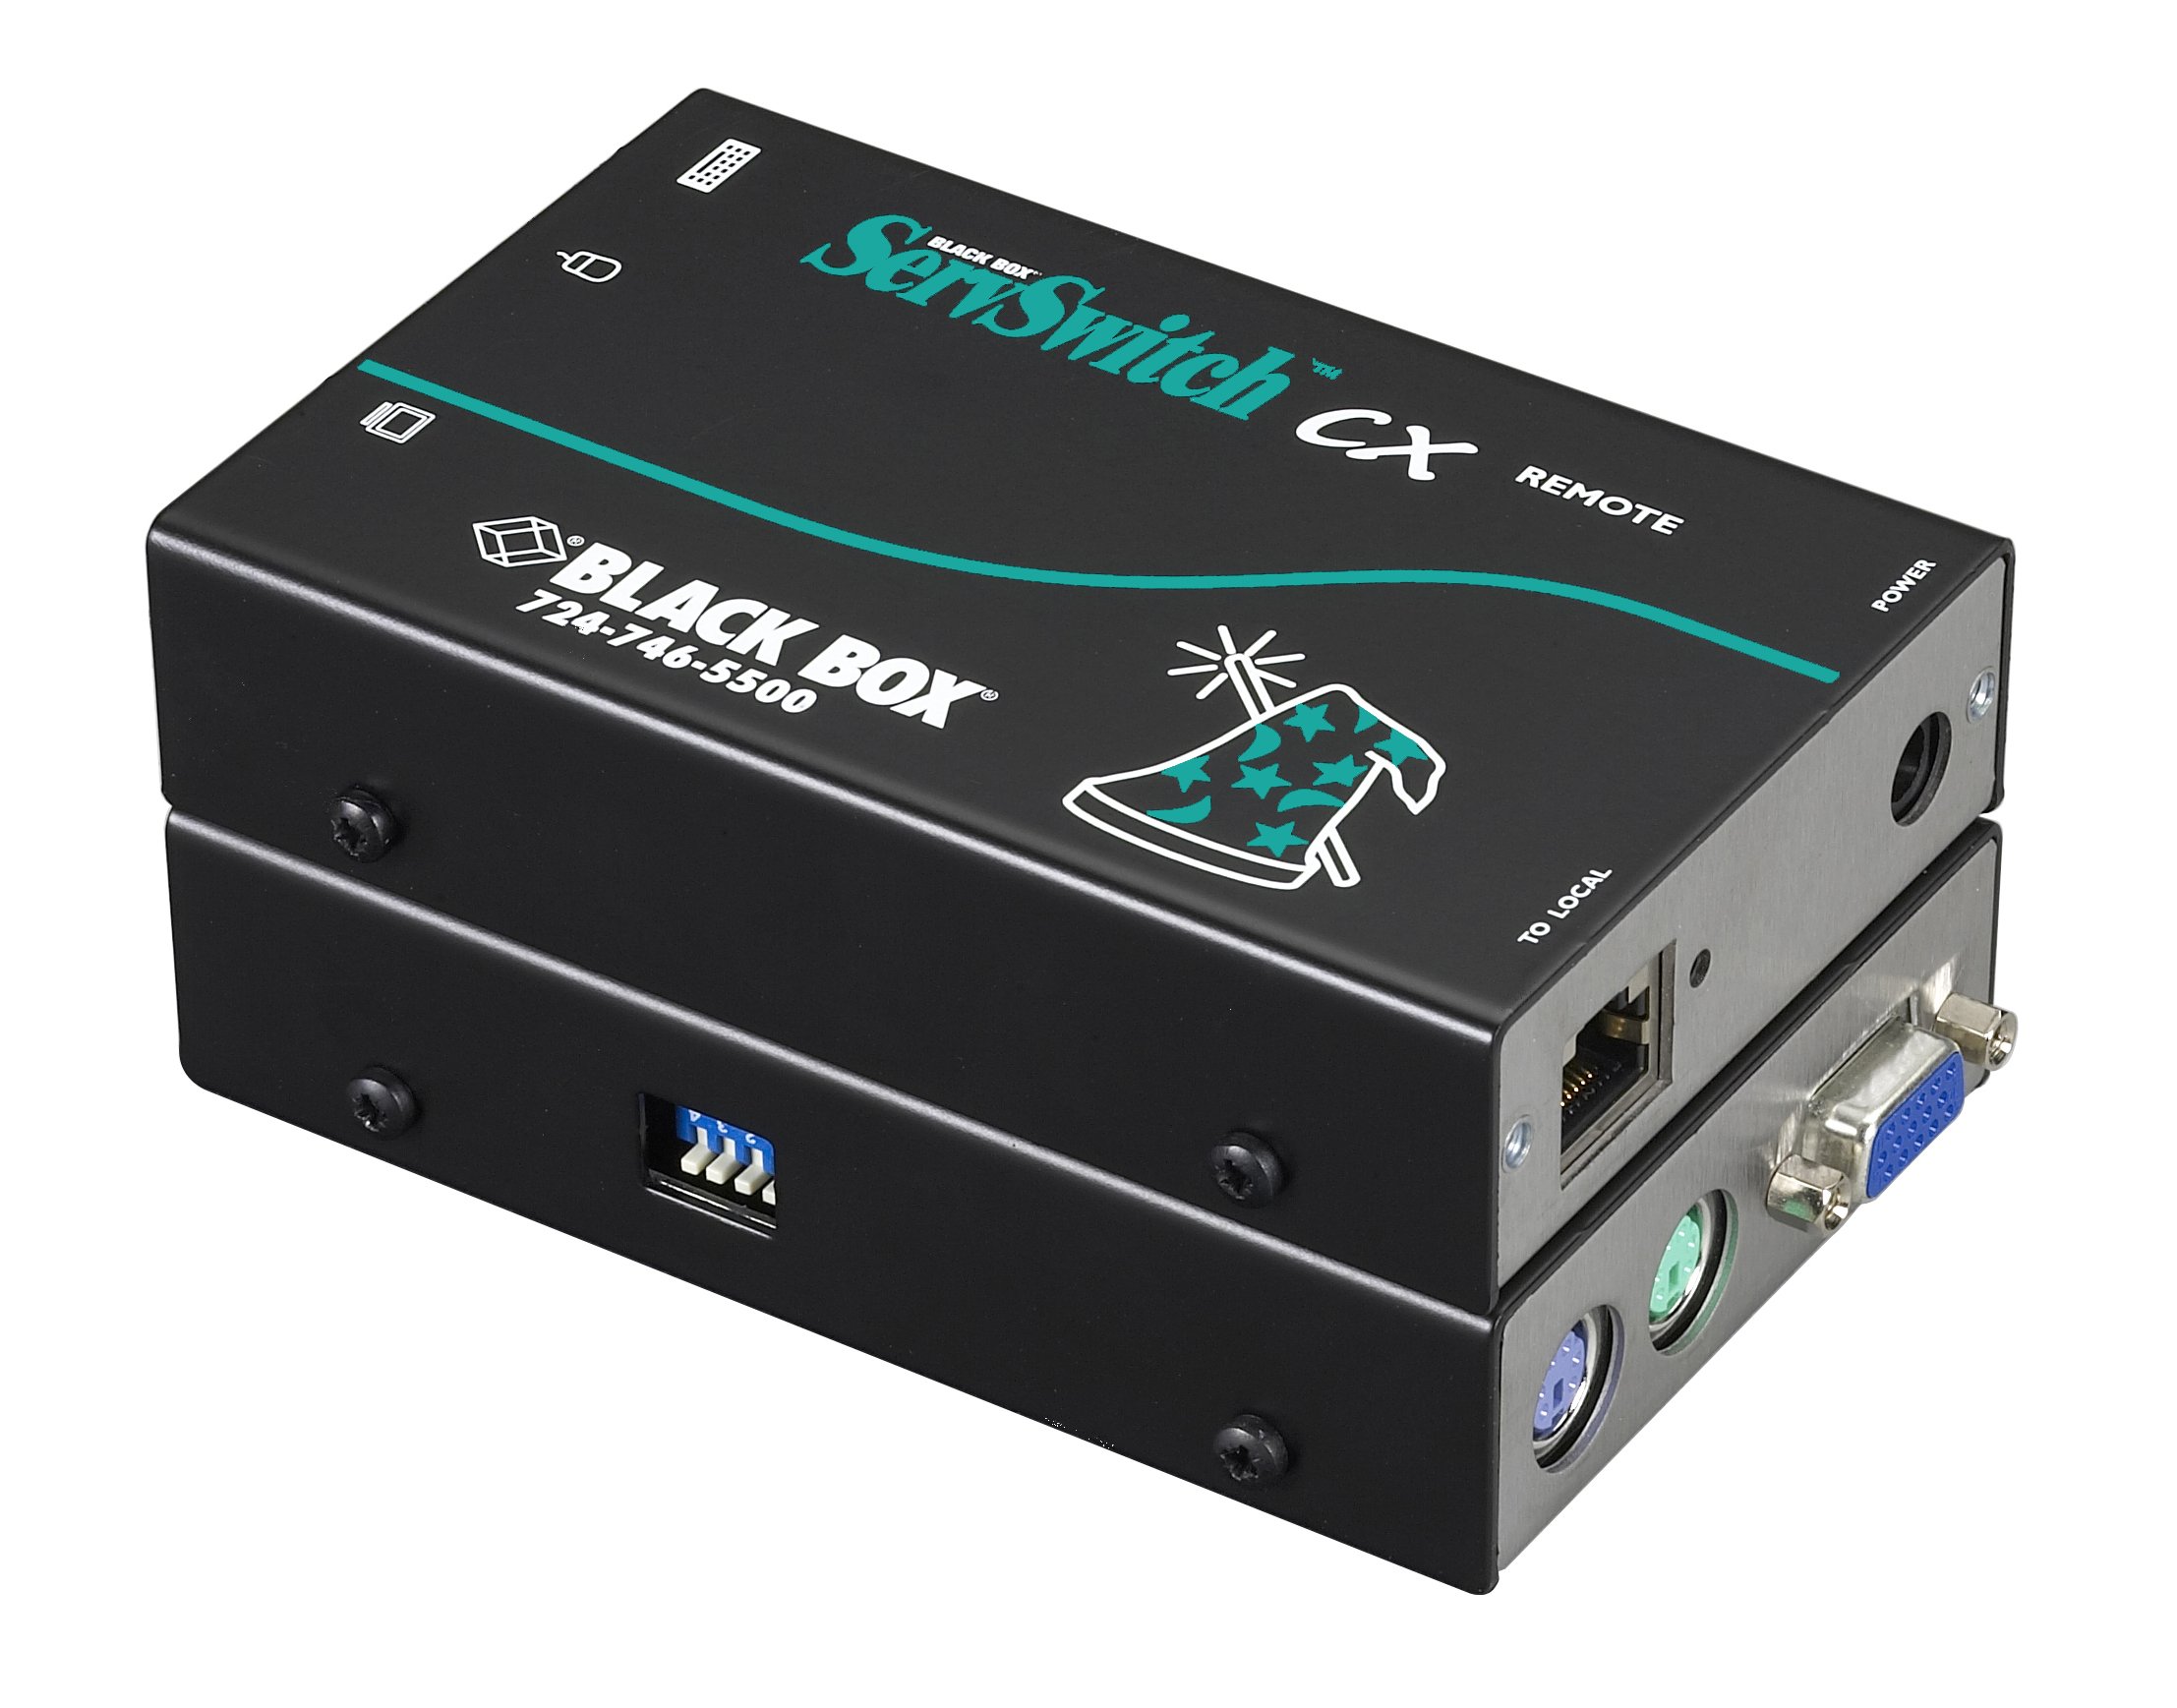
Figure 1: Front view of the Black Box KV04-REM SERVSWITCH CX Remote Unit. This image displays the compact design of the remote unit, typically featuring ports for PS/2 keyboard, PS/2 mouse, and VGA monitor on one side, and a connection port for the KVM switch on the other.
3. Package Contents
Verify that all items are present in the package:
- Black Box KV04-REM SERVSWITCH CX Remote Unit
- Power Adapter
- Quick Start Guide (or similar documentation)
- Mounting Kit (optional, depending on model variant)
If any items are missing or damaged, please contact your vendor or Black Box support immediately.
4. Setup Instructions
Follow these steps to set up your KV04-REM remote unit:
- Power Off All Devices: Ensure the main SERVSWITCH CX KVM switch, the computer(s) connected to it, and your remote workstation components (monitor, keyboard, mouse) are all powered off before making any connections.
- Connect to KVM Switch: Connect one end of the appropriate KVM extension cable (not included, typically a CATx cable) to the REMOTE UNIT PORT on the KV04-REM. Connect the other end of this cable to the corresponding REMOTE PORT on your main SERVSWITCH CX KVM switch.
- Connect Monitor: Connect your VGA monitor cable to the VGA OUT port on the KV04-REM.
- Connect Keyboard: Connect your PS/2 keyboard to the PS/2 KEYBOARD port on the KV04-REM.
- Connect Mouse: Connect your PS/2 mouse to the PS/2 MOUSE port on the KV04-REM.
- Connect Power: Connect the provided power adapter to the POWER INPUT jack on the KV04-REM, then plug the adapter into a suitable power outlet.
- Power On: First, power on the main SERVSWITCH CX KVM switch. Then, power on the computer(s) connected to the KVM switch. Finally, power on your remote monitor. The KV04-REM unit will power on automatically when connected to power.

Figure 2: Close-up view of the Black Box KV04-REM unit, highlighting the various connection ports for PS/2 keyboard, PS/2 mouse, VGA monitor, and the KVM extension cable. This image helps in identifying the correct ports during setup.
5. Operating Instructions
Once the KV04-REM is properly set up and powered on, it will function as an extension of your main SERVSWITCH CX KVM switch.
5.1 Basic Operation
- The remote unit transparently passes keyboard, mouse, and video signals between your remote workstation and the main KVM switch.
- Use your PS/2 keyboard and mouse as you normally would.
- The video output from the connected computer will be displayed on your remote VGA monitor.
5.2 Switching Computers
Computer switching is managed by the main SERVSWITCH CX KVM switch. Refer to the instruction manual for your specific SERVSWITCH CX model for details on how to switch between connected computers. This typically involves:
- Hotkeys: Specific key combinations on your keyboard (e.g., Scroll Lock + Scroll Lock, Ctrl + Ctrl).
- OSD (On-Screen Display): If your KVM switch supports it, you can use the OSD menu to select computers.
- Push Buttons: Some KVM switches have physical buttons for switching.
5.3 LED Indicators
The KV04-REM unit may feature LED indicators to show its status. Consult the main KVM switch manual or the quick start guide for specific LED meanings (e.g., power, link status).
6. Maintenance
The Black Box KV04-REM is designed for reliable operation with minimal maintenance.
- Cleaning: Use a soft, dry cloth to clean the exterior of the unit. Do not use liquid or aerosol cleaners.
- Environment: Ensure the unit is operated within its specified temperature and humidity ranges. Avoid exposing the unit to direct sunlight, excessive heat, or moisture.
- Ventilation: Do not block any ventilation openings on the unit.
7. Troubleshooting
If you encounter issues with your KV04-REM unit, refer to the following common problems and solutions:
| Problem | Possible Cause | Solution |
|---|---|---|
| No video on remote monitor. |
|
|
| Keyboard or mouse not responding. |
|
|
| Intermittent connection or poor video quality. |
|
|
If the problem persists after trying these solutions, please contact Black Box technical support.
8. Specifications
| Feature | Detail |
|---|---|
| Brand | Black Box |
| Model Number | KV04-REM |
| Product Dimensions | 29.85 x 7.11 x 19.05 cm |
| Item Weight | 920 g |
| Item Height | 19.05 cm |
| Item Width | 7.11 cm |
| Connectivity | PS/2 (Keyboard, Mouse), VGA (Video) |
| Power Source | External Power Adapter (Included) |
| Batteries Required | No |
| First Available Date | 24 September 2020 |
9. Warranty and Support
For warranty information and technical support, please refer to the documentation included with your product or visit the official Black Box website. You can typically find support resources, FAQs, and contact information for technical assistance there.
Black Box Website: www.blackbox.com