1. Introduction
This instruction manual provides essential information for the safe and proper use of your Nerf Modulus Recon MK II Blaster. The Recon MK II is a customizable dart blaster designed for active play, featuring a 6-dart clip, 6 Elite darts, and removable stock and barrel extension. It is part of the Nerf Modulus system, allowing for various configurations with compatible accessories (sold separately).
Please read this manual thoroughly before assembly and operation. Keep this manual for future reference.
2. Safety Information
- WARNING: Do not aim at eyes or face.
- WARNING: Use only darts designed for this product. Do not modify darts or dart blaster.
- Recommended for ages 8 and up.
- Always ensure a clear firing path and be aware of your surroundings.
- Keep fingers clear of moving parts during priming and firing.
3. Package Contents
Verify that all items are present in your package:
- Nerf Modulus Recon MK II Blaster
- 6-dart clip
- 6 Nerf Elite darts
- Removable stock
- Removable barrel extension

Image: Nerf Modulus Recon MK II Blaster in its retail packaging, displaying all included components.
4. Setup and Assembly
4.1 Attaching the Stock
- Locate the attachment point at the rear of the blaster.
- Align the removable stock with the attachment point.
- Slide the stock firmly into place until it clicks securely.

Image: Attaching the removable stock to the blaster.
4.2 Attaching the Barrel Extension
- Locate the attachment point at the front of the blaster.
- Align the barrel extension with the attachment point.
- Push the barrel extension firmly onto the front of the blaster until it is secure.
4.3 Loading the 6-Dart Clip
- Take the 6-dart clip and the Nerf Elite darts.
- Insert each dart individually into the clip, ensuring the orange tip faces forward and the dart is fully seated.
- Do not force darts into the clip if they do not fit easily.

Image: Inserting the loaded 6-dart clip into the blaster.
4.4 Inserting the Loaded Clip
- Locate the magazine well on the underside of the blaster.
- Insert the loaded 6-dart clip into the magazine well until it locks into place.
- Ensure the clip is fully seated before priming the blaster.
Video: Nerf Modulus Recon MK II Blaster Setup and Operation
Video: This official video demonstrates the assembly of the stock and barrel, loading the dart clip, and the pump-to-fire action of the Nerf Modulus Recon MK II Blaster.
5. Operating the Blaster
5.1 Priming and Firing
- Ensure the 6-dart clip is fully inserted and loaded with Nerf Elite darts.
- Grip the priming slide located on top of the blaster.
- Pull the priming slide all the way back until it locks into place, then push it forward until it clicks. This action loads a dart into the firing chamber.
- Aim the blaster at a safe target, away from eyes and face.
- Pull the trigger to fire a dart.
- To fire another dart, repeat the priming action (pull back and push forward the priming slide) and then pull the trigger.
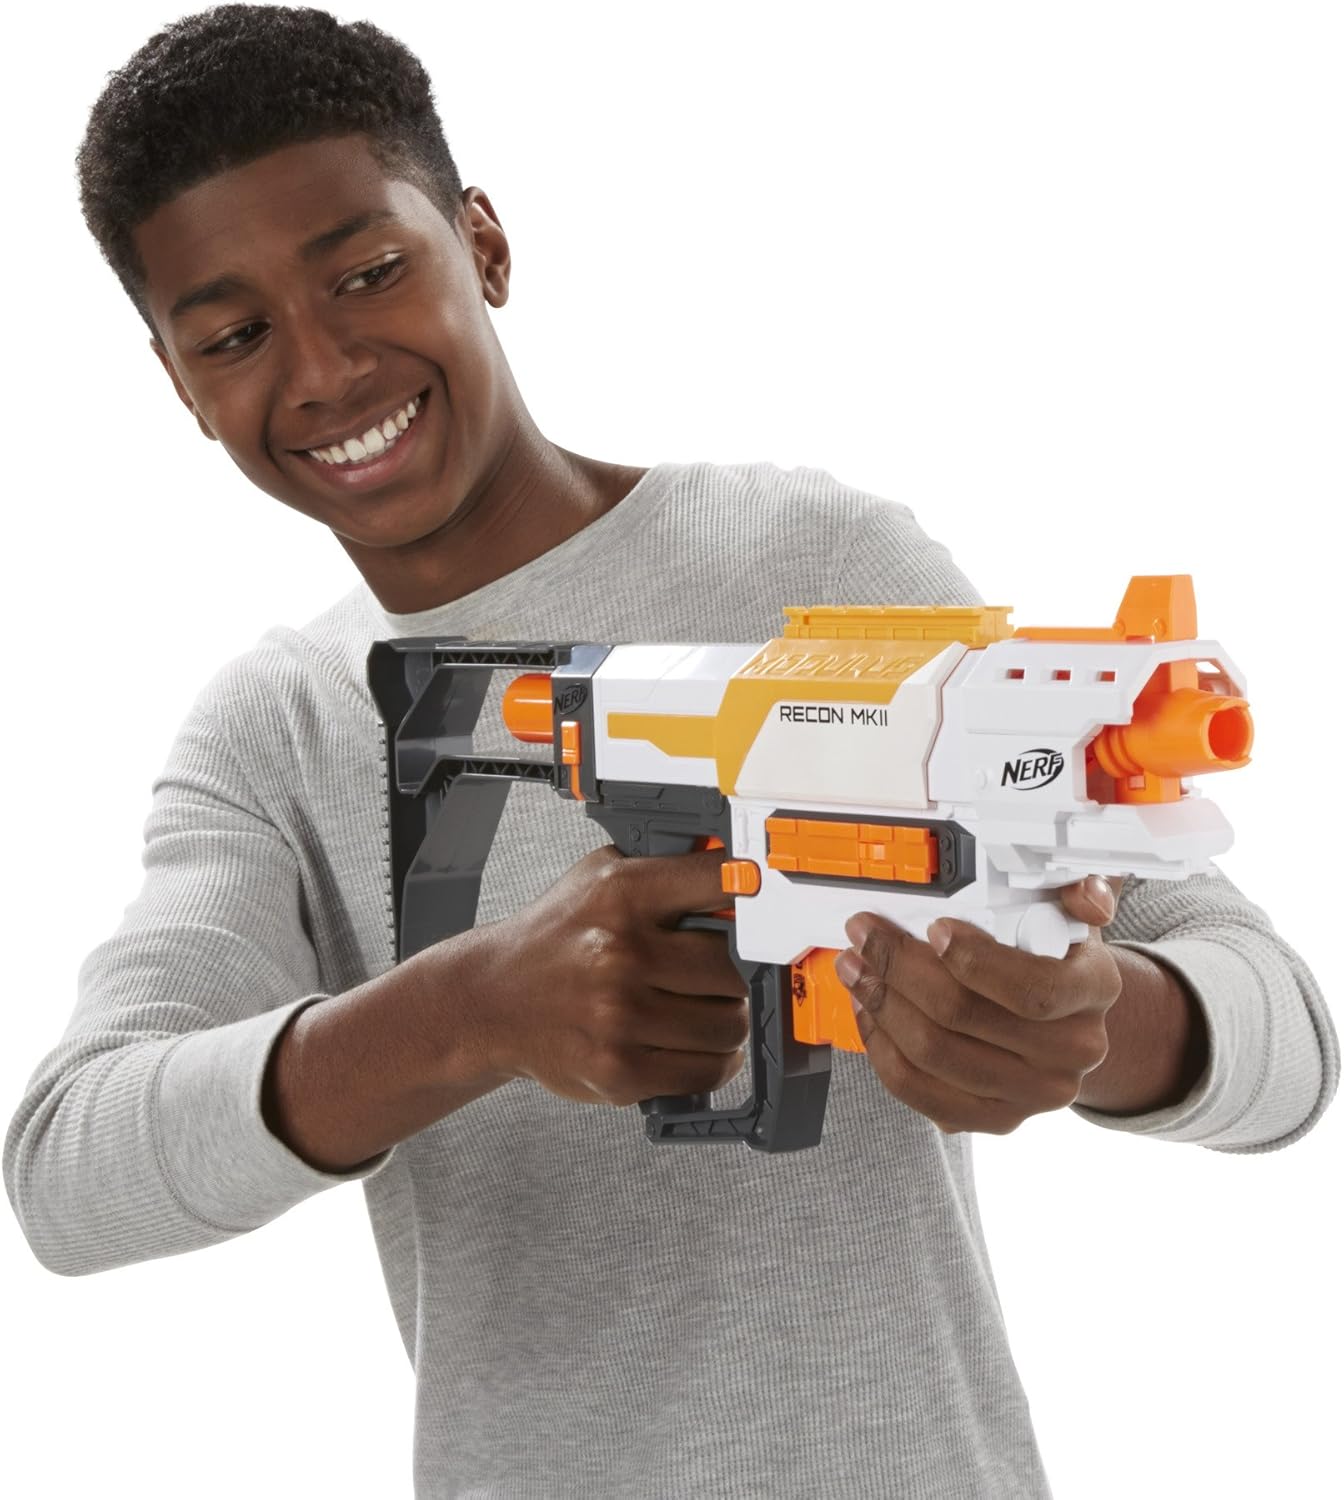
Image: A person demonstrating the firing stance with the Nerf Modulus Recon MK II Blaster.
5.2 Customization with Modulus Accessories
The Nerf Modulus Recon MK II Blaster is compatible with other Nerf Modulus accessories (sold separately). These accessories can be attached to the tactical rails and attachment points on the blaster to create over 1000 possible blaster combinations. Refer to the instructions included with individual Modulus accessories for specific attachment details.
6. Maintenance
- Cleaning: Wipe the blaster with a damp cloth to remove dust and dirt. Do not submerge the blaster in water or use harsh cleaning chemicals.
- Dart Care: Use only genuine Nerf Elite darts. Inspect darts regularly for damage. Damaged or worn darts can affect performance and may cause jams. Replace damaged darts.
- Storage: Store the blaster and darts in a cool, dry place away from direct sunlight and extreme temperatures.
7. Troubleshooting
| Problem | Possible Cause | Solution |
|---|---|---|
| Dart does not fire or jams. |
|
|
| Darts fire weakly or inconsistently. |
|
|
8. Specifications
- Model Number: B4616
- Product Dimensions: 2.64 x 19.61 x 12.52 inches (6.7 x 49.8 x 31.8 cm)
- Item Weight: 1.58 pounds (0.72 kg)
- Recommended Age: 8 years and up
- Dart Type: Nerf Elite Darts
- Capacity: 6-dart clip
- Manufacturer: Hasbro
9. Warranty and Support
For warranty information, product support, or to purchase replacement parts and accessories, please visit the official Nerf website or contact Hasbro customer service.
Nerf Official Website: www.hasbro.com/nerf
Please have your product model number (B4616) available when contacting support.