
Introduction
This manual provides instructions for the assembly, installation, and maintenance of the Easy-Up EZ NP-60-200 Non-Penetrating Roof Mount. This mount is designed for securing satellite dishes, wireless internet antennas, weather stations, and similar equipment on flat roof surfaces without requiring roof penetration.
Key Features:
- Non-penetrating design for flat roofs.
- Utilizes standard concrete blocks for ballast.
- Constructed from steel for durability.
- Base dimensions: 35 inches x 28 inches.
- Includes a 53-inch long mast.
- 18 gauge, clear coat zinc-coated finish.
- Manufactured in the USA.
Safety Information
- Professional Installation Recommended: Always consult with a qualified professional to determine appropriate ballast requirements and to assess roof integrity before installation.
- Weight: The mount itself weighs approximately 26 pounds. When loaded with concrete blocks, the total weight will be substantial. Ensure the roof structure can support the combined weight of the mount, ballast, and attached equipment.
- Working at Heights: Exercise extreme caution when working on a roof. Use appropriate safety gear, including fall protection.
- Tools: Use correct tools for assembly and installation. Ensure all bolts and nuts are securely tightened.
- Weather Conditions: Avoid installation during high winds, rain, or other adverse weather conditions.
- Electrical Hazards: Be aware of any electrical lines or components on the roof. Maintain safe distances from power sources.
Package Contents
Verify that all components are present before beginning assembly. If any parts are missing or damaged, contact customer support.
- Main Base Frame Components (multiple pieces)
- Mast (53 inches long, 2 inches diameter)
- Support Arms/Braces
- Hardware Kit (bolts, nuts, washers)
Setup and Installation
This section outlines the general steps for assembling and installing the non-penetrating roof mount. Refer to the assembly video for visual guidance.
Important Considerations:
- Roof Type: This mount is designed exclusively for flat roofs. It does not include pole angle adjustment and is fixed vertically.
- Ballast: The mount requires standard concrete blocks (not included) to anchor it to the roof. The quantity of blocks needed will depend on the size and weight of the attached equipment and local wind load requirements.
- Tools Required: A 1/2-inch wrench (ratcheting wrench recommended) is necessary for tightening bolts and nuts. Avoid using channel locks or vice grips on bolts to prevent stripping the galvanized coating.
Assembly Steps:
- Unpack all components and verify against the package contents list.
- Assemble the base frame according to the provided diagrams or video instructions. Ensure all connections are secure.
- Attach the support arms to the base frame.
- Insert the 53-inch mast into the designated receiver on the base frame. Secure it firmly with the provided hardware.
- When attaching components with bolts and nuts, ensure the head of the bolt is exposed on the exterior or underside to prevent potential damage to the roof membrane.
- Place washers on the same side as the locking nuts for proper fastening.
Mount Assembly Video:
Watch this video for a visual guide on assembling the Easy-Up Non-Penetrating Roof Mount.
This video demonstrates the step-by-step assembly process for the roof mount, including how to connect the frame components and secure the mast.
Product Image:
An image of the fully assembled Easy-Up EZ NP-60-200 Non-Penetrating Roof Mount.
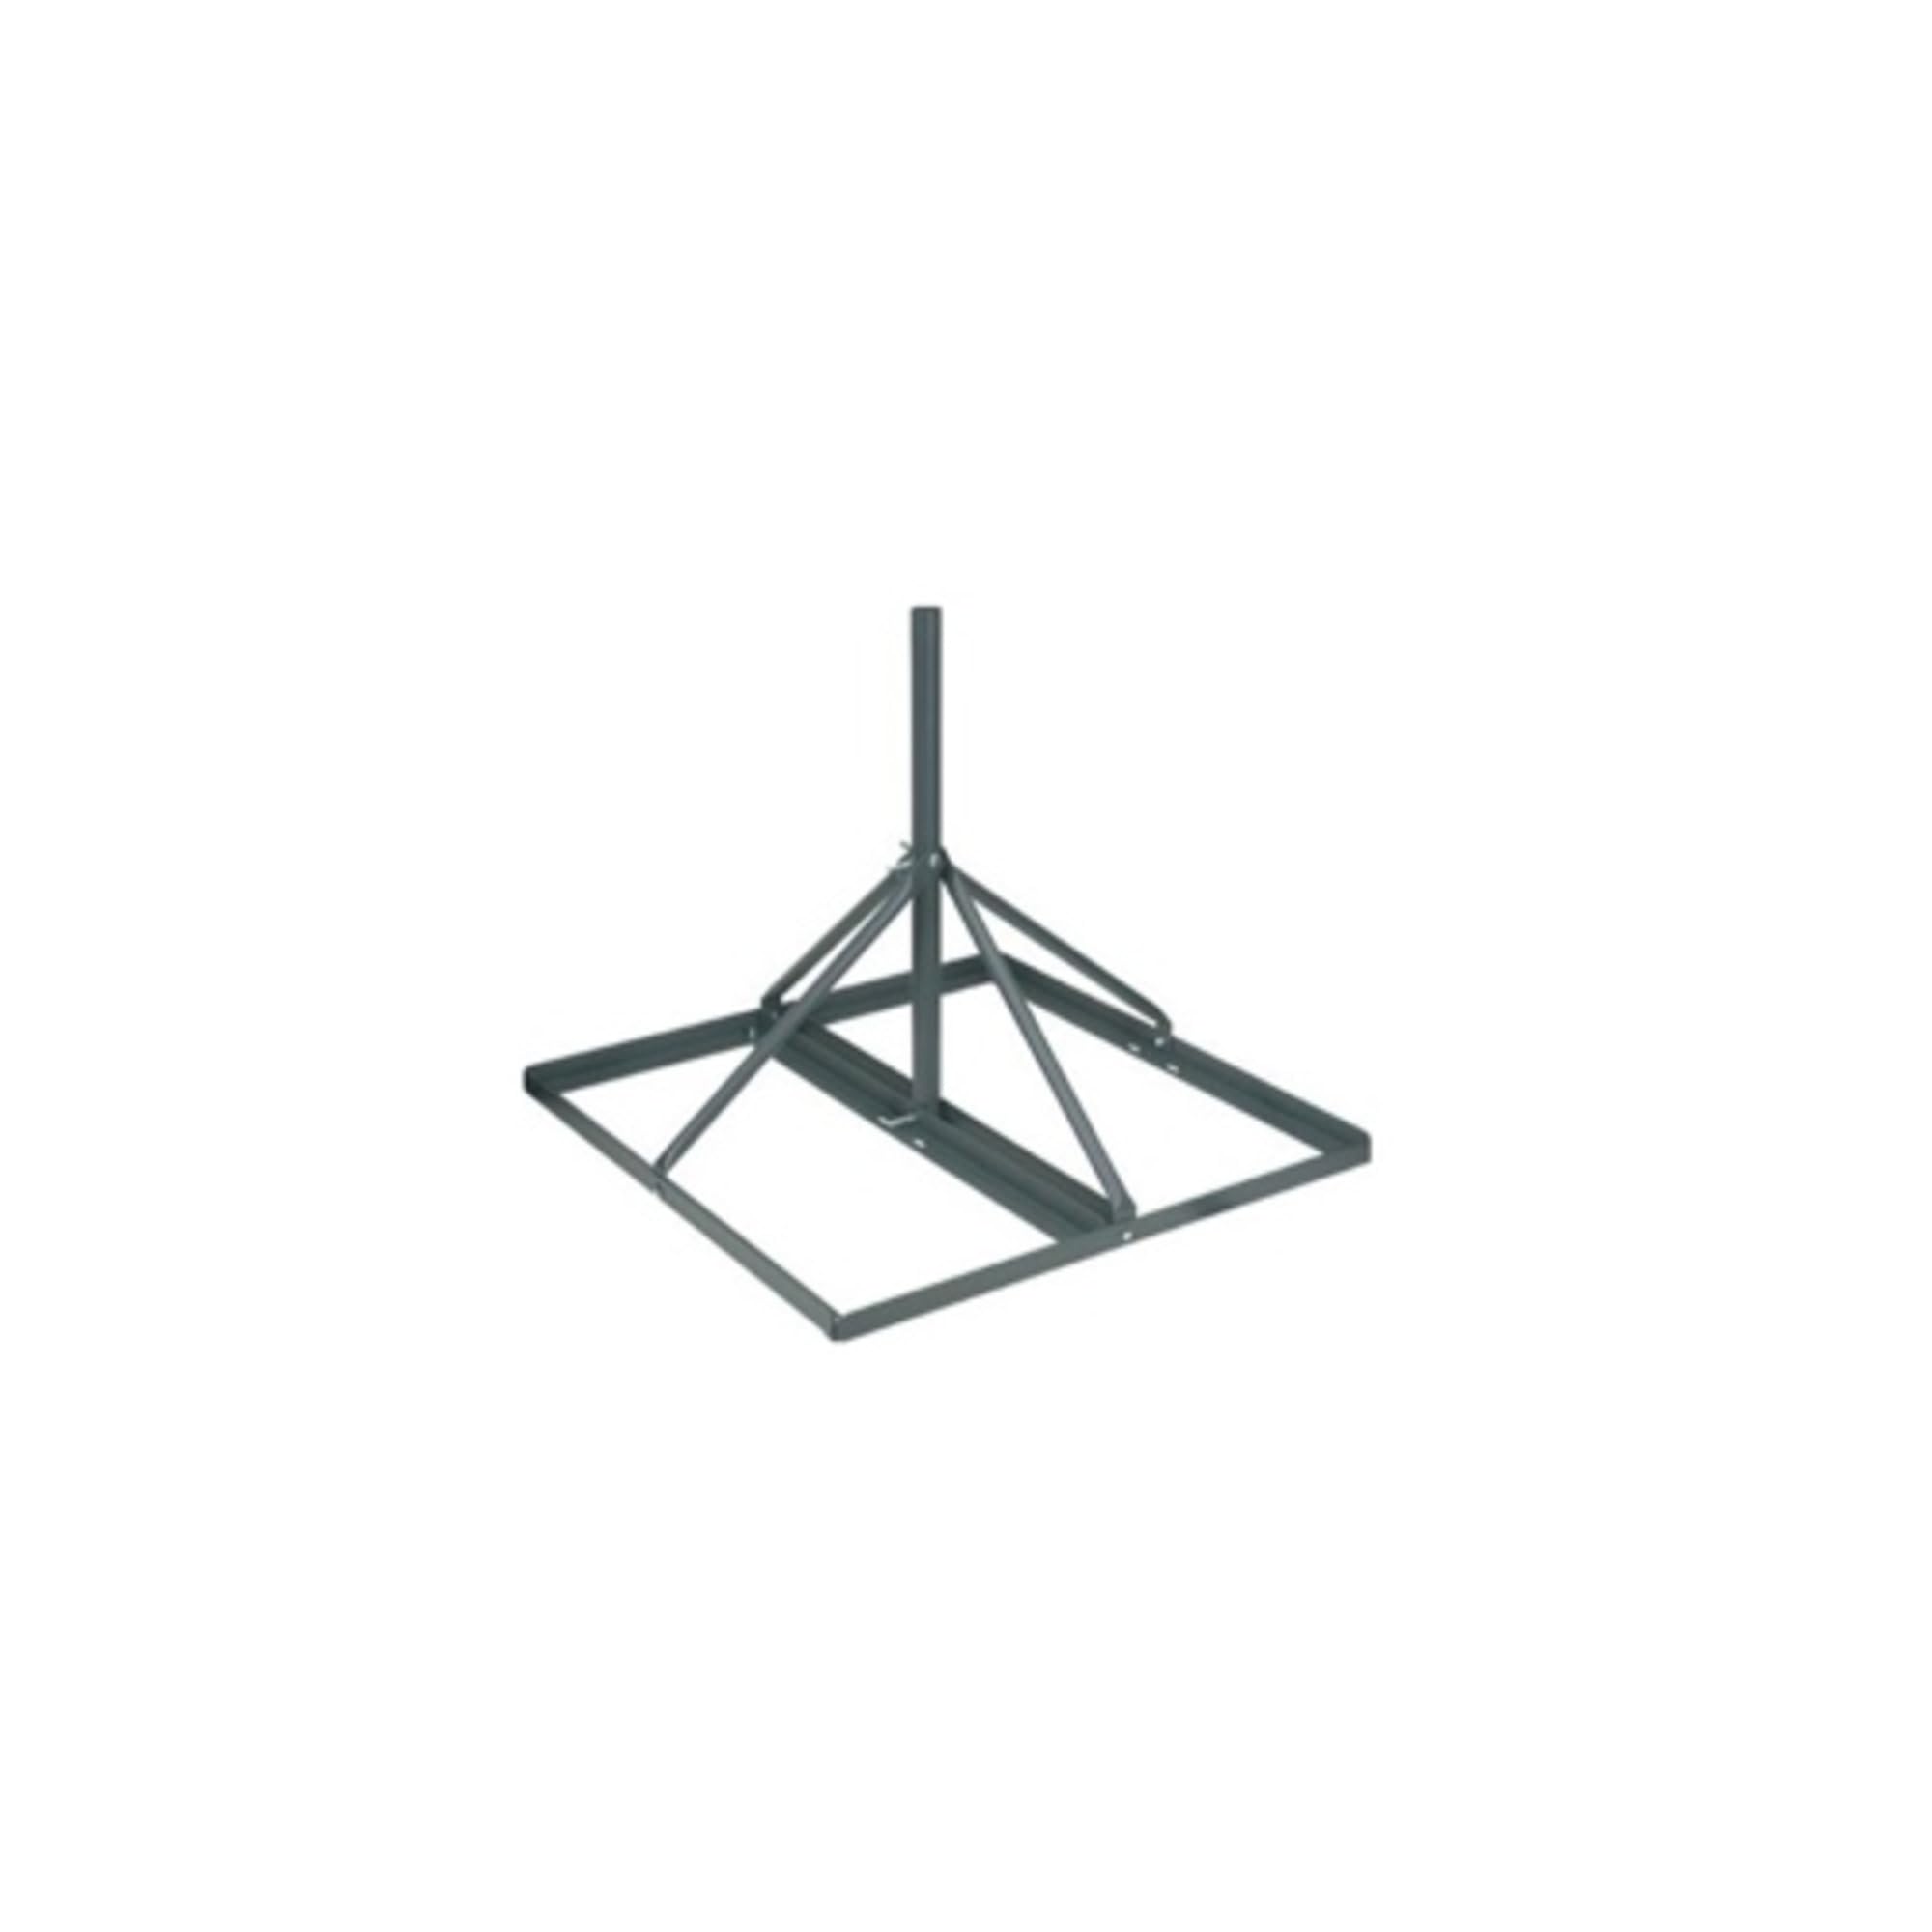
Image showing the complete Easy-Up EZ NP-60-200 Non-Penetrating Roof Mount, featuring the base frame and the vertical mast, ready for ballast and equipment attachment.
Operating Instructions (Post-Installation Checks)
Once the mount is assembled and positioned on the roof with adequate ballast, perform the following checks:
- Stability Check: Ensure the mount is level and stable. It should not rock or shift under normal conditions.
- Ballast Placement: Confirm that concrete blocks are correctly placed within the frame to provide sufficient weight against wind uplift and movement.
- Equipment Attachment: Secure your satellite dish, antenna, or other equipment to the mast using appropriate clamps and hardware (not included with the mount). Ensure the equipment is level and oriented correctly for optimal performance.
- Cable Management: Route any necessary cables securely to prevent tripping hazards or damage from wind and weather.
Maintenance
Regular maintenance helps ensure the longevity and continued performance of your roof mount.
- Periodic Inspection: Annually, or after severe weather events, inspect the mount for any signs of corrosion, loose bolts, or structural damage.
- Tighten Fasteners: Re-tighten any bolts and nuts that may have loosened over time due to vibration or thermal expansion/contraction.
- Clear Debris: Remove any accumulated leaves, dirt, or other debris from around the base of the mount to prevent water pooling and potential corrosion.
- Check Ballast: Ensure concrete blocks remain securely in place and have not shifted.
Troubleshooting
This section addresses common issues you might encounter.
- Mount Instability: If the mount appears unstable, verify that sufficient ballast (concrete blocks) has been used and that all bolts are securely tightened. Ensure the mount is placed on a truly flat surface.
- Corrosion: While the mount is zinc-coated, prolonged exposure to harsh elements can lead to corrosion. Inspect regularly and apply rust-inhibiting paint if necessary to affected areas.
- Equipment Signal Issues: If your attached equipment (e.g., satellite dish, antenna) is experiencing signal problems, first check the equipment itself and its connections. Then, verify that the mount is stable, level, and that the mast is plumb (perfectly vertical). Any tilt can affect signal reception.
Specifications
| Specification | Detail |
|---|---|
| Model Number | EZ NP-60-200 |
| Brand | Easy-Up |
| Product Dimensions (L x W x H) | 53"L x 28"W x 53"H |
| Base Dimensions | 35" x 28" |
| Mast Length | 53 inches |
| Mast Diameter | 2 inches |
| Material | Steel, 18 gauge, clear coat zinc-coated |
| Item Weight | 26 pounds |
| UPC | 636134500514 |
| Manufacturer | Easy Up |
Warranty and Support
Specific warranty information for the Easy-Up EZ NP-60-200 Non-Penetrating Roof Mount is not provided in the available product data. Please refer to the manufacturer's official website or contact your retailer for warranty details.
For customer support, technical assistance, or to inquire about replacement parts, please contact Easy-Up directly or the authorized dealer from whom you purchased the product.
