
1. Product Overview
This manual provides instructions for the Complete Tractor 1703-0000 Carburetor. This carburetor is designed as a replacement component for specific Case/International Harvester tractor models, ensuring proper fuel delivery to the engine. It is suitable for service shops, technicians, and DIY users performing maintenance, repair, or equipment servicing tasks.
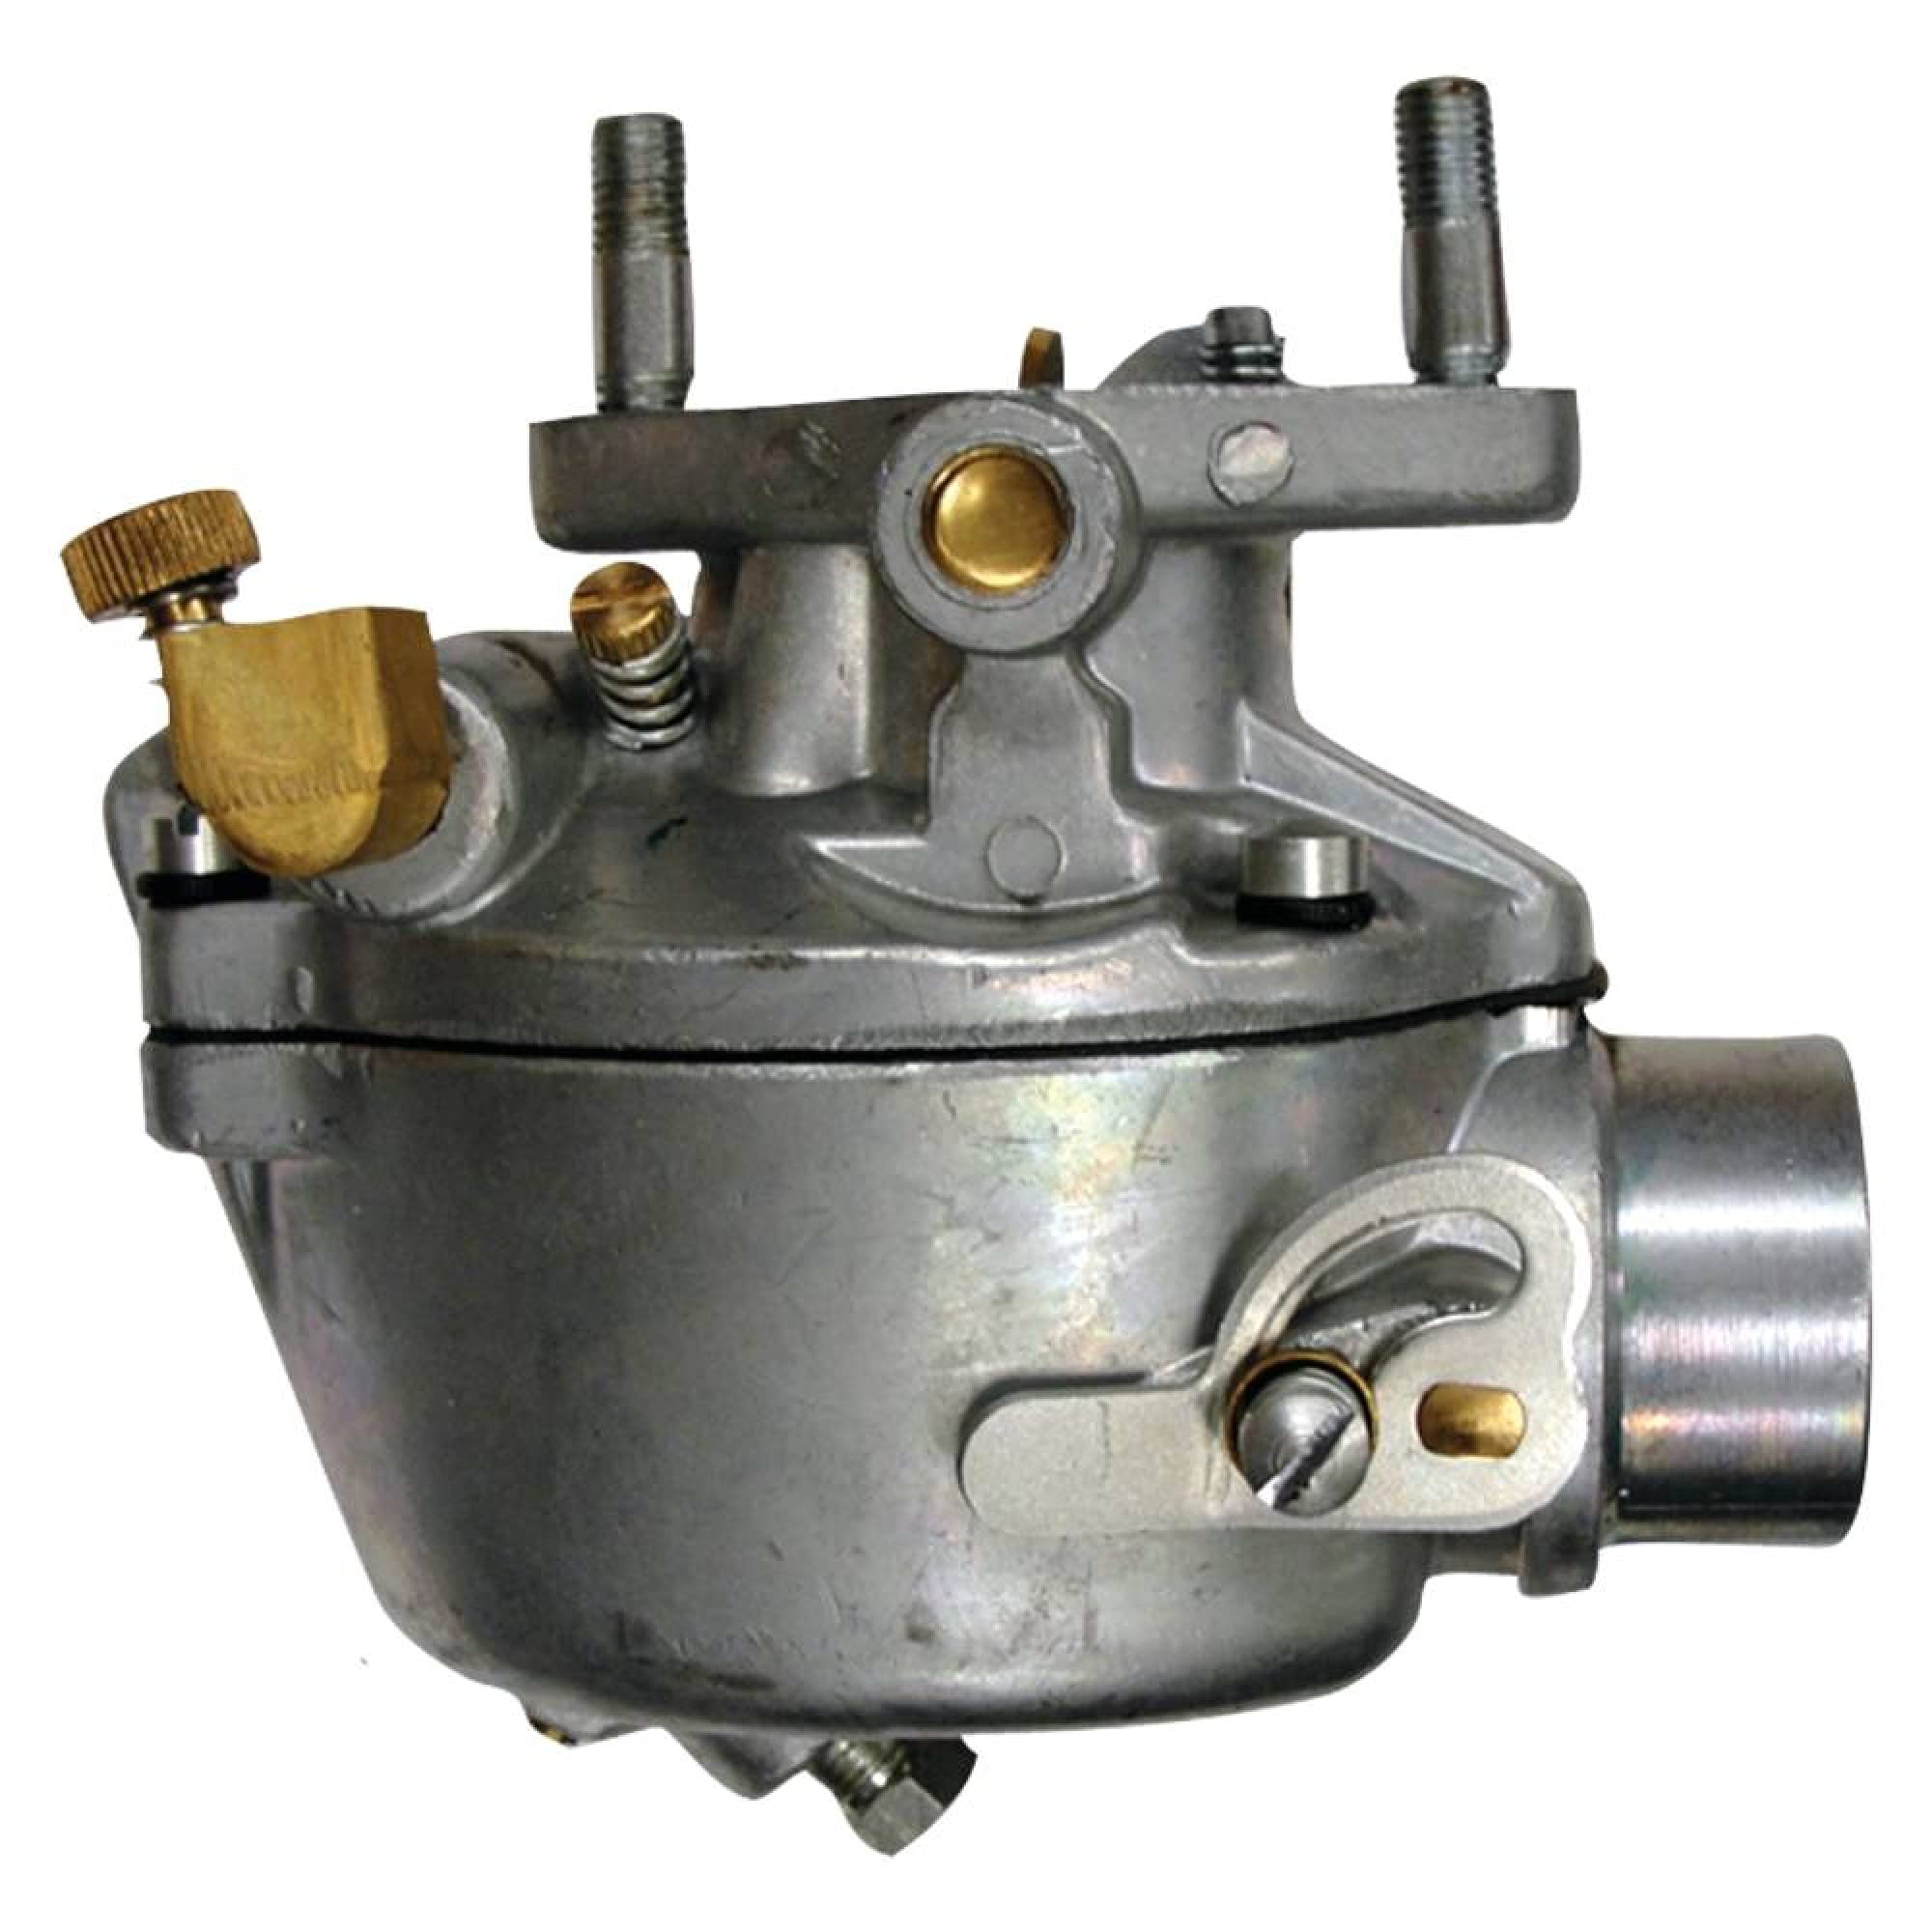
Image 1.1: Complete Tractor 1703-0000 Carburetor. This image shows the carburetor unit along with a blue mounting gasket, highlighting its primary components and the included gasket for installation.
2. Compatibility
The Complete Tractor 1703-0000 Carburetor is compatible with the following Case/International Harvester tractor models and OEM part numbers:
- Tractor Models: A, AV, B, BN, C, Super A, Super C
- OEM Part Numbers: 352376R92, 354184R93, 355485R91, 373957R91, 52499DB, 69401D, TSX156, TSX157, TSX319, X-IHS420
This carburetor is specifically designed for C113 gas engines. Always verify the part fits your specific equipment before purchasing or installing.
3. Specifications
| Feature | Detail |
|---|---|
| Model Number | 1703-0000 |
| Brand | Complete Tractor |
| Gasket | Included |
| Style | Marvel Schebler |
| Engine Compatibility | C113 gas engines |
| Mounting Studs | 2 3/8" CTC (Center-to-Center) |
| Exterior Finish | Machined |
| Vehicle Service Type | Tractor |
| GTIN / UPC | 611188597468 |
4. Setup and Installation Notes
Before beginning installation, ensure the engine is cool and the fuel system is depressurized. Always refer to your tractor's service manual for specific removal and installation procedures.
- Preparation: Disconnect the battery and ensure no open flames or sparks are present. Drain any fuel from the old carburetor and fuel lines if necessary.
- Removal: Carefully disconnect all fuel lines, linkages, and electrical connections (if any) from the old carburetor. Remove the mounting nuts or bolts securing the old carburetor to the manifold.
- Gasket Installation: The new carburetor includes a mounting gasket. Ensure the mating surfaces on the manifold and carburetor are clean and free of debris. Position the new gasket correctly between the carburetor and the manifold.
- Mounting: Place the new carburetor onto the manifold, aligning the mounting studs (which are 2 3/8" CTC) with the holes. Secure with appropriate nuts, tightening them evenly to prevent warping.
- Connections: Reconnect all fuel lines, linkages, and electrical connections. Ensure all connections are secure and free of leaks.
- Initial Fueling: Before starting, prime the fuel system if required by your tractor model. Check for any fuel leaks.

Image 4.1: Side view of the 1703-0000 Carburetor. This image provides a detailed side perspective, showing the various ports and adjustment screws that may be accessed during installation and tuning.
5. Operating and Initial Adjustments
New carburetors are not pre-adjusted to specific engine requirements due to the age and wear variances of tractors. Therefore, it may be necessary to adjust the mixture, idle, and float settings for optimal performance.
- Engine Start-up: After installation, start the engine. It may run rough initially until the fuel system stabilizes.
- Idle Adjustment: Allow the engine to warm up to operating temperature. Adjust the idle speed screw to achieve the manufacturer's recommended idle RPM for your tractor model.
- Mixture Adjustment: The fuel-air mixture screw controls the richness or lean-ness of the fuel mixture. Turn the screw slowly in or out while listening to the engine. Adjust for the smoothest running and highest RPM, then back off slightly to a point where the engine runs smoothly without hesitation. Consult your tractor's service manual for specific mixture adjustment procedures and initial settings.
- Float Adjustment: Float level adjustment is typically performed during carburetor disassembly. If the engine experiences fuel starvation or flooding, the float level may need to be checked and adjusted according to Marvel Schebler specifications for the TSX series carburetors. This usually involves bending the float arm to achieve the correct height.
Always make small adjustments and observe the engine's response. If you are unsure about any adjustment, consult a qualified technician or your tractor's service manual.
6. Maintenance
Regular maintenance of your carburetor ensures long-term performance and reliability. While specific maintenance intervals vary by usage and environment, general guidelines include:
- Fuel Quality: Use clean, fresh fuel. Stale or contaminated fuel can lead to deposits and blockages within the carburetor.
- Fuel Filter: Regularly inspect and replace the fuel filter to prevent contaminants from reaching the carburetor.
- Air Filter: Ensure the engine's air filter is clean and properly installed to prevent dirt and debris from entering the carburetor and engine.
- Inspection: Periodically inspect fuel lines and connections for leaks or damage. Check for any loose components on the carburetor.
- Cleaning: If performance issues arise, a carburetor cleaning may be necessary. This typically involves disassembling the carburetor and cleaning its passages with a specialized carburetor cleaner. This task should be performed by individuals familiar with carburetor mechanics.
7. Troubleshooting Common Issues
If you experience issues after installing the new carburetor, consider the following troubleshooting steps:
- Engine Not Starting or Hard Starting:
- Check fuel supply: Ensure there is fuel in the tank and the fuel valve is open.
- Verify fuel flow: Check for clogged fuel filters or lines.
- Spark: Confirm spark plugs are firing correctly.
- Mixture adjustment: The carburetor's mixture may be too rich or too lean. Refer to Section 5 for adjustment.
- Float level: Incorrect float level can cause flooding or fuel starvation.
- Rough Idling or Stalling:
- Idle speed adjustment: Adjust the idle speed screw (Section 5).
- Mixture adjustment: Fine-tune the fuel-air mixture (Section 5).
- Vacuum leaks: Check for leaks around the carburetor mounting gasket or manifold.
- Lack of Power or Poor Acceleration:
- Mixture adjustment: The engine may be running too lean or too rich under load.
- Fuel delivery: Ensure adequate fuel flow to the carburetor.
- Air filter: A clogged air filter can restrict airflow.
- Fuel Leaks:
- Check all fuel line connections for tightness.
- Inspect the carburetor mounting gasket for proper sealing.
- Float level: An excessively high float level can cause fuel to overflow.
If issues persist after basic troubleshooting, it is recommended to consult a professional mechanic or the manufacturer's support.
8. Warranty Information
The Complete Tractor 1703-0000 Carburetor comes with a 1-Year Manufacturer Warranty. This warranty covers defects in materials and workmanship under normal use and service. Please retain your proof of purchase for any warranty claims. For specific terms and conditions, refer to the warranty documentation provided with your product or contact Complete Tractor customer service.
9. Customer Support
For further assistance, technical support, or warranty inquiries regarding your Complete Tractor 1703-0000 Carburetor, please contact Complete Tractor customer service. You can typically find contact information on the product packaging or the official Complete Tractor website.
When contacting support, please have your product model number (1703-0000) and proof of purchase readily available.