
1. Product Overview
The Makita GK700-E Gasket Kit is an O.E.M. (Original Equipment Manufacturer) authorized replacement part designed for various Makita models. This kit ensures a proper seal within your power tool, preventing leaks and maintaining optimal performance. It is a genuine Makita replacement part, identified by Part Number GK700-E, and is manufactured in the United States.
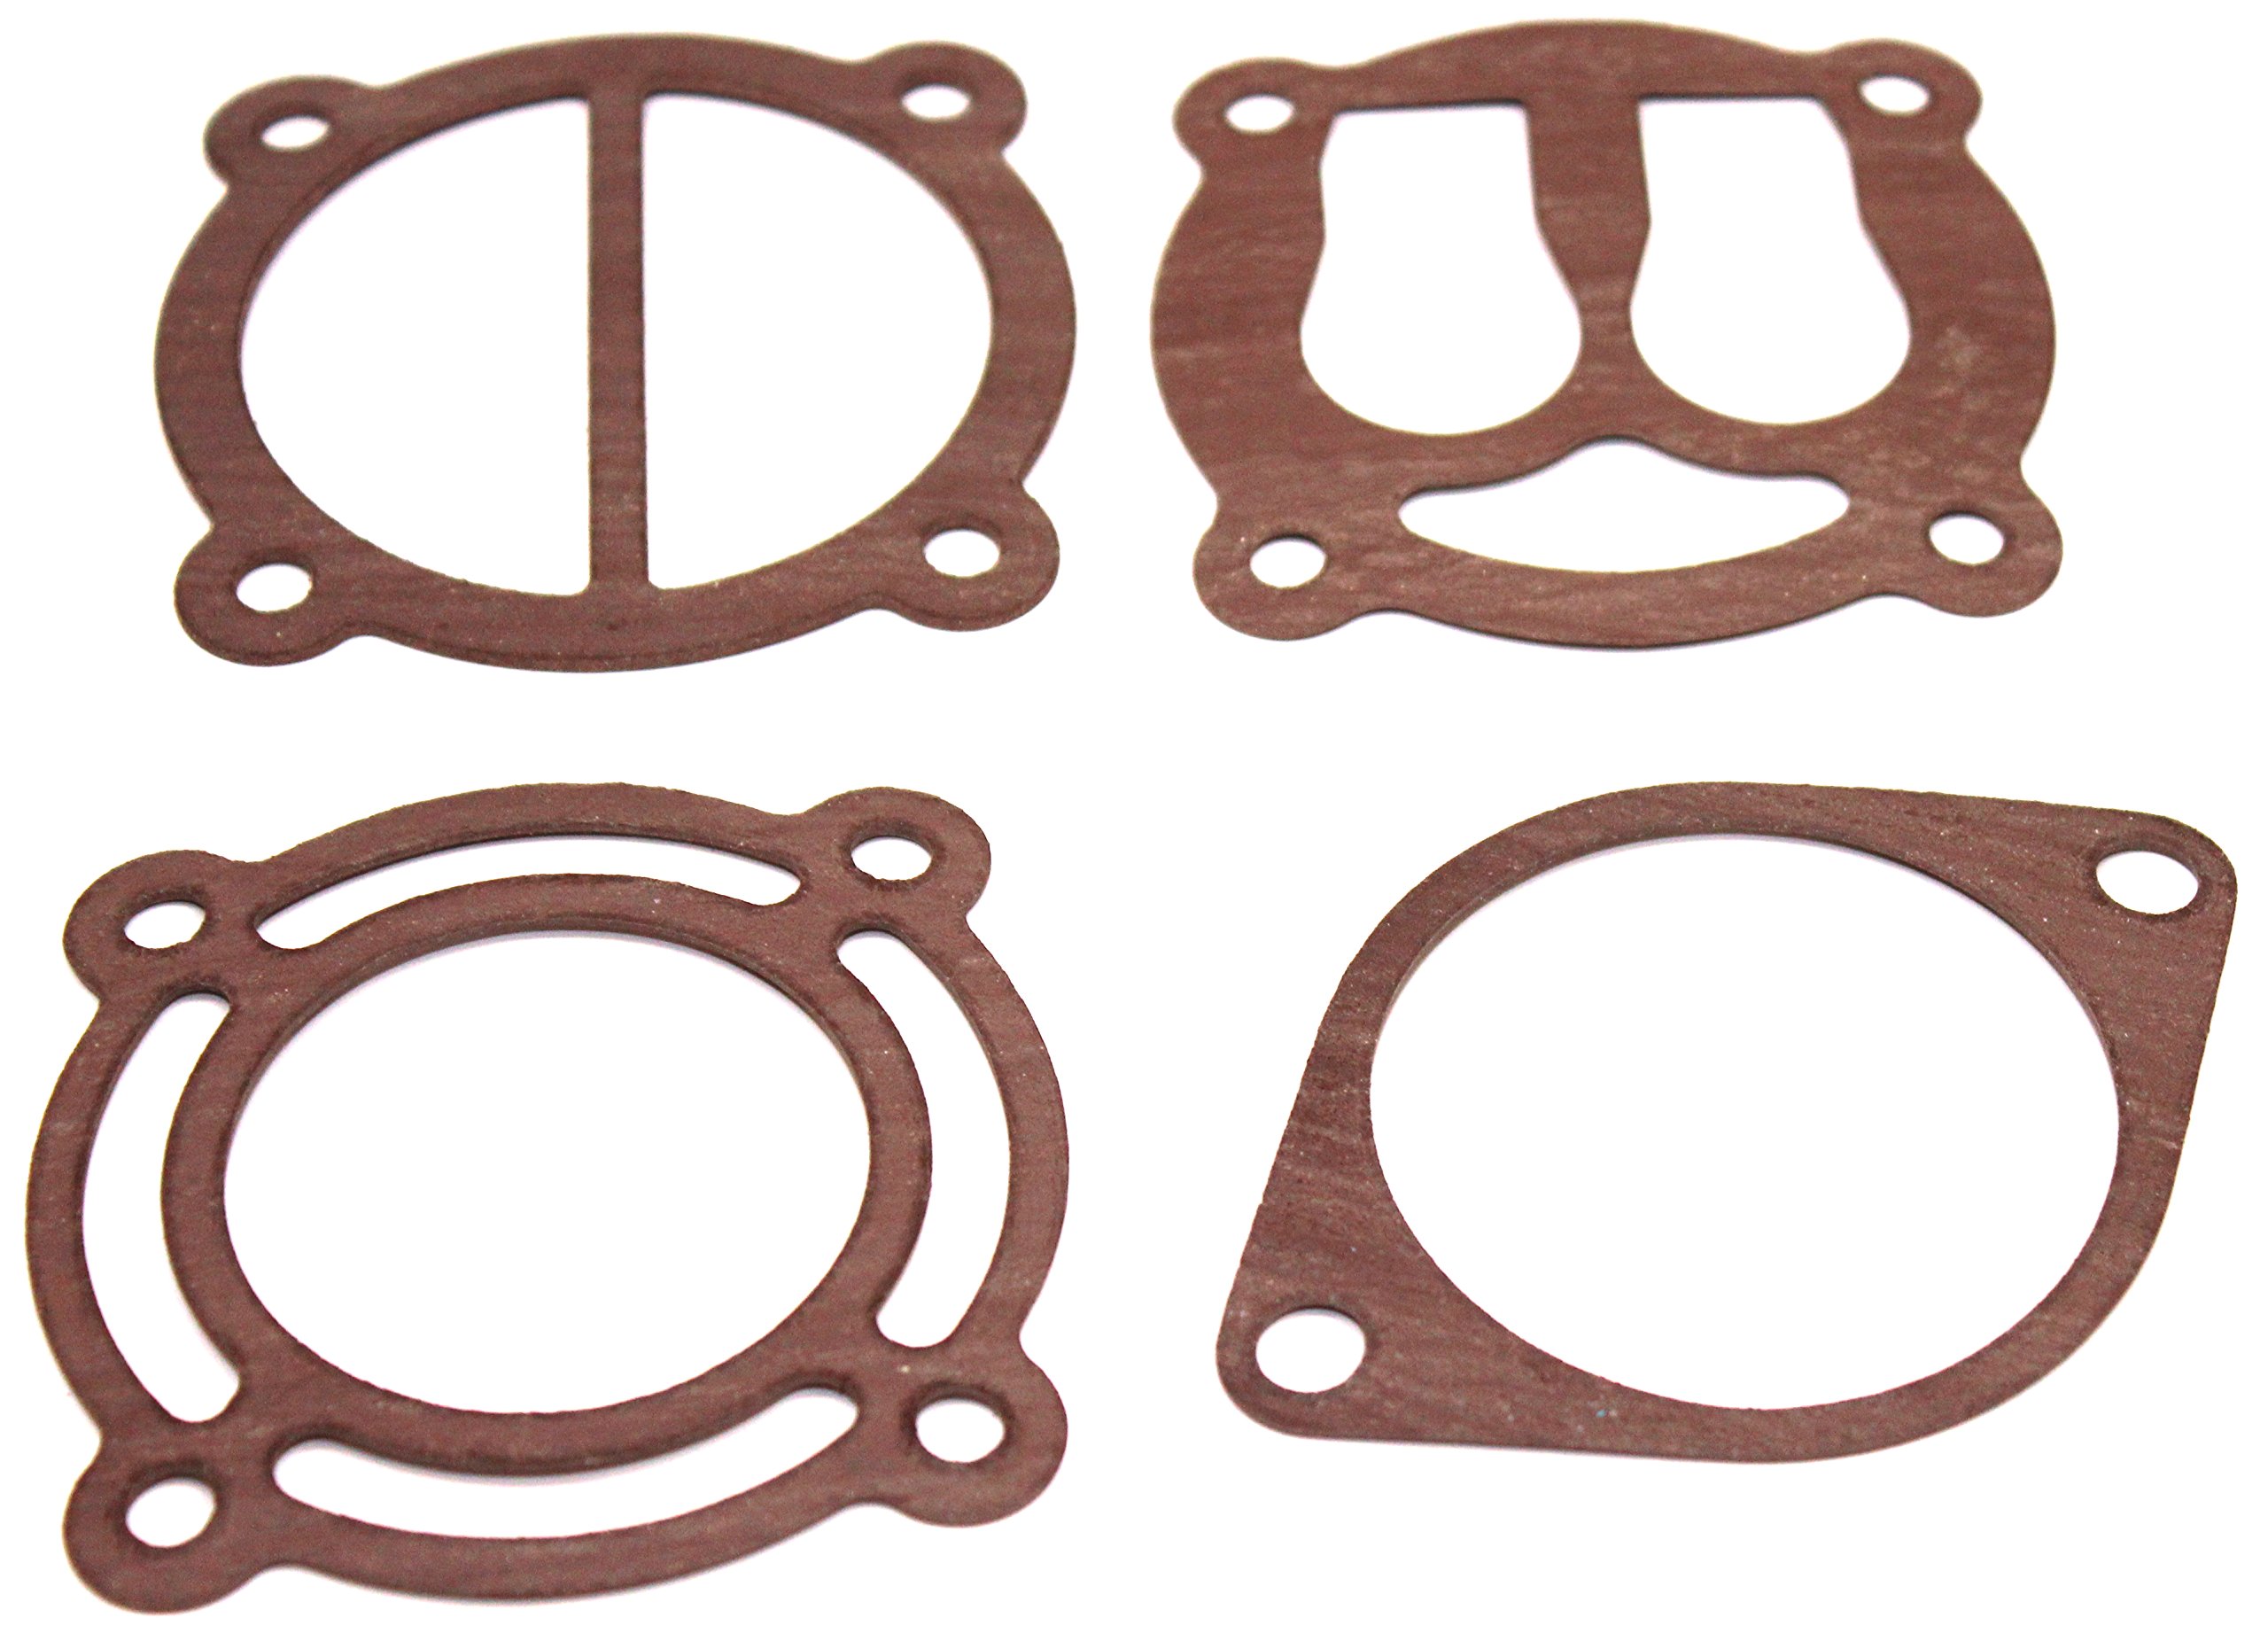
Figure 1: Components of the Makita GK700-E Gasket Kit. The image displays four distinct brown gasket pieces, each with various cutouts and bolt holes, designed for specific sealing applications within compatible Makita power tools.
2. Setup and Installation
Proper installation of the gasket kit is crucial for its effectiveness and the longevity of your tool. It is recommended that installation be performed by a qualified technician. If you choose to install it yourself, proceed with caution and ensure you have the correct tools and knowledge for your specific Makita model.
General Installation Guidelines:
- Safety First: Always disconnect the power source from the tool before beginning any maintenance or installation.
- Disassembly: Carefully disassemble the relevant section of your Makita tool to access the old gasket. Refer to your tool's specific service manual for detailed disassembly instructions.
- Clean Surfaces: Thoroughly clean all mating surfaces where the new gasket will be placed. Remove any old gasket material, dirt, oil, or debris to ensure a perfect seal. Use a suitable gasket scraper and cleaner if necessary.
- Gasket Placement: Carefully align the new GK700-E gasket with the bolt holes and component openings. Ensure it sits flat and is not twisted or pinched.
- Reassembly: Reassemble the tool components, ensuring all fasteners are tightened to the manufacturer's specified torque settings. Overtightening or undertightening can lead to gasket failure.
- Functionality Check: After reassembly, perform a functional check of the tool to ensure proper operation and the absence of leaks.
Note: This gasket kit is designed for specific Makita models. Verify compatibility with your tool's model number before installation.
3. Operating Principles
Once correctly installed, the Makita GK700-E Gasket Kit functions as a critical sealing component within your power tool. Gaskets are designed to fill the microscopic irregularities between two mating surfaces, creating a leak-proof barrier. This prevents the escape of fluids (like oil or fuel) or gases (like air pressure) and the ingress of contaminants, which is essential for the efficient and safe operation of the tool.
The integrity of these gaskets directly impacts the tool's performance, power output, and overall lifespan. A properly sealed system ensures that internal pressures are maintained and that moving parts are adequately lubricated or cooled, depending on the tool's design.
4. Maintenance
Gaskets are wear-and-tear components and do not typically require routine maintenance beyond proper installation. However, periodic inspection of the tool for signs of gasket failure is recommended, especially if the tool is used frequently or in demanding conditions.
Inspection Points:
- Visual Leaks: Check for any visible signs of fluid leaks (oil, fuel, etc.) around the seams or joints where gaskets are located.
- Performance Degradation: Noticeable loss of power, unusual noises, or inconsistent operation can sometimes indicate a compromised seal.
- Physical Damage: If the tool is disassembled for other maintenance, inspect the gaskets for cracks, tears, hardening, or signs of compression set.
If any signs of gasket failure are observed, it is advisable to replace the affected gaskets promptly to prevent further damage to the tool.
5. Troubleshooting Common Issues
While the GK700-E Gasket Kit is a durable OEM part, issues can arise if installation is incorrect or if the gaskets reach the end of their service life. Here are common symptoms that may indicate a gasket-related problem:
- Fluid Leaks: The most direct sign of a failed gasket is the presence of oil, fuel, or other fluid leaks from the tool's housing or joints.
- Loss of Pressure/Suction: In tools relying on air pressure or vacuum, a faulty gasket can lead to a noticeable drop in performance due to pressure loss.
- Unusual Noises: Air leaks through a damaged gasket can sometimes produce hissing or whistling sounds.
- Reduced Efficiency: The tool may not operate at its full capacity or may consume more power/fuel than usual.
Resolution: If you suspect a gasket failure, the primary solution is to replace the affected gasket(s) with new, genuine Makita parts like the GK700-E kit. Ensure the replacement process follows the installation guidelines outlined in Section 2. If the issue persists after replacement, consult a certified Makita service center.
6. Specifications
| Attribute | Detail |
|---|---|
| Brand | Makita |
| Part Number | GK700-E |
| Item Model Number | GK700-E |
| Item Weight | 0.96 ounces |
| Product Dimensions | 3.25 x 3.25 x 0.25 inches |
| Manufacturer | Makita |
| Item Package Quantity | 1 |
| Date First Available | June 18, 2015 |
7. Warranty and Support
As an O.E.M. authorized part, the Makita GK700-E Gasket Kit is manufactured to Makita's high standards. Specific warranty terms for replacement parts may vary. For detailed warranty information or technical support regarding your Makita tool or this replacement part, please refer to the official Makita website or contact Makita customer service directly.
You can typically find contact information and support resources on the official Makita website: www.makitatools.com
