
Haswing 4336339984
Haswing AQUOS 12V 55LBS Trolling Motor User Manual
Model: 4336339984
Introduction
This manual provides essential information for the safe and efficient operation, maintenance, and troubleshooting of your Haswing AQUOS 12V 55LBS Transom Mount Electric Trolling Motor. Please read this manual thoroughly before using the product to ensure proper function and longevity.

Figure 1: Haswing AQUOS 12V 55LBS Transom Mount Electric Trolling Motor. This image displays the complete trolling motor assembly, including the motor head, shaft, transom mount bracket, and propeller.
Technical Specifications
| Feature | Detail |
|---|---|
| Voltage | DC 12V |
| Peak Thrust | 55 LBS |
| Rated/Max Power | 600W |
| Rated/Max Amp | 50A |
| Shaft Type | Cast Aluminum |
| Shaft Length | 35.4 inch (adjustable 24.4 inch) |
| Propeller Type/Size | 3 Blade Prop / 9.3 inch diameter |
| Propeller Speed (full power) | Max 1250rpm underwater |
| Depth Adjustment | Depth collar |
| Steering | 360 degree electric control |
| Recommended Battery | 1 x 10⁵AH deep cycle battery (not included) |
| Max Boat Length (suggestion) | 18ft |
| Weight | 35.5 Pounds |
| Material | Aluminum, Metal |
Setup and Installation
1. Unpacking and Inspection
Carefully remove all components from the packaging. Inspect for any signs of damage during transit. Ensure all parts listed in the packing list are present.
2. Mounting the Trolling Motor
The Haswing AQUOS trolling motor is designed for transom mounting. Secure the motor to the boat's transom using the integrated clamp bracket. Ensure the clamps are tightened securely to prevent movement during operation.

Figure 2: Tilting Mechanism. This image illustrates the rock-solid aluminum alloy gear lock bracket, which allows for easy deployment and stowing of the motor. The motor can be tilted in and out of the water to adjust for depth or fishing conditions.
3. Adjusting Shaft Length
The shaft length is adjustable to suit various transom heights and water depths. Loosen the depth collar to adjust the shaft to the desired depth, then tighten the collar firmly to secure the shaft in place. The adjustable range is approximately 24.4 inches.

Figure 3: Shaft Length Adjustment. This diagram shows the total shaft length of 35.4 inches and the adjustable portion of approximately 24.4 inches, allowing for customization based on boat type and water depth.
4. Battery Connection
Connect the motor's power cables to a 12V deep cycle battery (minimum 105AH recommended). Ensure correct polarity: red to positive (+), black to negative (-). Secure all connections to prevent loose contacts and ensure optimal performance.
Operating Instructions
1. Powering On and Speed Control
The motor features five forward speeds and three reverse speeds. Use the control handle to select the desired speed. The variable speed control allows for precise adjustments to match fishing conditions.

Figure 4: Speed Control. This image illustrates the dial for selecting five forward speeds and three reverse speeds, allowing for precise speed adjustments during operation.
2. Steering
The motor offers 360-degree electric steering control. The ergonomic handle is extendable up to 13.7 inches (35cm) for comfortable and convenient steering, especially when seated.

Figure 5: Extendable Handle. This image shows the ergonomic telescoping handle, which extends up to 13.8 inches (approximately 35cm) for enhanced steering comfort and control.
3. Battery Power Indicator
A built-in LED power reader allows you to monitor the available battery power at any time, helping you plan your fishing trip effectively and avoid unexpected power loss.
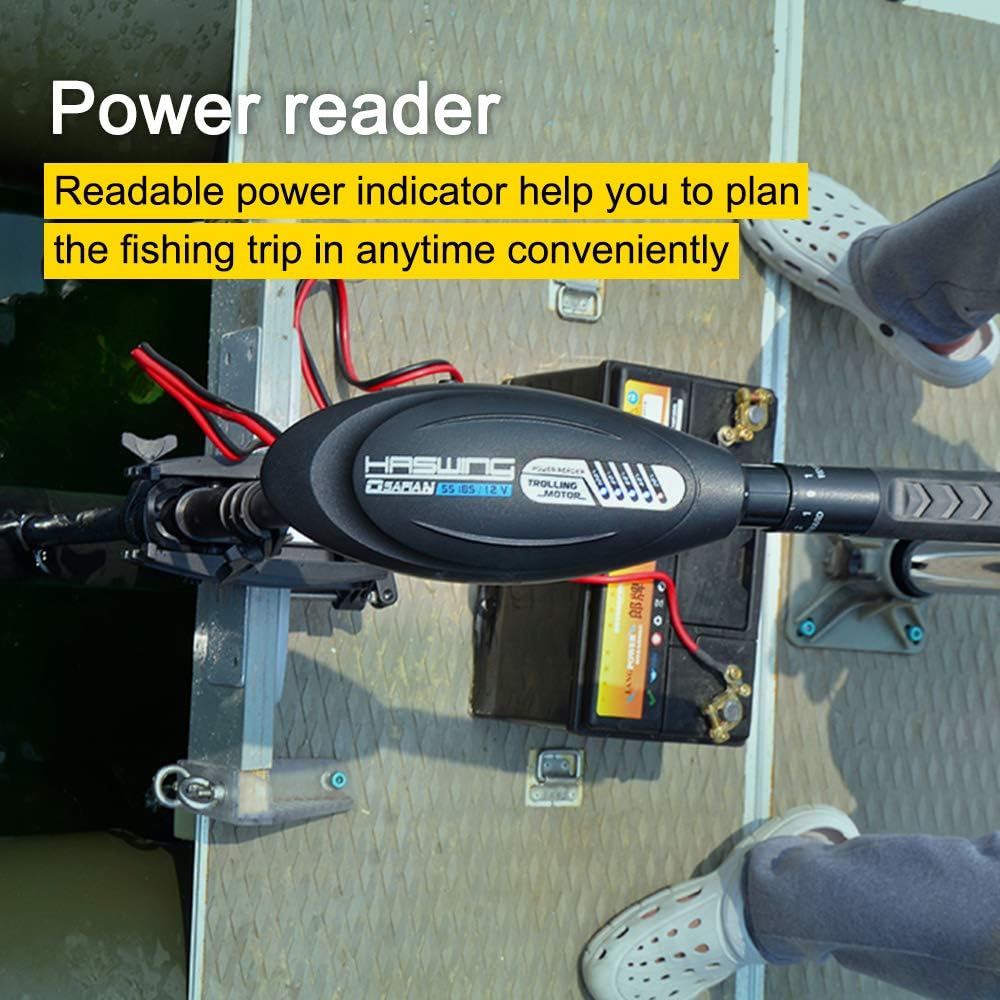
Figure 6: Power Reader. This image highlights the readable power indicator on the motor head, which helps users conveniently check the battery level.
4. Folding Handle
The handle can fold up to 110 degrees, providing more flexible helm positioning and compact storage when not in use or during transport.

Figure 7: Folding Handle. This image demonstrates the 110-degree folding capability of the handle, offering flexible helm positioning and compact storage.
5. Quiet Operation
The motor is designed for quiet operation, minimizing disturbance to marine life and enhancing the fishing experience.

Figure 8: Quiet Operation. This underwater view shows the propeller and a fish, illustrating the motor's quiet design that helps avoid startling marine life.
Maintenance
Regular maintenance ensures the longevity and optimal performance of your trolling motor.
- After Each Use:
- Rinse the motor, especially the propeller and shaft, with fresh water after each use, particularly in saltwater environments, to prevent corrosion.
- Inspect the propeller for any fishing line, weeds, or debris. Remove any obstructions to prevent damage to the motor or propeller.
- Check all electrical connections for corrosion or looseness. Clean and tighten as necessary.
- Periodically:
- Inspect the sacrificial anode (if present) for wear. Replace if significantly corroded to protect other metal components.
- Check the propeller nut for tightness.
- Lubricate moving parts of the mounting bracket and steering mechanism with a marine-grade lubricant.
- Storage:
- Store the motor in a dry, cool place when not in use.
- Disconnect the battery during long-term storage.
Troubleshooting
| Problem | Possible Cause | Solution |
|---|---|---|
| Motor does not run |
|
|
| Reduced thrust or speed |
|
|
| Excessive noise or vibration |
|
|
Warranty Information
Haswing products are manufactured to high quality standards. For specific warranty terms and conditions, please refer to the warranty card included with your product or visit the official Haswing website. Keep your proof of purchase for warranty claims.
Customer Support
For technical assistance, spare parts, or any inquiries regarding your Haswing AQUOS Trolling Motor, please contact Haswing customer support through their official website or the contact information provided in your product packaging.
Note: Always provide your product model number (4336339984) and purchase date when contacting support.
Ask a question about this manual
Ask about setup, troubleshooting, compatibility, parts, safety, or missing instructions. Manuals+ will review the question and use this page’s manual context to help answer it.