
Product Overview
The Worx SD Driver with Screw Holder is designed for efficient and convenient screw driving tasks. This semi-automatic cordless screwdriver features an innovative bit changer and an integrated screw holder, making it ideal for various applications without the common issues of dropped fasteners or bits. Its compact and lightweight design, combined with a long-lasting internal 4V MaxLithium battery, ensures readiness for use even after extended storage periods. The built-in LED headlamp provides illumination for working in dimly lit areas.
What's Included
- Worx 4V Electric Screwdriver (WX255L)
- Reloadable Bit Cartridge
- 6 Common Bits (PH1, PH2, SL4, SL6, SQ1, SQ2)
- Screw Holder Attachment
- 4V Battery Charger

Figure 1: Included components of the Worx 4V Electric Screwdriver.
Setup
Charging the Device
The Worx 4V Electric Screwdriver features an internal 4V MaxLithium battery. Before first use, fully charge the device. Connect the included charger to the charging port located on the tool. A red indicator light will illuminate during charging and turn off when fully charged. The battery is designed to hold a charge for up to 18 months, ensuring it's ready when needed.
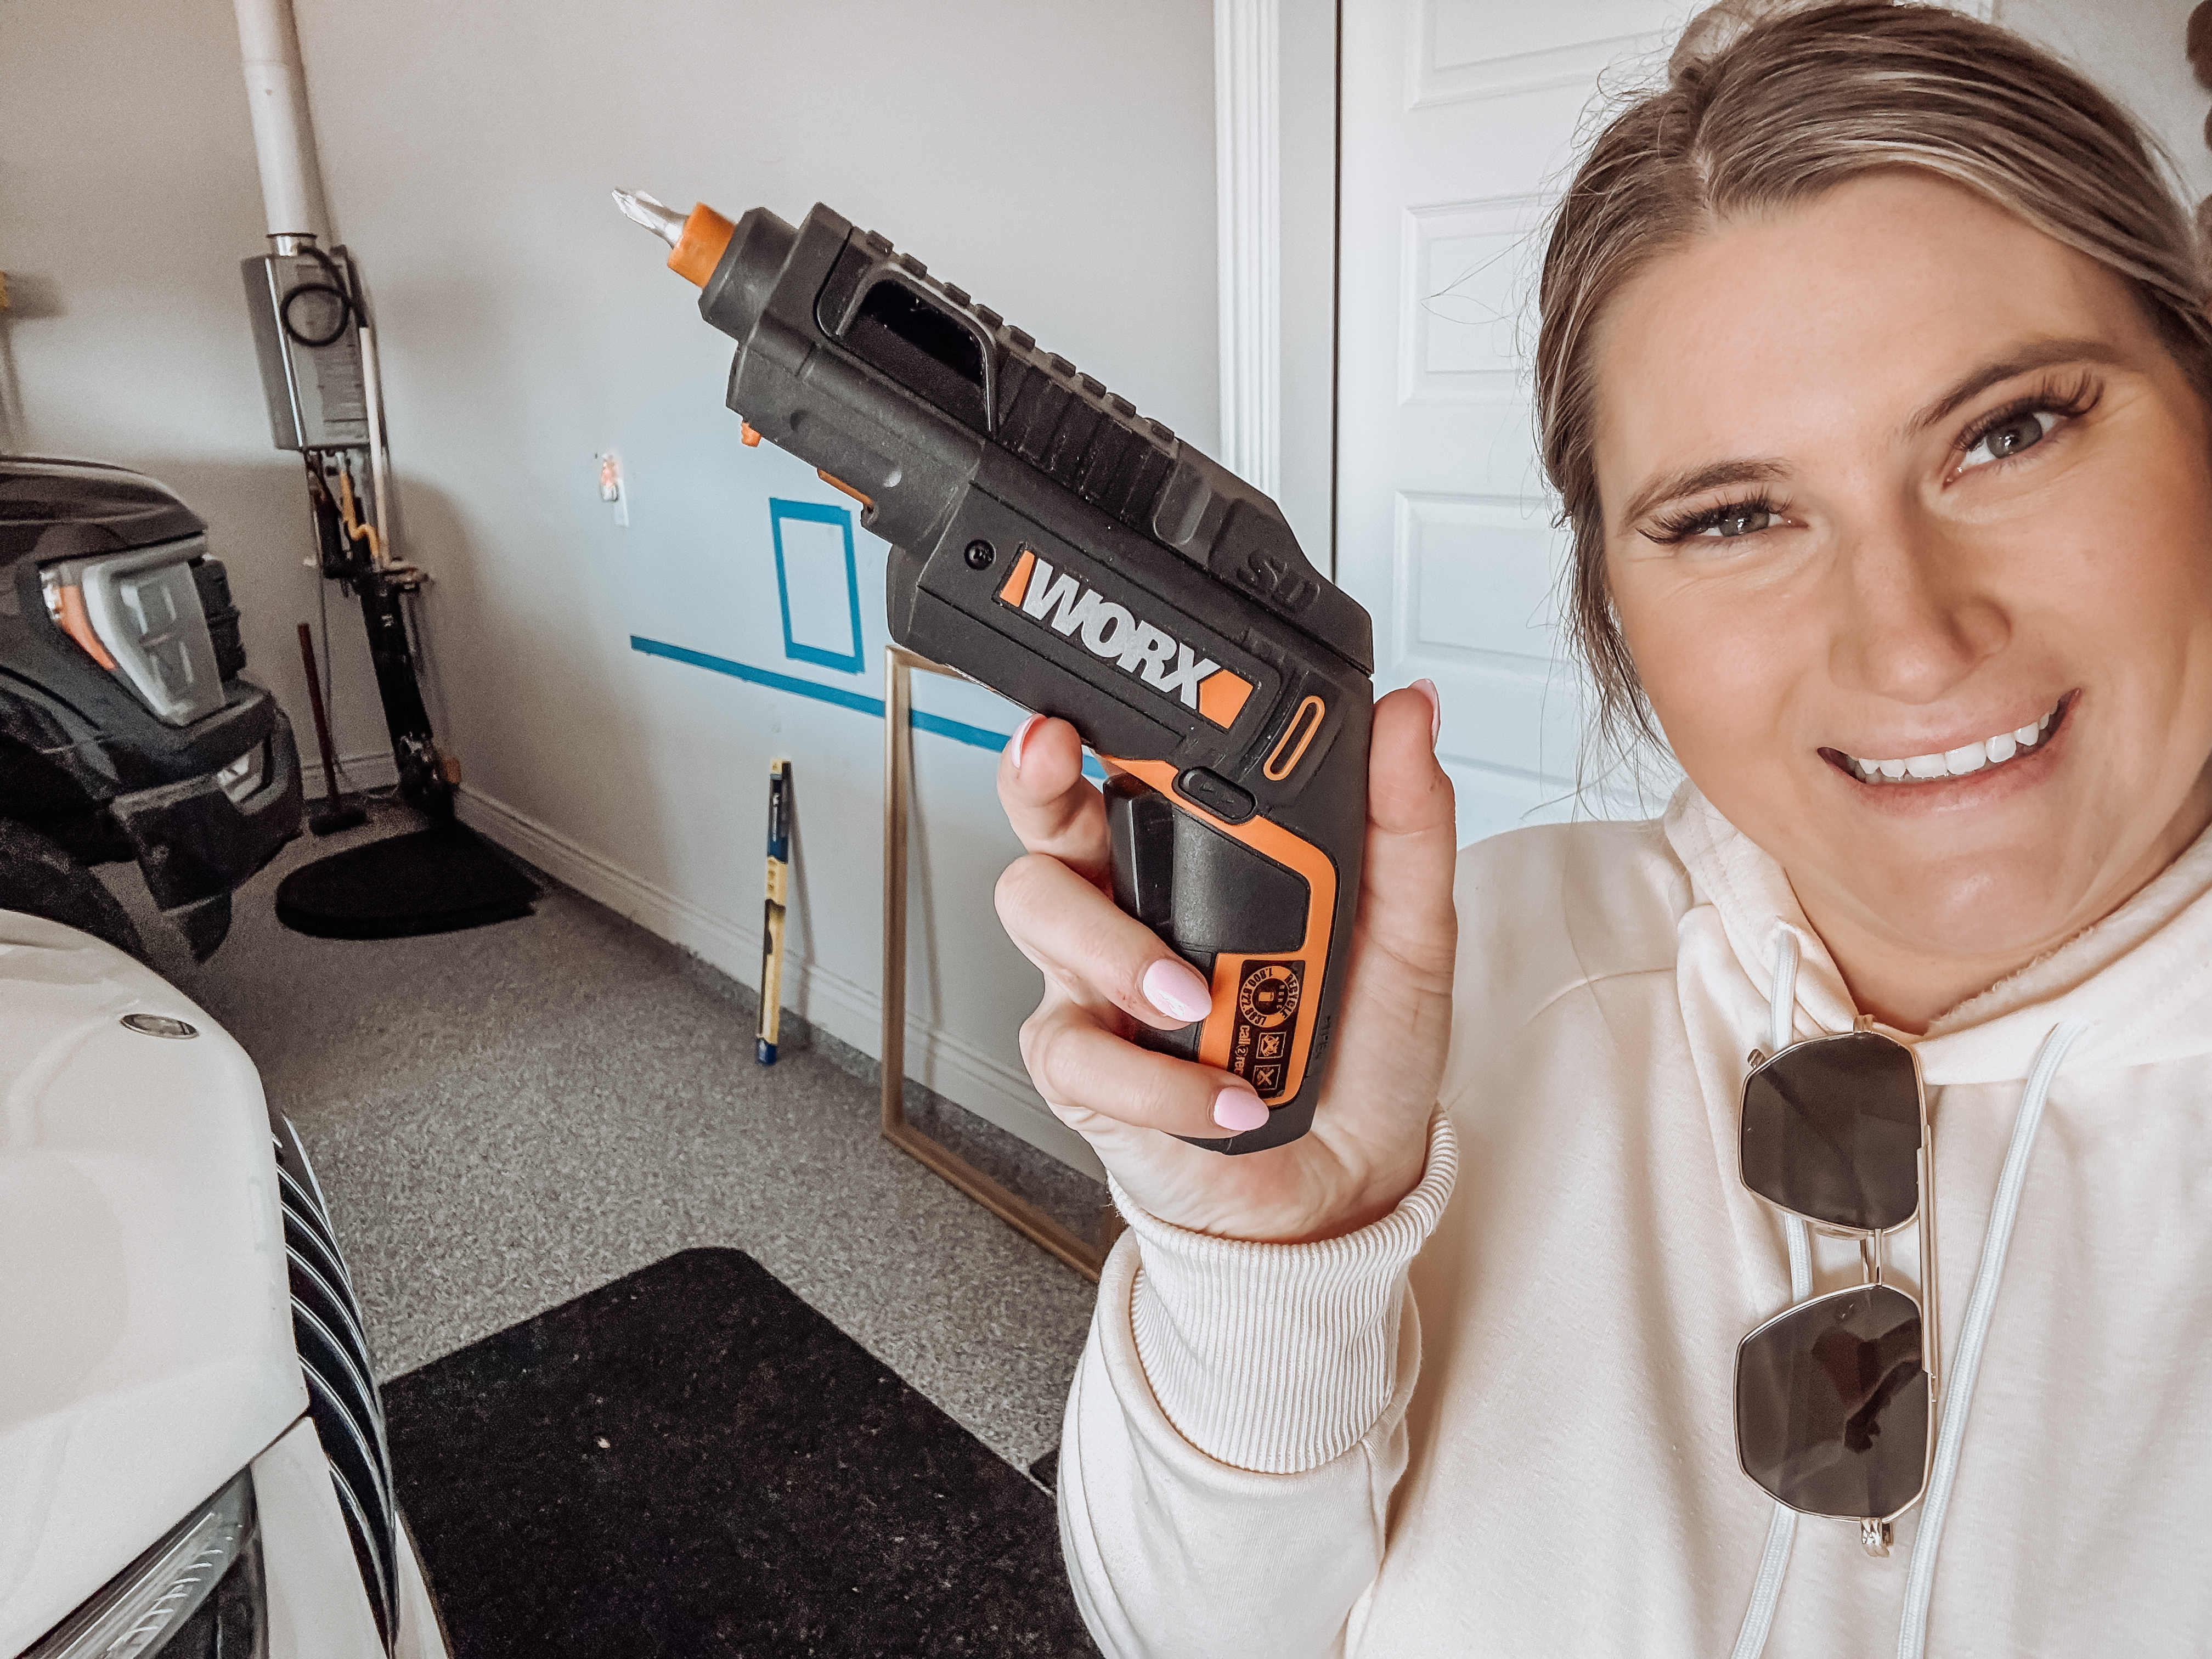
Figure 2: Charging the Worx 4V Electric Screwdriver using the provided micro USB charger.
Loading Bits into the Cartridge
The screwdriver comes with a reloadable bit cartridge pre-stocked with 6 common bits. To customize or replace bits, simply remove the cartridge from the tool. The bits are held magnetically within the cartridge and can be easily swapped with any standard 1/4-inch hex bits.

Figure 3: Loading bits into the reloadable cartridge.
Operating Instructions
Changing Bits
The semi-automatic design allows for quick bit changes. To cycle between the 6 stored bits, pull the top slide mechanism back towards you. This action rotates the internal cartridge to the next bit. Push the slide forward to engage the new bit.

Figure 4: The slide-action mechanism for quick bit changes.
Using the Screw Holder
The innovative screw holder attachment keeps the screw in place, enabling one-handed operation. To use, press the orange button on the tip to open the jaws, insert the screw, and release the button to secure it. This feature is particularly useful for working in tight spaces or when precise screw placement is required.

Figure 5: The screw holder in action, providing hands-free operation.
Driving and Removing Screws
To operate the screwdriver, press the trigger. The tool offers both forward and reverse rotation for driving and removing screws. The LED headlamp automatically illuminates when the trigger is pressed, providing visibility in dark work areas. The 0-230 RPM no-load speed provides sufficient torque for most common household screw driving applications.

Figure 6: Driving a screw with the Worx 4V Electric Screwdriver.

Figure 7: Using the screwdriver for cabinet installation.

Figure 8: Attaching a wall hook with the screwdriver.
Official Product Video
Video 1: A detailed review of the Worx SEMI-AUTO Screwdriver, showcasing its features and functionality.
Maintenance
To ensure optimal performance and longevity of your Worx 4V Electric Screwdriver, follow these maintenance guidelines:
- Cleaning: Regularly wipe down the tool with a dry or slightly damp cloth to remove dust and debris. Avoid using harsh chemicals or abrasive cleaners.
- Battery Care: Although the 4V MaxLithium battery holds a charge for up to 18 months, it is recommended to fully charge the device every few months if it's not in regular use to maintain battery health.
- Bit Inspection: Periodically inspect the bits for wear or damage. Replace worn bits to ensure efficient and safe operation.
- Storage: Store the screwdriver in a dry, cool place away from direct sunlight and extreme temperatures.
Troubleshooting
If you encounter any issues with your Worx 4V Electric Screwdriver, consider the following common troubleshooting steps:
- Tool Not Turning On: Ensure the battery is fully charged. Connect the charger and check the indicator light.
- Bit Not Engaging/Changing: Check if the slide mechanism is fully pulled back and pushed forward. Ensure the bit cartridge is correctly seated.
- Screw Slipping/Stripping: Verify that you are using the correct bit type and size for the screw. Ensure the bit is fully seated in the screw head.
- Reduced Performance: The battery might be low on charge. Recharge the device.
For more detailed troubleshooting or persistent issues, please refer to the official User Guide (PDF) or contact Worx customer support.
Specifications
| Feature | Detail |
|---|---|
| Brand | WORX |
| Model Number | WX255L |
| Voltage | 4 Volts |
| Power Source | Battery Powered |
| Speed | 270 RPM (No-Load) |
| Item Weight | 1.5 Pounds |
| Product Dimensions | 7.8"L x 1.8"W x 5"H |
| Battery Cell Composition | Lithium |
| Included Components | Charger, 6 Bits, Screw Holder |
Warranty and Support
The Worx 4V Electric Screwdriver (WX255L) comes with a 3 Years Limited Warranty. For warranty claims, technical support, or any product-related inquiries, please contact Worx customer service or refer to the official documentation.
You can download the full User Guide (PDF) for detailed instructions and safety information.