1. Safety Information
Operating any power tool requires adherence to strict safety guidelines to prevent injury. Always read and understand all instructions before use.
General Power Tool Safety Warnings
- Always wear eye protection (safety glasses or goggles) and hearing protection.
- Keep work area clean and well lit. Cluttered or dark areas invite accidents.
- Do not operate power tools in explosive atmospheres, such as in the presence of flammable liquids, gases or dust.
- Keep children and bystanders away while operating a power tool.
- Dress properly. Do not wear loose clothing or jewelry. Keep hair and clothing away from moving parts.
- Avoid accidental starting. Ensure the switch is in the off-position before connecting to battery pack, picking up or carrying the tool.
- Do not overreach. Keep proper footing and balance at all times.
- Use clamps or another practical way to secure and support the workpiece to a stable platform.
Circular Saw Specific Warnings
- WARNING: To reduce the risk of injury, check guarding system. It must cover the blade instantly! Hold saw with both hands. Support and clamp work.
- Always keep hands away from the cutting area and the blade.
- Do not reach underneath the workpiece when the blade is running.
- Adjust the cutting depth to the thickness of the workpiece.
- Never hold the workpiece in your hands or across your leg while cutting.
- Before cutting, ensure the blade is sharp and free from damage.

Image: Close-up of the warning label on the Ryobi P507 circular saw, detailing safety instructions in multiple languages regarding blade guarding, two-hand operation, and workpiece clamping.
2. Product Overview
The Ryobi P507 is an 18V ONE+ cordless 6 1/2 inch circular saw designed for portability and efficient cutting. It features a powerful motor and increased cut capacity for various materials.
Key Components

Image: Front view of the Ryobi P507 circular saw, showcasing the 6 1/2 inch carbide-tipped blade, blade guard, and the main handle with the Ryobi ONE+ branding.
- Blade: 6 1/2 inch carbide-tipped blade for efficient cutting.
- Blade Guard: Retractable guard for safety during operation.
- Handle with Rubber Overmold: Provides a comfortable and firm grip.
- Trigger Switch: For activating the saw.
- Bevel Adjustment: Allows for angled cuts up to 56 degrees.
- Onboard Guiding Base: Helps maintain precise control during cuts.
- Battery Compartment: Compatible with Ryobi 18V ONE+ batteries.

Image: Side view of the Ryobi P507 circular saw, highlighting the ergonomic handle design and the clear lower blade guard.
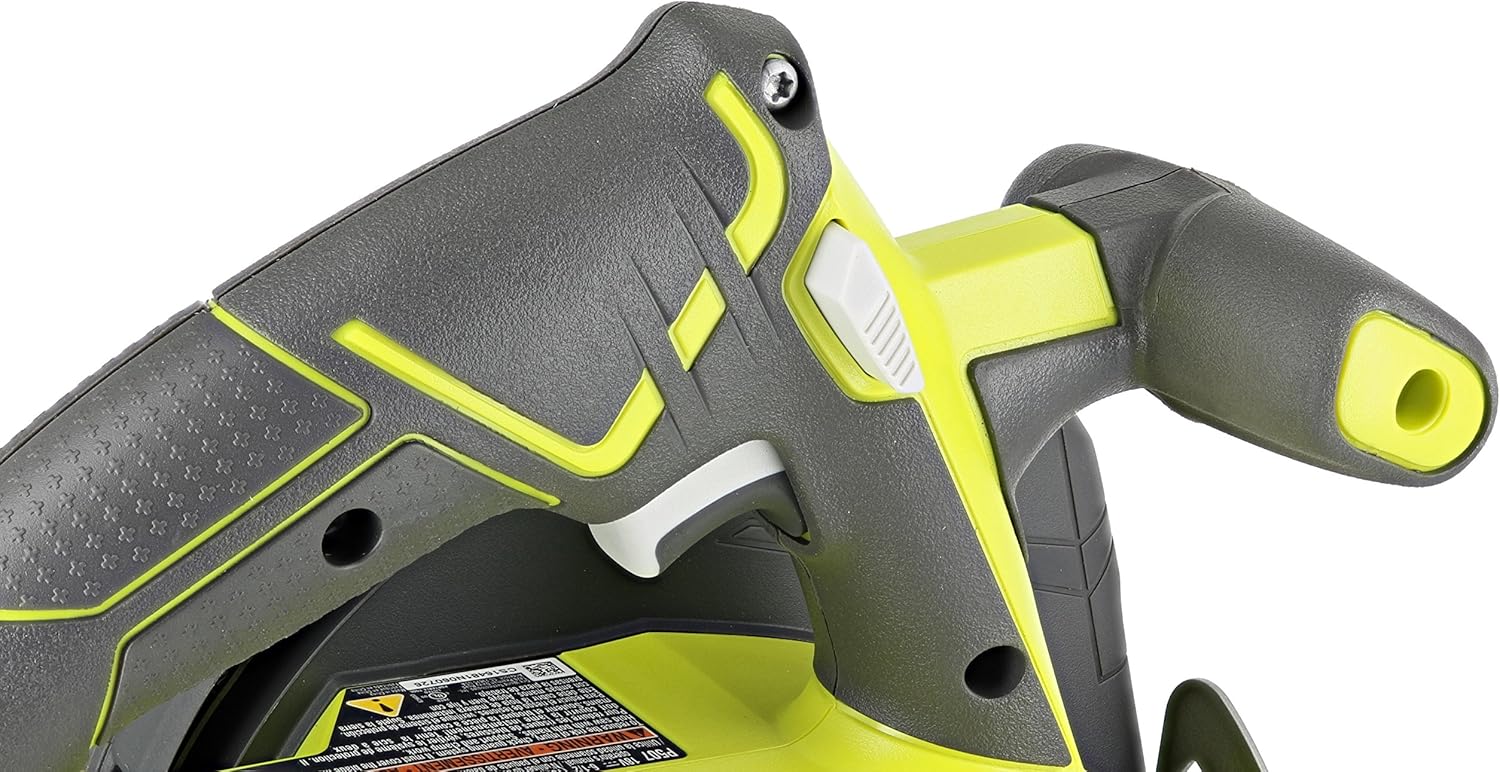
Image: Close-up view of the main handle and trigger mechanism of the Ryobi P507, showing the rubber overmold for enhanced grip.
3. Setup
Battery Installation
- Ensure the saw's trigger is in the OFF position.
- Align the battery pack with the battery port on the saw.
- Slide the battery pack into the port until it clicks securely into place.
- To remove, press the release latches on the battery and pull it out.
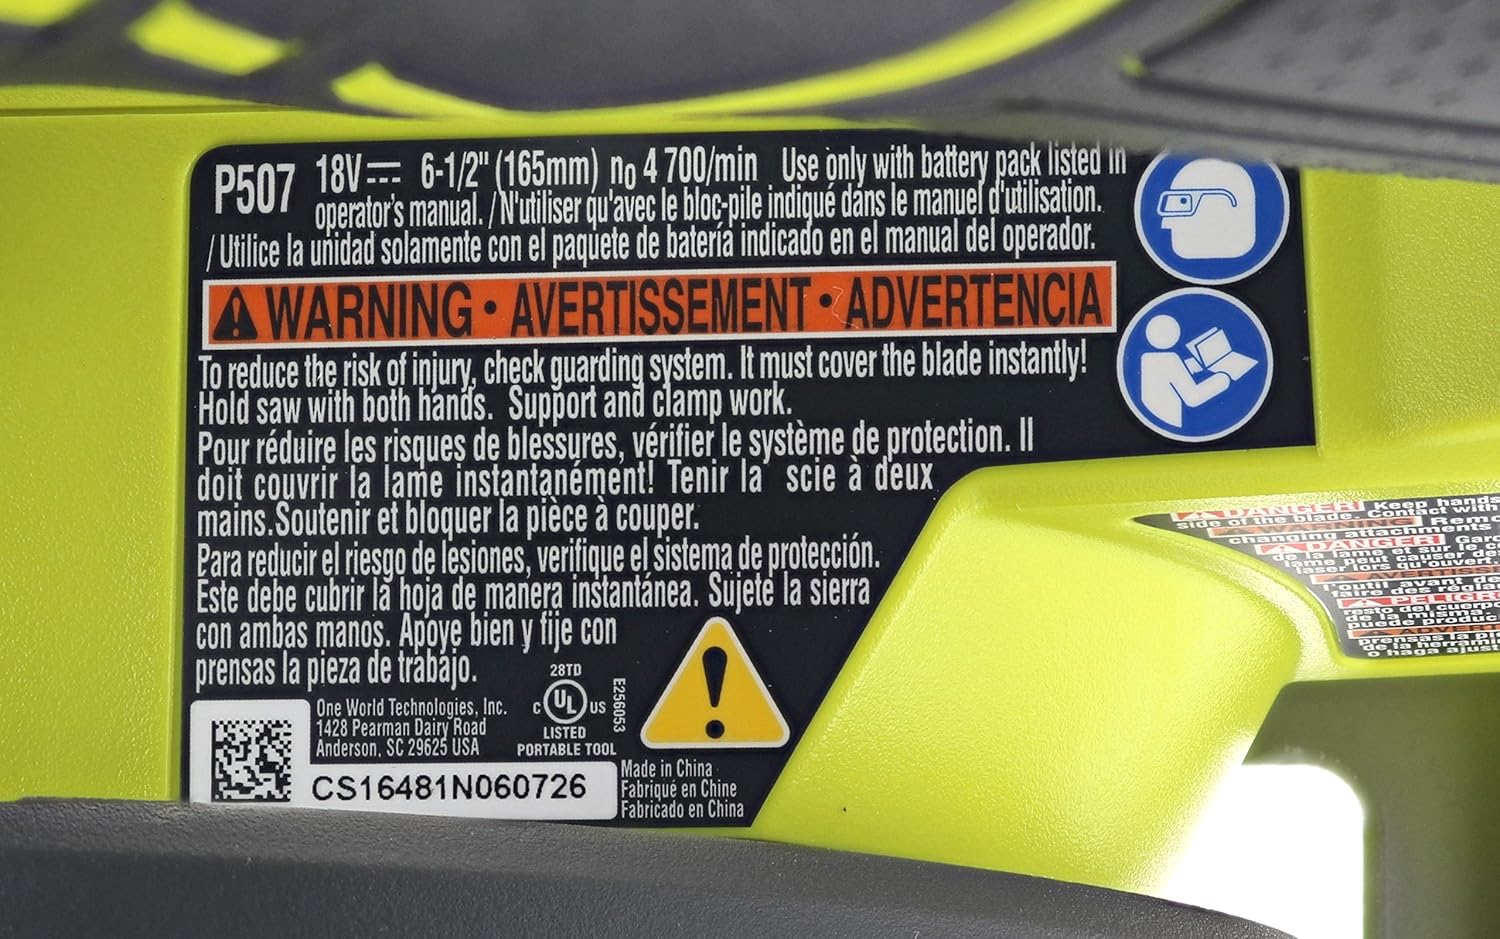
Image: View of the battery compartment on the Ryobi P507 circular saw, designed for Ryobi ONE+ 18V batteries.
Blade Installation/Replacement
- Disconnect the battery pack from the saw before attempting any blade changes.
- Locate the blade wrench (often stored on the tool itself).
- Press and hold the spindle lock button to prevent the blade from rotating.
- Use the blade wrench to loosen the arbor nut by turning it counter-clockwise.
- Remove the outer washer and the old blade.
- Install the new 6 1/2 inch blade, ensuring the teeth are pointing in the direction of rotation indicated on the saw.
- Replace the outer washer and tighten the arbor nut clockwise with the blade wrench while holding the spindle lock. Do not overtighten.
- Verify the blade is securely fastened and the blade guard operates freely.
4. Operating Instructions
Basic Cutting Operation
- Ensure the workpiece is securely clamped and stable.
- Adjust the depth of cut so that the blade extends approximately 1/8 inch (3 mm) below the workpiece.
- Position the saw's base plate flat on the workpiece, aligning the blade with your cut line.
- Start the saw by pressing the trigger switch. Allow the blade to reach full speed before engaging the material.
- Maintain a firm grip with both hands and guide the saw smoothly through the workpiece. Do not force the saw.
- Once the cut is complete, release the trigger and allow the blade to stop completely before lifting the saw from the workpiece.
Adjusting for Bevel Cuts
The Ryobi P507 allows for bevel cuts up to 56 degrees.
- Loosen the bevel adjustment knob located on the front of the saw.
- Tilt the base plate to the desired angle, indicated by the degree markings.
- Tighten the bevel adjustment knob securely to lock the angle.
- Proceed with cutting as described in Basic Cutting Operation, ensuring the saw is stable at the adjusted angle.

Image: Close-up view of the bevel adjustment mechanism on the Ryobi P507 circular saw, showing the angle scale and locking knob.
Using the Onboard Guiding Base
The onboard guiding base assists in making straight and accurate cuts.
- For straight cuts, align the guiding base with the edge of your workpiece or a straight edge guide.
- Apply consistent pressure against the guide while pushing the saw forward.
- This feature helps maintain a consistent cutting line and improves accuracy.

Image: Angled view of the Ryobi P507 circular saw, illustrating the guiding base and its position relative to the blade and workpiece.
5. Maintenance
Regular maintenance ensures the longevity and safe operation of your circular saw.
Cleaning
- Always disconnect the battery pack before cleaning.
- Use a clean, dry cloth to wipe down the exterior of the saw.
- Remove sawdust and debris from the blade guard, motor vents, and base plate using compressed air or a brush.
- Do not use harsh chemicals or abrasive cleaners.
Blade Care
- Inspect the blade regularly for dullness, cracks, or missing teeth. Replace damaged blades immediately.
- Keep blades clean and free of pitch and resin buildup, which can affect cutting performance.
- Store blades properly to prevent damage.
6. Troubleshooting
This section addresses common issues you might encounter with your Ryobi P507 circular saw.
| Problem | Possible Cause | Solution |
|---|---|---|
| Saw does not start | Battery not charged or improperly installed | Charge battery; ensure battery is fully seated. |
| Saw loses power during cut | Battery charge low; blade dull or binding | Recharge battery; replace or sharpen blade; reduce cutting speed. |
| Poor cut quality (rough edges, splintering) | Dull blade; incorrect blade for material; improper feed rate | Replace or sharpen blade; use appropriate blade for material; adjust feed rate. |
| Blade guard sticks or does not retract | Sawdust or debris buildup | Clean blade guard mechanism thoroughly. |
7. Specifications
Detailed technical specifications for the Ryobi P507 circular saw.
| Feature | Specification |
|---|---|
| Brand | RYOBI |
| Model Number | P507 |
| Power Source | Battery Powered (18V ONE+ System) |
| Voltage | 18 Volts |
| Speed | 4700 RPM |
| Blade Diameter | 6 1/2 Inches (165 mm) |
| Blade Material | Carbide |
| Number of Teeth | 24 |
| Cutting Angle (Bevel) | Up to 56 Degrees |
| Item Weight | 5 Pounds |
| Product Dimensions | 11"L x 6"W x 10"H |
| Material | Plastic, Steel |
| Special Feature | Brushless |
| Included Components | Bare Tool (Battery Not Included) |
| UPC | 033287163267 |
8. Warranty and Support
The Ryobi P507 Circular Saw comes with a Limited Warranty. For specific details regarding warranty coverage, terms, and conditions, please refer to the official RYOBI website or the documentation provided with your purchase.
For technical support, service, or replacement parts, please contact RYOBI customer service directly. Contact information can typically be found on the manufacturer's website or in the product packaging.