
Introduction
This manual provides essential instructions for the safe operation, assembly, maintenance, and troubleshooting of your Stanley Fatmax SL18501-12B Wet Dry Vacuum. Please read this manual thoroughly before using the product and retain it for future reference.
The Stanley Fatmax SL18501-12B is a 12-gallon, 6 Peak HP stainless steel wet dry vacuum designed for various cleaning tasks, offering powerful suction and a blower function.
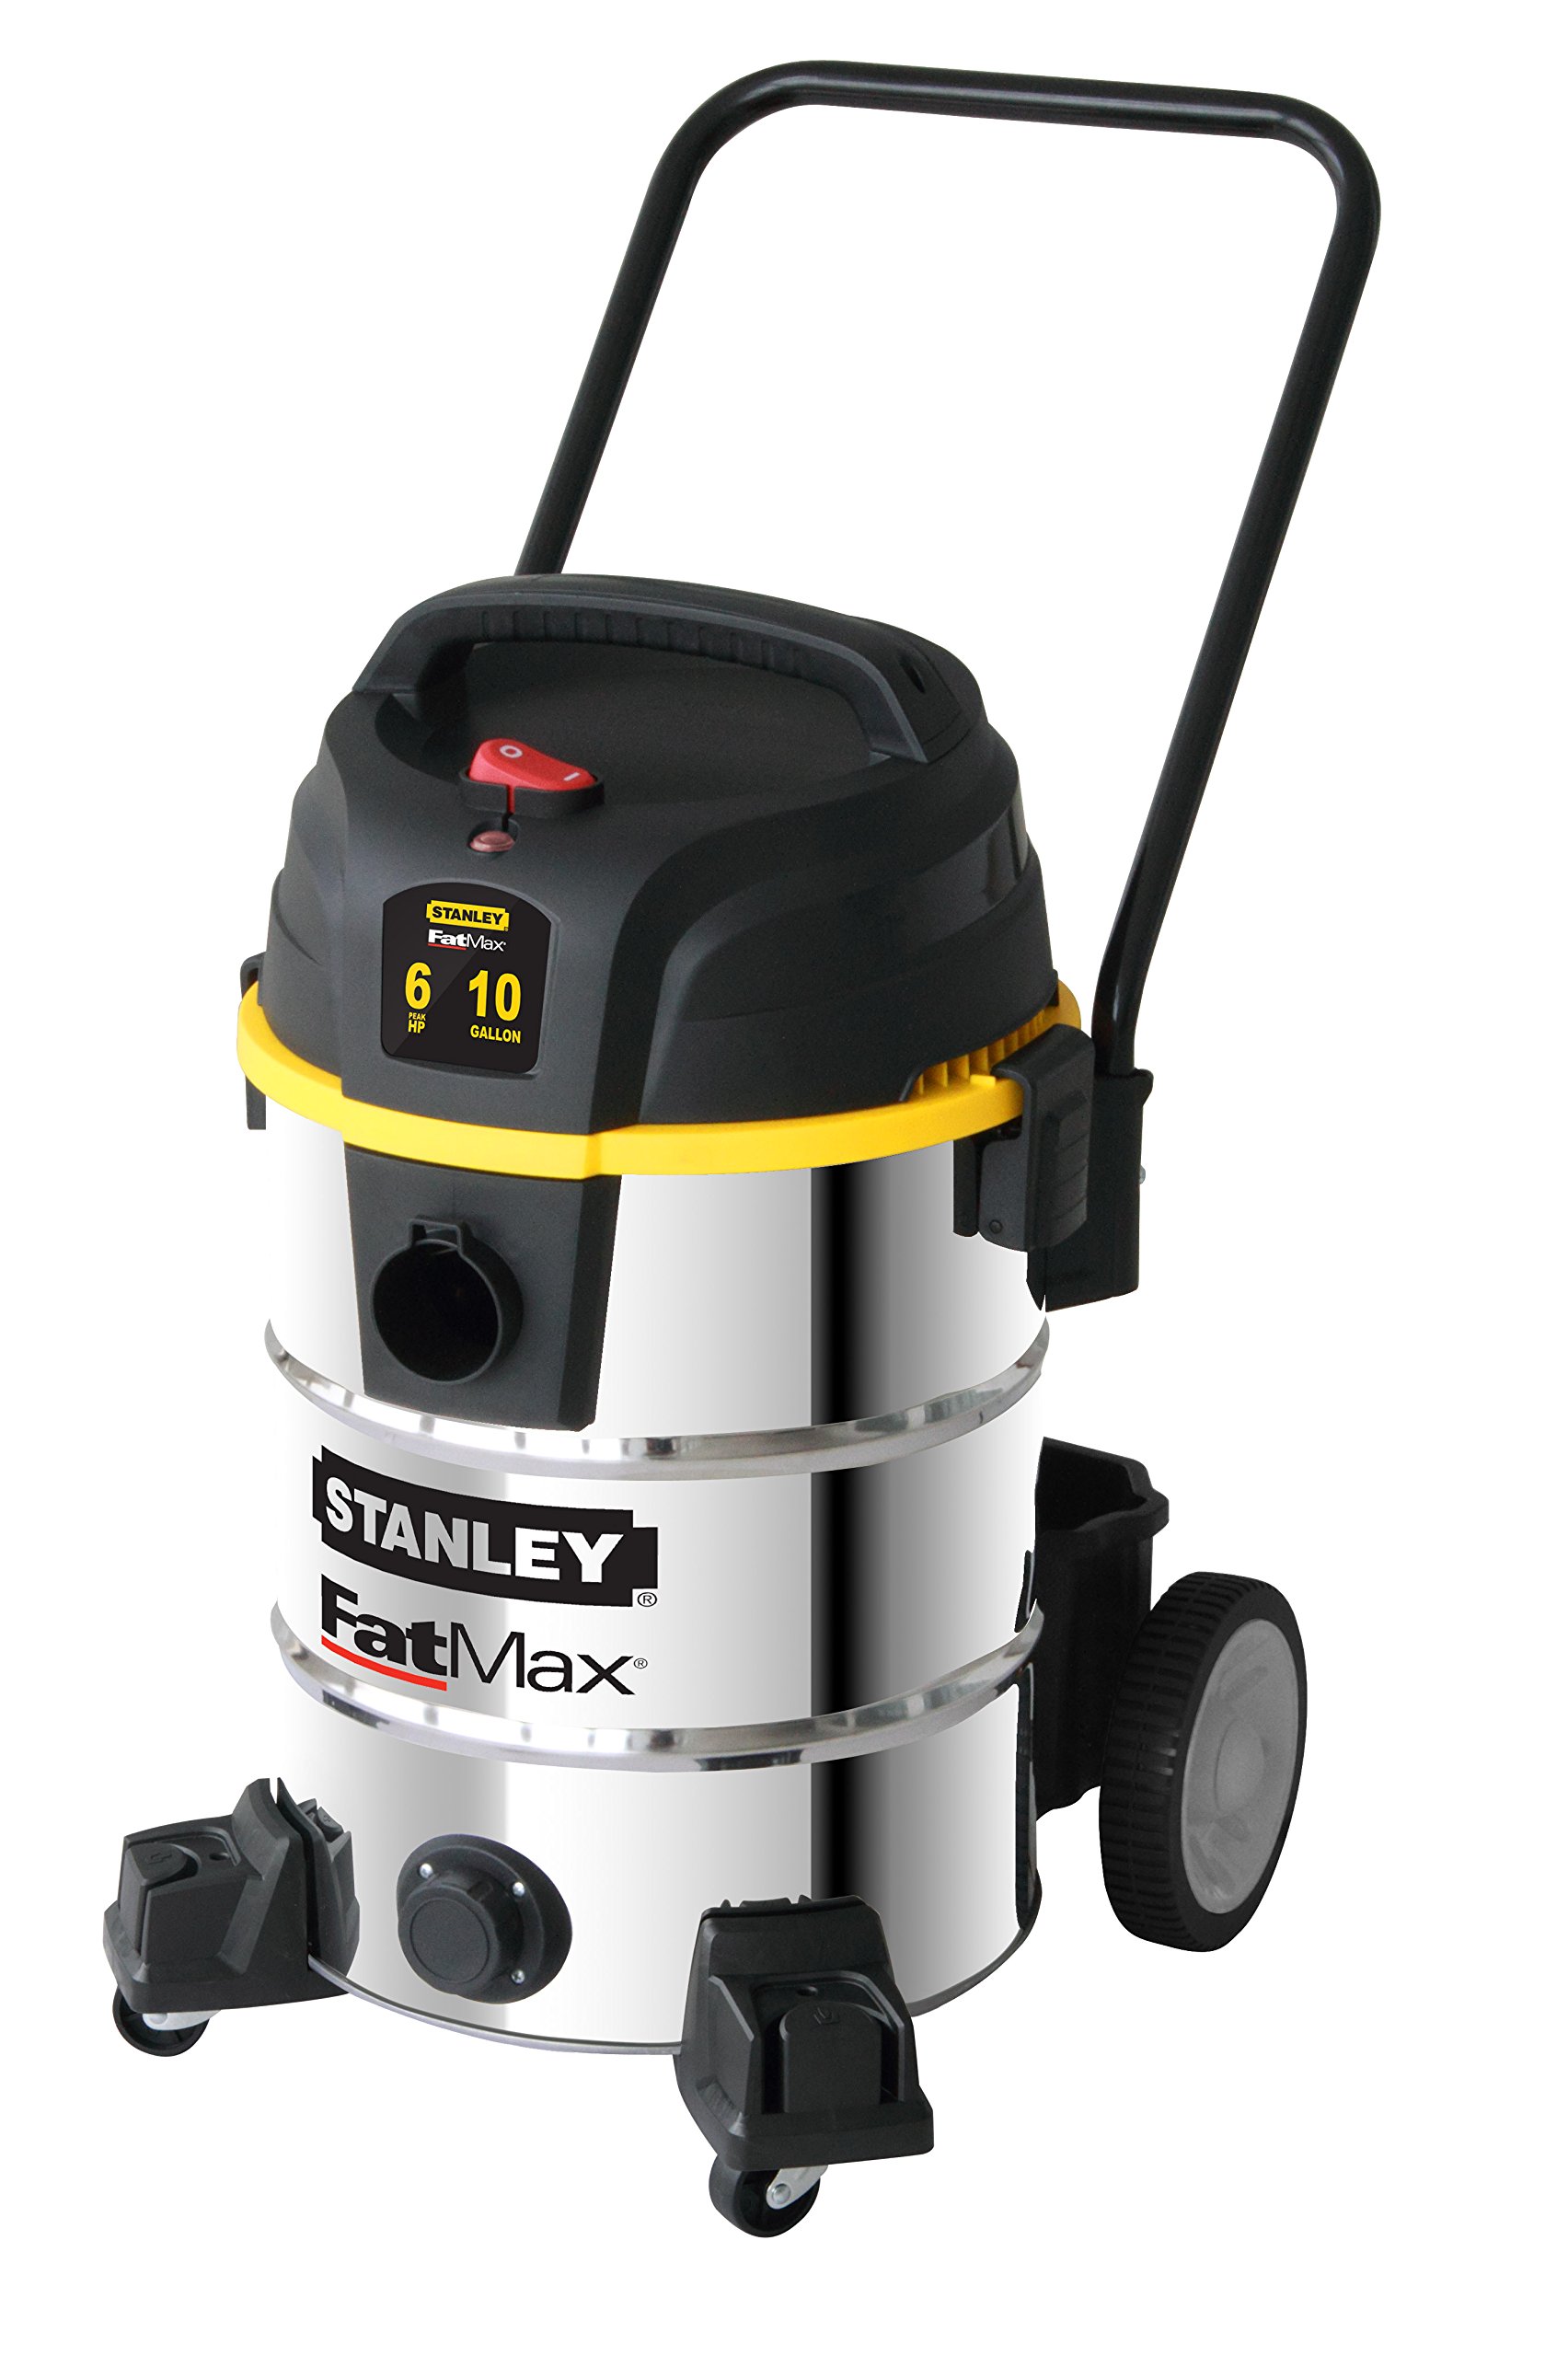
Image: Stanley Fatmax SL18501-12B Wet Dry Vacuum. This image shows the complete vacuum unit, highlighting its stainless steel tank and overall design.
Important Safety Information
Always follow basic safety precautions when using this appliance to reduce the risk of fire, electric shock, or injury.
- Read all instructions before operating the vacuum.
- Do not leave the appliance unattended when plugged in. Unplug from outlet when not in use and before servicing.
- Do not use outdoors or on wet surfaces.
- Do not allow to be used as a toy. Close attention is necessary when used by or near children.
- Use only as described in this manual. Use only manufacturer's recommended attachments.
- Do not use with damaged cord or plug. If appliance is not working as it should, has been dropped, damaged, left outdoors, or dropped into water, return it to a service center.
- Do not pull or carry by cord, use cord as a handle, close a door on cord, or pull cord around sharp edges or corners. Do not run appliance over cord. Keep cord away from heated surfaces.
- Do not unplug by pulling on cord. To unplug, grasp the plug, not the cord.
- Do not handle plug or appliance with wet hands.
- Do not put any object into openings. Do not use with any opening blocked; keep free of dust, lint, hair, and anything that may reduce air flow.
- Keep hair, loose clothing, fingers, and all parts of body away from openings and moving parts.
- Do not pick up anything that is burning or smoking, such as cigarettes, matches, or hot ashes.
- Do not use to pick up flammable or combustible liquids, such as gasoline, or use in areas where they may be present.
- Do not pick up toxic material, such as chlorine bleach, ammonia, or drain cleaner.
- Do not use without filters in place.
- Turn off all controls before unplugging.
- Use extra care when cleaning on stairs.
- This appliance is intended for household use only.
Package Contents
Verify that all components listed below are included in your package. If any parts are missing or damaged, contact customer support.

Image: Stanley Fatmax SL18501-12B Wet Dry Vacuum Accessories. This image displays the various accessories included with the vacuum, such as the hose, extension wands, crevice nozzle, utility brush, floor brush, dust bag, and cartridge filter.
- 12 Gallon Stainless Steel Tank Vacuum Unit
- 6-foot Hose (2.5 inches diameter)
- 2 Extension Wands
- Crevice Nozzle
- Utility Brush
- Floor Brush
- Dust Bag
- Cartridge Filter
Setup and Assembly
1. Attaching the Hose
- Locate the hose port on the front of the vacuum tank.
- Insert the larger end of the hose into the port and twist clockwise to secure it firmly.
2. Installing Filters for Dry Vacuuming
For dry vacuuming, both the cartridge filter and a dust bag are recommended.
- Remove the power head from the tank by releasing the latches.
- Slide the cartridge filter over the filter cage, ensuring it fits snugly. Secure it with the filter cap.
- Attach the dust bag to the inlet port inside the tank, ensuring the cardboard collar covers the port opening.
- Replace the power head and secure the latches.
3. Preparing for Wet Vacuuming
For wet vacuuming, remove the dust bag and cartridge filter.
- Remove the power head from the tank.
- Carefully remove the cartridge filter and dust bag. Store them in a dry, clean place.
- Replace the power head and secure the latches.
4. Attaching Accessories
Attach extension wands and desired nozzles (crevice nozzle, utility brush, or floor brush) to the end of the hose as needed for your cleaning task.
Operating Instructions
1. Dry Vacuuming
- Ensure the cartridge filter and dust bag are correctly installed.
- Plug the power cord into a suitable electrical outlet.
- Turn the vacuum ON using the power switch.
- Begin vacuuming dry debris.
- When finished, turn the vacuum OFF and unplug it.
2. Wet Vacuuming
- Ensure the cartridge filter and dust bag are removed.
- Plug the power cord into a suitable electrical outlet.
- Turn the vacuum ON using the power switch.
- Begin vacuuming liquids. The vacuum will automatically shut off when the tank is full.
- When finished, turn the vacuum OFF, unplug it, and empty the tank.
3. Blower Function
- Locate the blower port on the rear of the power head.
- Remove the hose from the vacuum port.
- Insert the hose into the blower port and twist clockwise to secure it.
- Plug the power cord into a suitable electrical outlet.
- Turn the vacuum ON to use the blower function.
- When finished, turn the vacuum OFF and unplug it.
Maintenance
Regular maintenance ensures optimal performance and extends the life of your vacuum.
1. Emptying the Tank
After each use, especially wet vacuuming, empty the tank. The tank features a drain plug for easy liquid disposal.
- Unplug the vacuum.
- Release the latches and remove the power head.
- Carefully pour out the contents or use the tank drain plug for liquids.
- Clean the inside of the tank with a damp cloth if necessary.
- Replace the power head and secure the latches.
2. Cleaning/Replacing the Cartridge Filter
The cartridge filter should be cleaned regularly for dry vacuuming. Replace it when it becomes excessively dirty or damaged.
- Unplug the vacuum and remove the power head.
- Remove the filter cap and slide the cartridge filter off the filter cage.
- Gently tap the filter to remove loose dust, or rinse it with water if heavily soiled. Allow it to air dry completely before reinstallation.
- Reinstall the dry filter and secure with the filter cap.
3. Replacing the Dust Bag
Replace the dust bag when it is full or when suction power decreases significantly during dry vacuuming.
- Unplug the vacuum and remove the power head.
- Carefully detach the full dust bag from the inlet port.
- Install a new dust bag, ensuring the cardboard collar covers the port opening.
- Replace the power head and secure the latches.
4. Hose and Accessory Care
Inspect the hose and accessories for blockages or damage regularly. Clear any obstructions to maintain optimal airflow.
Troubleshooting
Refer to this section for common issues and their solutions.
| Problem | Possible Cause | Solution |
|---|---|---|
| Vacuum does not turn on. | No power to the outlet; Power cord not plugged in; Power switch is OFF. | Check power outlet; Ensure cord is securely plugged in; Turn power switch ON. |
| Loss of suction. | Hose or nozzle blocked; Tank full (wet vacuuming); Filter clogged; Dust bag full (dry vacuuming). | Check and clear blockages; Empty tank; Clean or replace filter; Replace dust bag. |
| Water leaking from tank. | Drain plug not secured; Power head not properly sealed. | Ensure drain plug is tightly closed; Check power head latches are secured. |
| Motor stops during wet vacuuming. | Tank is full and float mechanism has activated. | Empty the tank. |
Specifications
| Feature | Detail |
|---|---|
| Model Number | SL18501-12 |
| Capacity | 12 Gallons |
| Peak Horsepower | 6 HP |
| Hose Dimensions | 2.5" x 6' |
| Tank Material | Stainless Steel |
| Power Source | Corded Electric |
| Filter Type | Cartridge |
| Special Features | Wet, Dry, Blower Port, Tank Drain |
| Item Weight | 21.32 kg |
| Manufacturer | Stanley |
Warranty & Support
This Stanley Fatmax SL18501-12B Wet Dry Vacuum is covered by a manufacturer's warranty. For specific warranty details, claims, or technical support, please refer to the warranty card included with your product or contact Stanley customer service.
Manufacturer Contact Information: New Britain, CT 06053, WA.


