1. Introduction
This manual provides instructions for the installation, operation, and maintenance of your JOYLIT 24V LED Strip Lights. These lights feature 300 bright daylight white LEDs (6000-6500K) over 16.4 feet (5 meters) and are IP65 waterproof. Designed for various applications, they offer energy-efficient lighting with a low 24V voltage for safety.

Image 1.1: Overview of the JOYLIT 24V LED Strip Lights, highlighting 24V DC, IP65 waterproof rating, 300 LEDs, and 16.4ft length.
2. Safety Instructions
- Voltage Compatibility: This product operates on 24V DC. Do not use a 12V power supply, as it will not function correctly and may cause damage. A power adapter and dimmer switch are not included and must be purchased separately.
- Heat Emission: The LED strip emits extremely low heat, making it safe to touch for children and pets.
- Installation Surface: Ensure the installation surface is clean, dry, and smooth for optimal adhesive performance.
- Cutting: Only cut the LED strip along the designated cutting marks (every 6 LEDs or 10cm) to avoid damaging the circuit.
- Water Resistance: The IP65 rating indicates protection against dust and low-pressure water jets. It is suitable for indoor use and areas with potential splashes but should not be submerged in water.
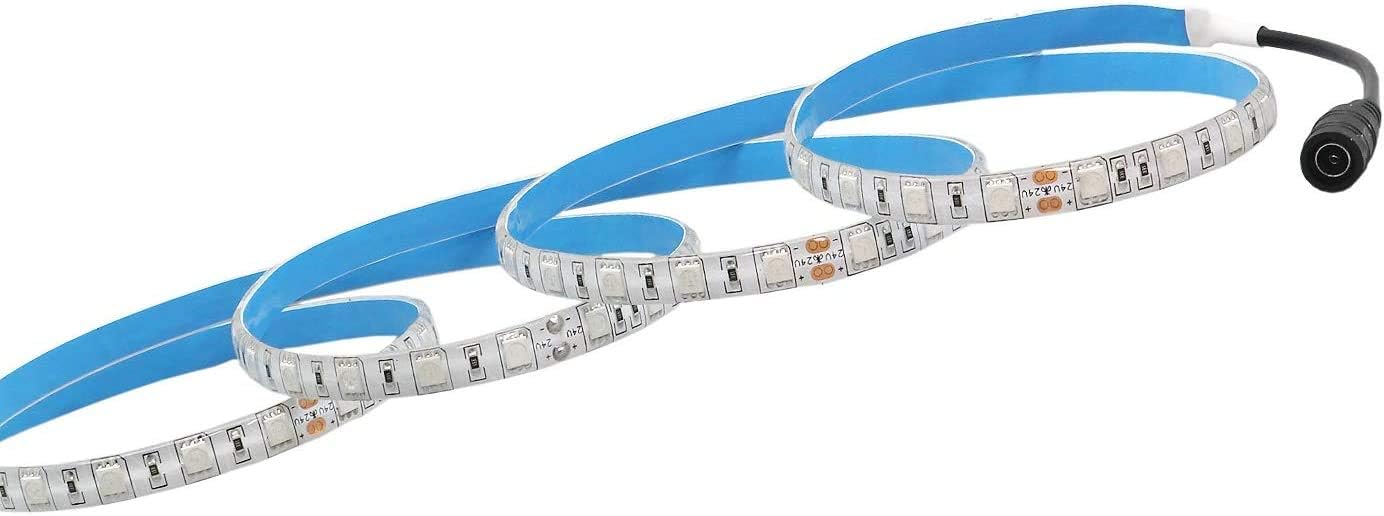
Image 2.1: Illustrates the requirement for a 24V power supply. A 12V power supply will not work with this product.
3. Package Contents
The package includes:
- 1 x 6000K White LED Strip Lights (16.4ft / 5M)
Note: Power adapter and dimmer switch are not included.

Image 3.1: The JOYLIT LED strip light provided on a reel.
4. Specifications
| Feature | Specification |
|---|---|
| Brand | JOYLIT |
| Model Number | 5050SWC-NW |
| Color | White (6000-6500K) |
| Length | 16.4ft / 5M |
| LED Type | 5050 SMD |
| Number of LEDs | 300 |
| Waterproof Rating | IP65 |
| Voltage | 24 Volts |
| Wattage | 40 Watts (approx. 8W/meter) |
| Luminous Flux | 2000 Lumen |
| Average Life | 50000 Hours |
| Special Feature | Dimmable, Energy Efficiency |
| Indoor/Outdoor Usage | Indoor |
5. Setup Instructions
5.1 Preparing the Surface
Before installation, ensure the surface where the LED strip will be applied is clean, dry, and free of dust or grease. This is crucial for the adhesive to bond effectively.
5.2 Peeling the Adhesive Backing
The LED strip features an upgraded adhesive for strong bonding. To properly expose the adhesive layer, carefully peel off the blue protection foil. It is recommended to use a knife or other sharp tool to gently lift the edge of the blue foil from the adhesive layer, rather than peeling from the LED strip layer itself. If the temperature is low (e.g., in winter), you may use a hair dryer to gently warm the adhesive to improve its stickiness.

Image 5.1: Features of the LED strip, including cuttable sections, pre-wired DC connector, and upgraded adhesive.
For a visual guide on correctly peeling the adhesive backing, please watch the following video:
Video 5.1: Demonstrates the correct method for peeling the adhesive backing from the LED strip to ensure proper adhesion.
5.3 Applying the LED Strip
Once the blue protection foil is removed, carefully position the LED strip on your desired surface. Press firmly along the entire length of the strip to ensure good contact between the adhesive and the surface. For best results, press the strip repeatedly after initial placement.

Image 5.2: The LED strip with its pre-wired DC connector, ready for installation.
5.4 Connecting Power
Connect the pre-wired DC connector of the LED strip to a compatible 24V DC power adapter (not included). If using a dimmer switch (not included), connect it between the power adapter and the LED strip. Ensure all connections are secure.
5.5 Cutting the LED Strip (Optional)
The LED strip can be cut to your desired length. Look for the designated cutting marks, typically indicated by a copper pad or a scissor icon, every 6 LEDs (approximately 10cm). Cut only along these marks to avoid damaging the circuit and rendering a section of the strip inoperable.
The JOYLIT 24V LED Strip Lights are versatile and can be used in various settings:
- Kitchen cabinets and under-cabinet lighting
- Book shelves and display cases
- TV bias lighting
- Bedroom walls and ceilings
- Stairways and hallways
- Commercial and home accent lighting

Image 5.3: Example of LED strip lights providing illumination under kitchen cabinets.

Image 5.4: Multiple application examples, including kitchen, TV backlighting, bar, bedroom, and stairway lighting.
6. Operating Instructions
6.1 Power On/Off
Once connected to a 24V power supply, the LED strip will illuminate. If you have installed an optional dimmer switch, use it to turn the lights on or off.
6.2 Adjusting Brightness (with Dimmer)
If a compatible dimmer switch is installed, you can adjust the brightness level of the LED strip from 1% to 100% according to your preference. Refer to your dimmer switch's manual for specific operation instructions.
7. Maintenance
- Cleaning: To clean the LED strip, gently wipe it with a soft, dry cloth. Avoid using abrasive cleaners or excessive moisture, especially on non-waterproof sections or connections.
- Adhesive Longevity: While the adhesive is designed for strong hold, factors like surface type, temperature fluctuations, and humidity can affect its long-term performance. If the strip begins to detach, consider using additional clips or a stronger adhesive for reinforcement.
- Inspection: Periodically inspect the strip and connections for any signs of wear or damage.
8. Troubleshooting
| Problem | Possible Cause | Solution |
|---|---|---|
| LED strip does not light up. |
|
|
| LED strip is not sticking well. |
|
|
| Sections of the LED strip are not lighting up. |
|
|
| LEDs appear dimmer or yellowed over time. |
|
|
9. Warranty and Support
For warranty information or technical support, please refer to the product packaging or contact JOYLIT customer service through their official channels. Keep your purchase receipt for warranty claims.


