1. Product Overview
The ORICO 9558RU3 is a 5-bay external RAID enclosure designed for 3.5-inch SATA hard disk drives. It provides a quick and simple solution for expanding storage capacity with USB 3.0 connectivity, supporting various RAID modes for data management and protection. The aluminum housing ensures effective heat dissipation, and its tool-free design simplifies drive installation.
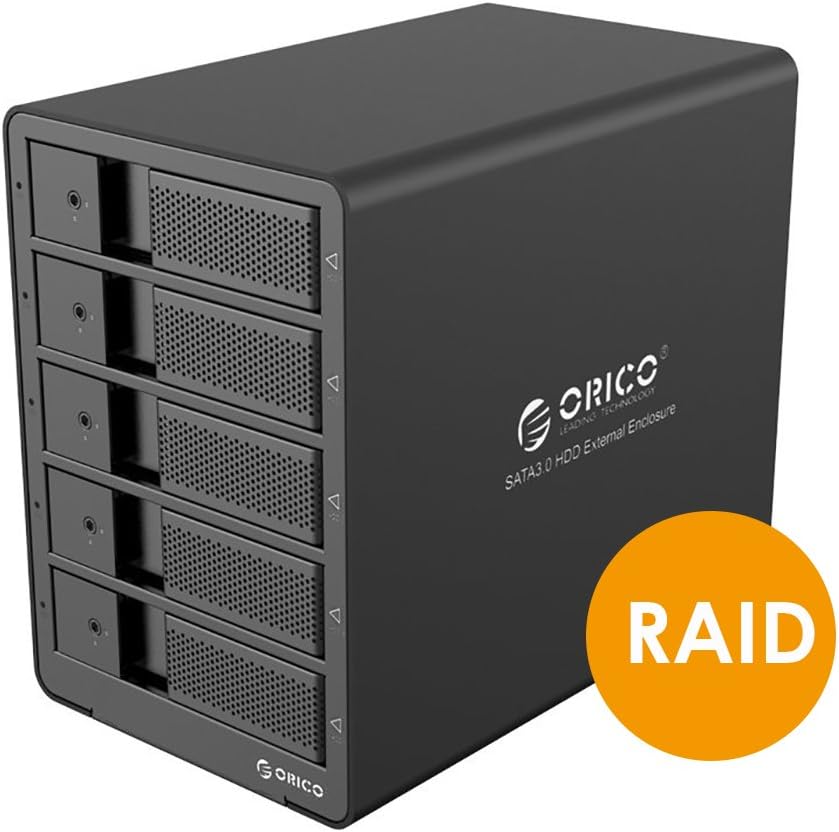
Figure 1: ORICO 9558RU3 5-Bay RAID HDD Enclosure front view.
2. Package Contents
Please verify that all items are present in the package:
- 1x ORICO 9558RU3 5-Bay Enclosure
- 1x 12V 6.5A Power Adapter
- 1x 3.3-Foot USB 3.0 Cable (Type B to Type A)
- 1x 3.3-Foot USB 3.0 Cable (Type B to Type C)
- 1x HDD Care Locking Key
- 1x User Manual (this document)
3. Setup and Installation
3.1. Hard Drive Installation
The enclosure features a tool-free design for easy installation of 3.5-inch SATA hard drives.
- Gently pull the front door of an empty bay to open it.
- Slide a 3.5-inch SATA HDD into the open bay until it is securely seated. Ensure the SATA connectors align properly.
- Close the front door of the bay.
- Repeat for additional hard drives. The enclosure supports up to five 3.5-inch SATA HDDs.
- Use the provided HDD Care Locking Key to secure the drive bays, preventing accidental removal.

Figure 2: Inserting a 3.5-inch SATA HDD into the enclosure.

Figure 3: Front panel illustrating tool-free installation and HDD activity LEDs.
3.2. Connecting to Your Computer
- Connect the 12V 6.5A power adapter to the DC-IN port on the rear panel of the enclosure and then to a power outlet.
- Use either the USB 3.0 Type B to Type A cable or the USB 3.0 Type B to Type C cable to connect the enclosure's USB 3.0 port to an available USB 3.0 port on your computer.
- Flip the ON/OFF switch on the rear panel to the 'ON' position.

Figure 4: Rear panel connections including USB 3.0, DC-IN, and ON/OFF switch.
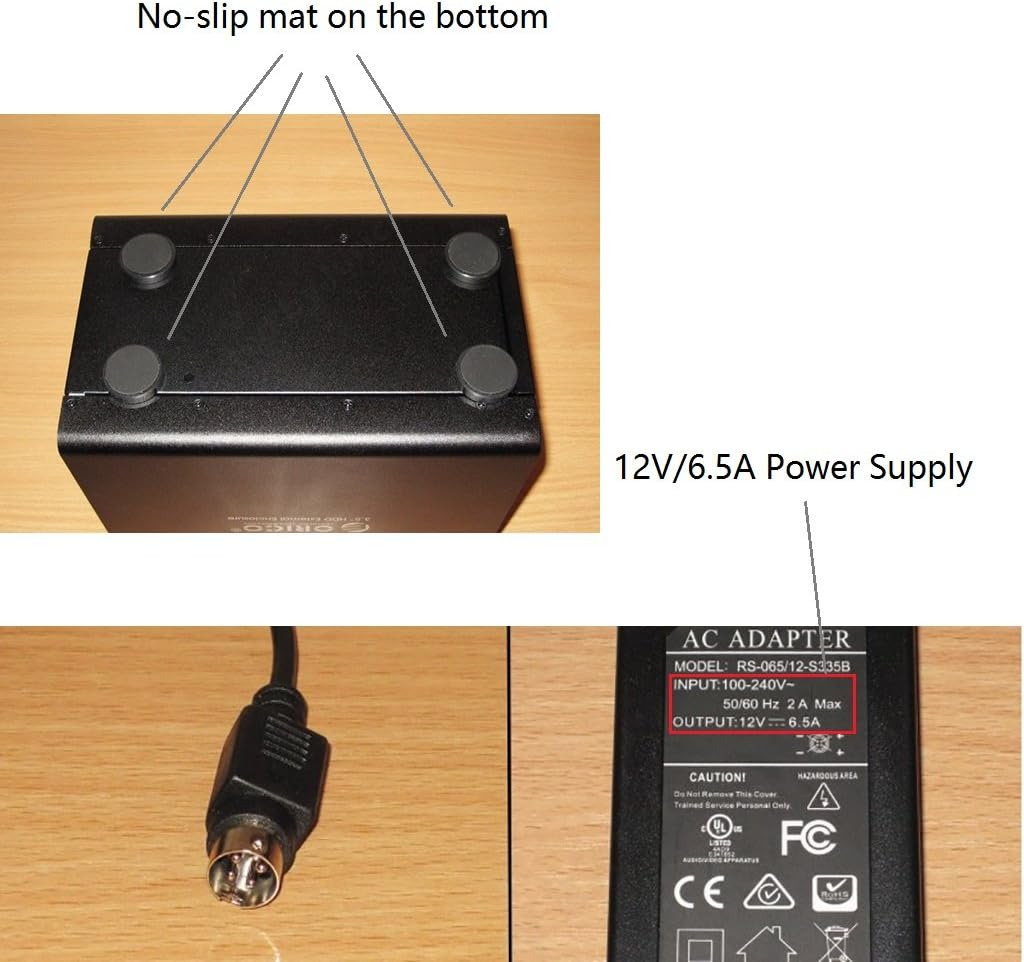
Figure 5: Power adapter details and non-slip base of the enclosure.
4. Operating Instructions
4.1. RAID Configuration
The ORICO 9558RU3 supports various RAID modes to optimize for speed, redundancy, or a combination of both. RAID configuration can be performed using the control switches on the rear panel or via the ORICO HW RAID Manager software.
Available RAID Modes:
- RAID 0 (Striping): Combines drives for maximum speed and capacity, but offers no data redundancy.
- RAID 1 (Mirroring): Duplicates data across drives for redundancy, reducing usable capacity by half.
- RAID 3 (Striping with dedicated parity): Data is striped across drives, with one dedicated drive for parity information. Offers good performance and data redundancy.
- RAID 5 (Striping with distributed parity): Data and parity information are striped across all drives. Offers good performance and data redundancy with efficient storage.
- RAID 10 (RAID 1+0): Combines mirroring and striping for both performance and redundancy. Requires at least four drives.
- Combine (JBOD): Drives are concatenated to form one large volume without striping or redundancy.
- Clear Mode: Resets the RAID configuration.
Hardware RAID Configuration (Rear Panel Switches)
- Power Off the enclosure.
- Locate the DIP switches on the rear panel (refer to Figure 6).
- Set the DIP switches according to the desired RAID mode as indicated in the diagram.
- Press and hold the 'SET' button for approximately 5 seconds until the indicator lights confirm the change.
- Power On the enclosure. The new RAID configuration will be applied.

Figure 6: RAID Mode DIP switch settings on the rear panel.
Software RAID Configuration (ORICO HW RAID Manager)
For advanced RAID management and monitoring, use the ORICO HW RAID Manager software. This software is compatible with Windows, Linux, and Mac operating systems.
- Ensure the enclosure is connected and powered on.
- Download and install the ORICO HW RAID Manager software from the official ORICO website.
- Launch the software. It will detect the connected enclosure.
- Follow the on-screen instructions within the software to configure RAID, view event logs, or manage disk information.

Figure 7: ORICO HW RAID Manager software interface for RAID configuration.
4.2. Power Management
The enclosure features an Intelligent Sleep Function. If the device does not receive data for 5 minutes, or if no data cable is connected for more than 5 minutes, it will enter Intelligent Sleep Mode to conserve energy and prolong HDD lifespan. The device will automatically wake up upon data access.
4.3. LED Indicators
Each drive bay has an LED indicator that shows HDD activity. A blue light typically indicates power, while a flashing light indicates data access.
5. Maintenance
To ensure optimal performance and longevity of your ORICO 9558RU3 enclosure:
- Keep the enclosure in a well-ventilated area to assist with heat dissipation.
- Clean the exterior with a soft, dry cloth. Avoid liquid cleaners.
- Do not block the ventilation fan on the rear panel.
- Avoid exposing the device to extreme temperatures, humidity, or direct sunlight.
- Ensure the power adapter is securely connected to prevent power interruptions.
6. Troubleshooting
If you encounter issues with your ORICO 9558RU3, please refer to the following common solutions:
- Enclosure not recognized by computer:
- Ensure all cables (power and USB) are securely connected.
- Verify the enclosure is powered on.
- Try connecting to a different USB port on your computer.
- Test with a different USB cable.
- Ensure your operating system drivers are up to date.
- Hard drives not detected:
- Confirm that hard drives are properly seated in their bays.
- Check if the hard drives are functional by testing them individually.
- If using RAID, ensure the RAID configuration is correctly set and initialized. New drives may need to be formatted or partitioned by your operating system.
- Slow data transfer speeds:
- Ensure you are connected to a USB 3.0 port on your computer. USB 2.0 ports will result in slower speeds.
- Verify the health of your hard drives.
- Consider the performance characteristics of your chosen RAID mode.
- Enclosure enters sleep mode unexpectedly:
- The Intelligent Sleep Function activates after 5 minutes of inactivity. This is normal behavior.
- If it sleeps during active use, ensure the USB data cable is firmly connected and not faulty.
7. Specifications
| Feature | Specification |
|---|---|
| Model Number | 9558RU3 |
| Hard Disk Form Factor | 3.5 Inches |
| Max Number of Supported Devices | 5 |
| Max Capacity | 40TB (5 x 8TB HDDs) |
| Data Transfer Rate | Up to 5 Gbps (USB 3.0) |
| Connectivity Technology | USB 3.0 (Type A and Type C compatible) |
| RAID Modes | RAID 0/1/3/5/10/Combine/Clear Mode |
| Power Adapter | 12V 6.5A |
| Compatibility | Windows, Linux kernels 3.0 or Later, Mac OS |
| Product Dimensions (LxWxH) | 9.06 x 5.51 x 7.87 inches (230 x 146 x 211 mm) |
| Item Weight | 5.73 pounds |
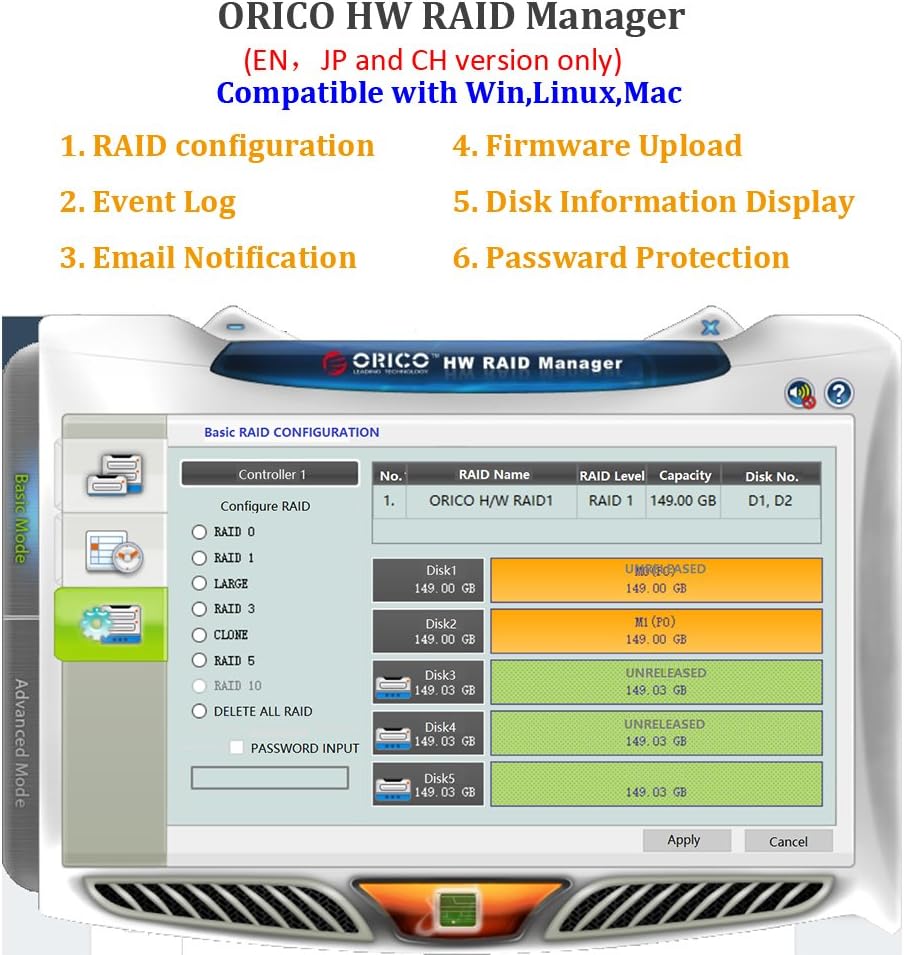
Figure 8: Product dimensions.
8. Warranty and Support
For warranty information and technical support, please refer to the official ORICO website or contact your retailer. Keep your purchase receipt for warranty claims.


