1. Setup and Initial Use
1.1 Unpacking and Components
Carefully remove your SINGER Start 1304 sewing machine from its packaging. Ensure all components are present. The machine comes with an accessory kit to get you started.
- All-Purpose Foot
- Zipper Foot
- Buttonhole Foot
- Darning Plate
- Pack of Needles
- Bobbins
- Needle Plate Screwdriver
- Spool Pin Felts
- Seam Ripper / Lint Brush
- Power Line Cord
- Foot Control
- Quick Start Guide
- Instruction Manual

1.2 Power Connection
Connect the power cord to the machine and then to a suitable electrical outlet. Plug the foot control into the designated port on the machine. The machine is powered by a corded electric source.
1.3 Threading the Machine
Proper threading is crucial for successful sewing. Follow the numbered diagram printed on the machine for easy top thread and bobbin winding. The automatic bobbin winding system will stop when the bobbin is full.

2. Operating Your SINGER Start 1304
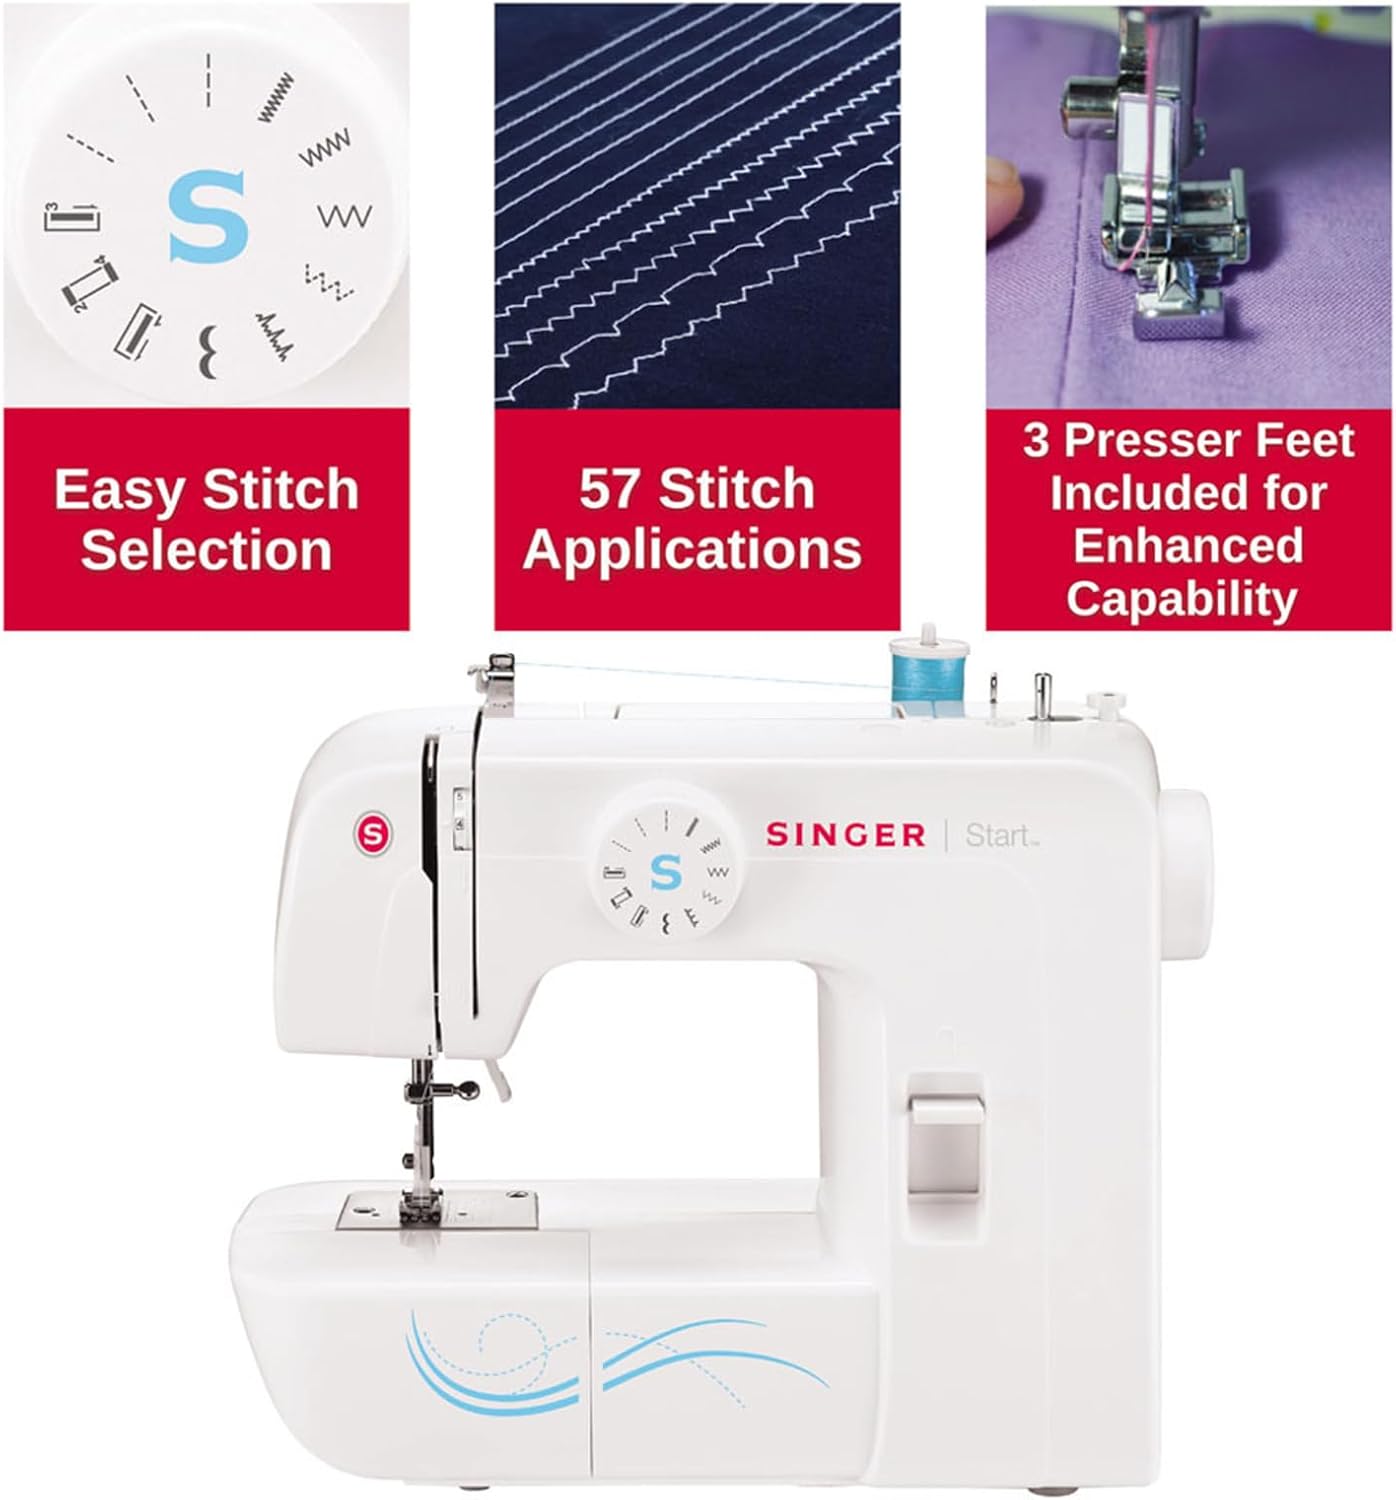
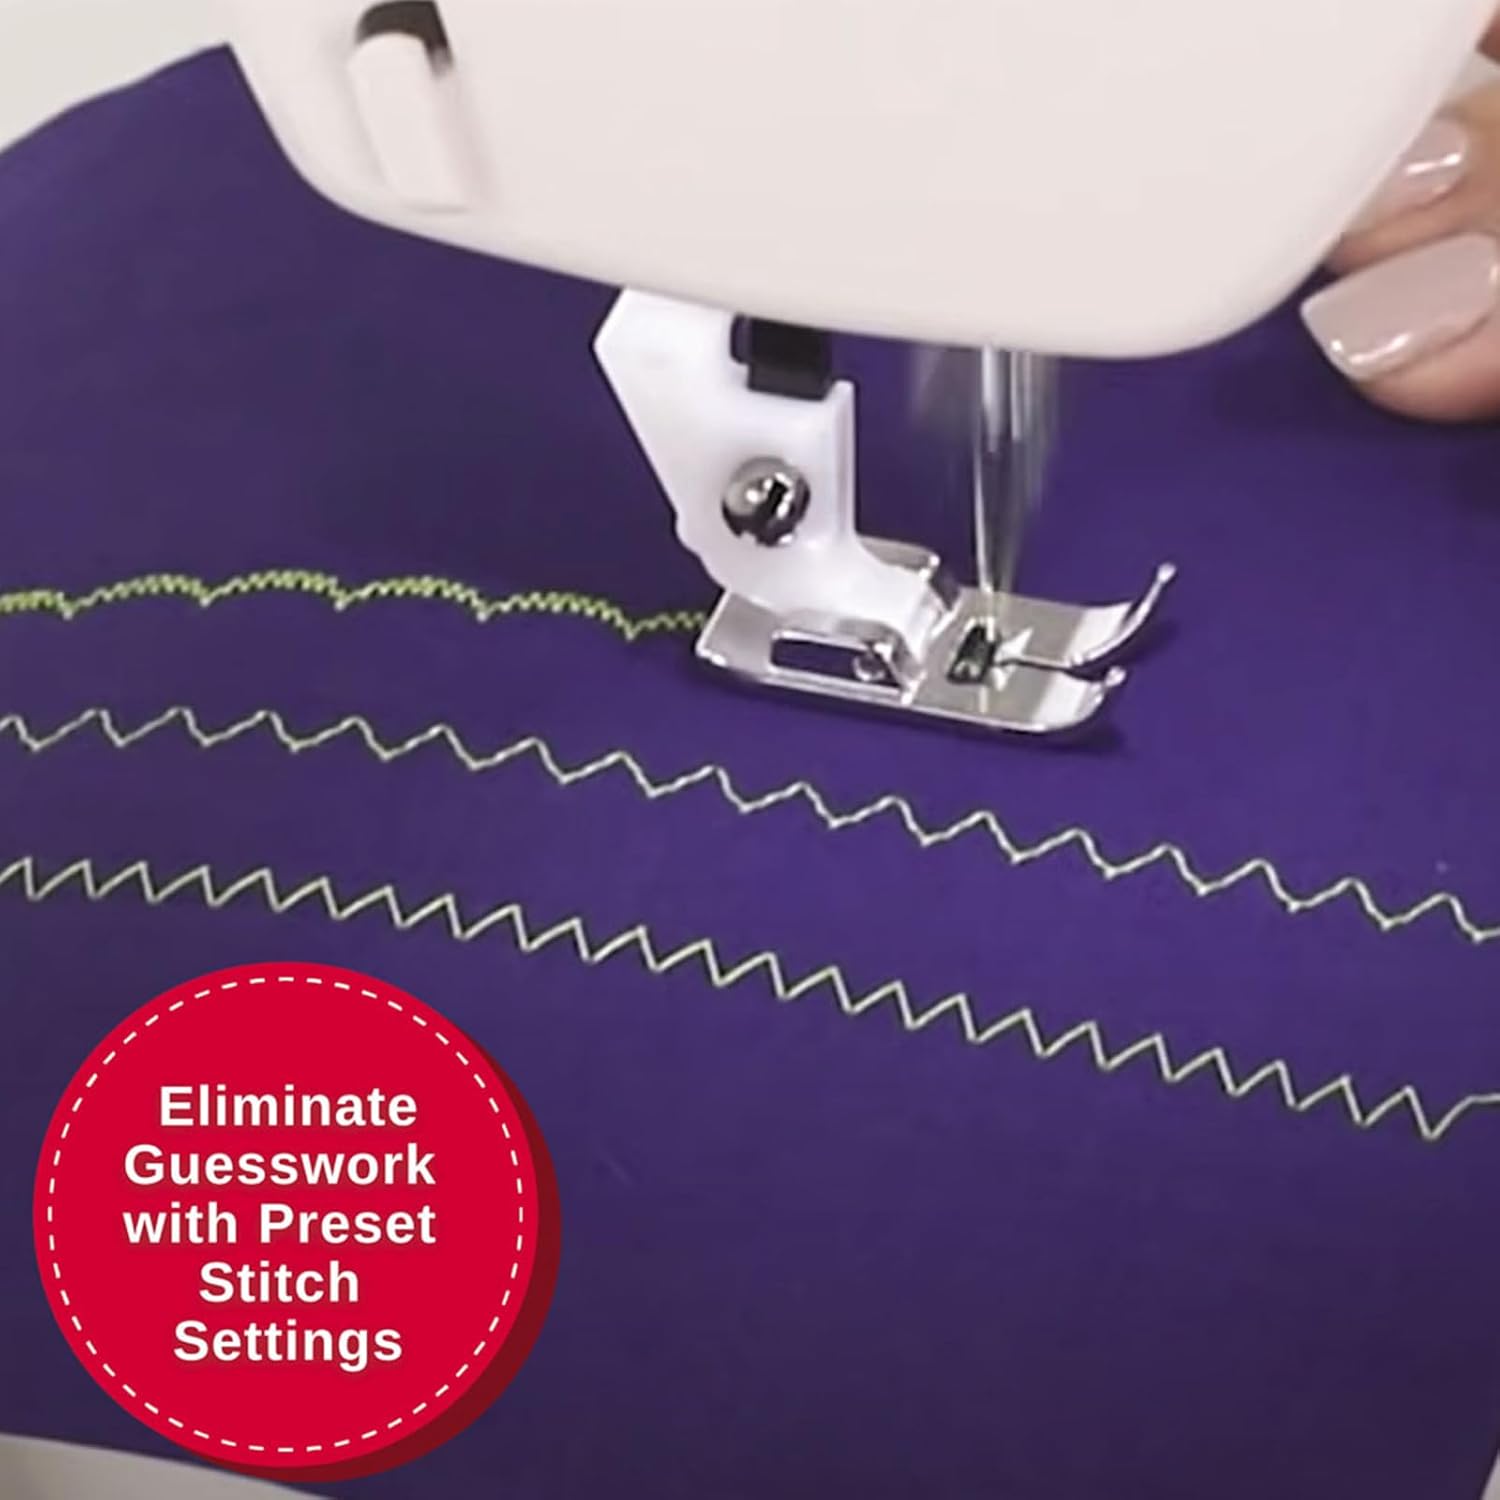
2.1 Stitch Selection
The SINGER Start 1304 offers 57 stitch applications with pre-set stitch width and length. Use the stitch selector dial to choose your desired stitch. Available stitches include straight, zigzag, satin, blind hem, scallop, and a 4-step buttonhole.
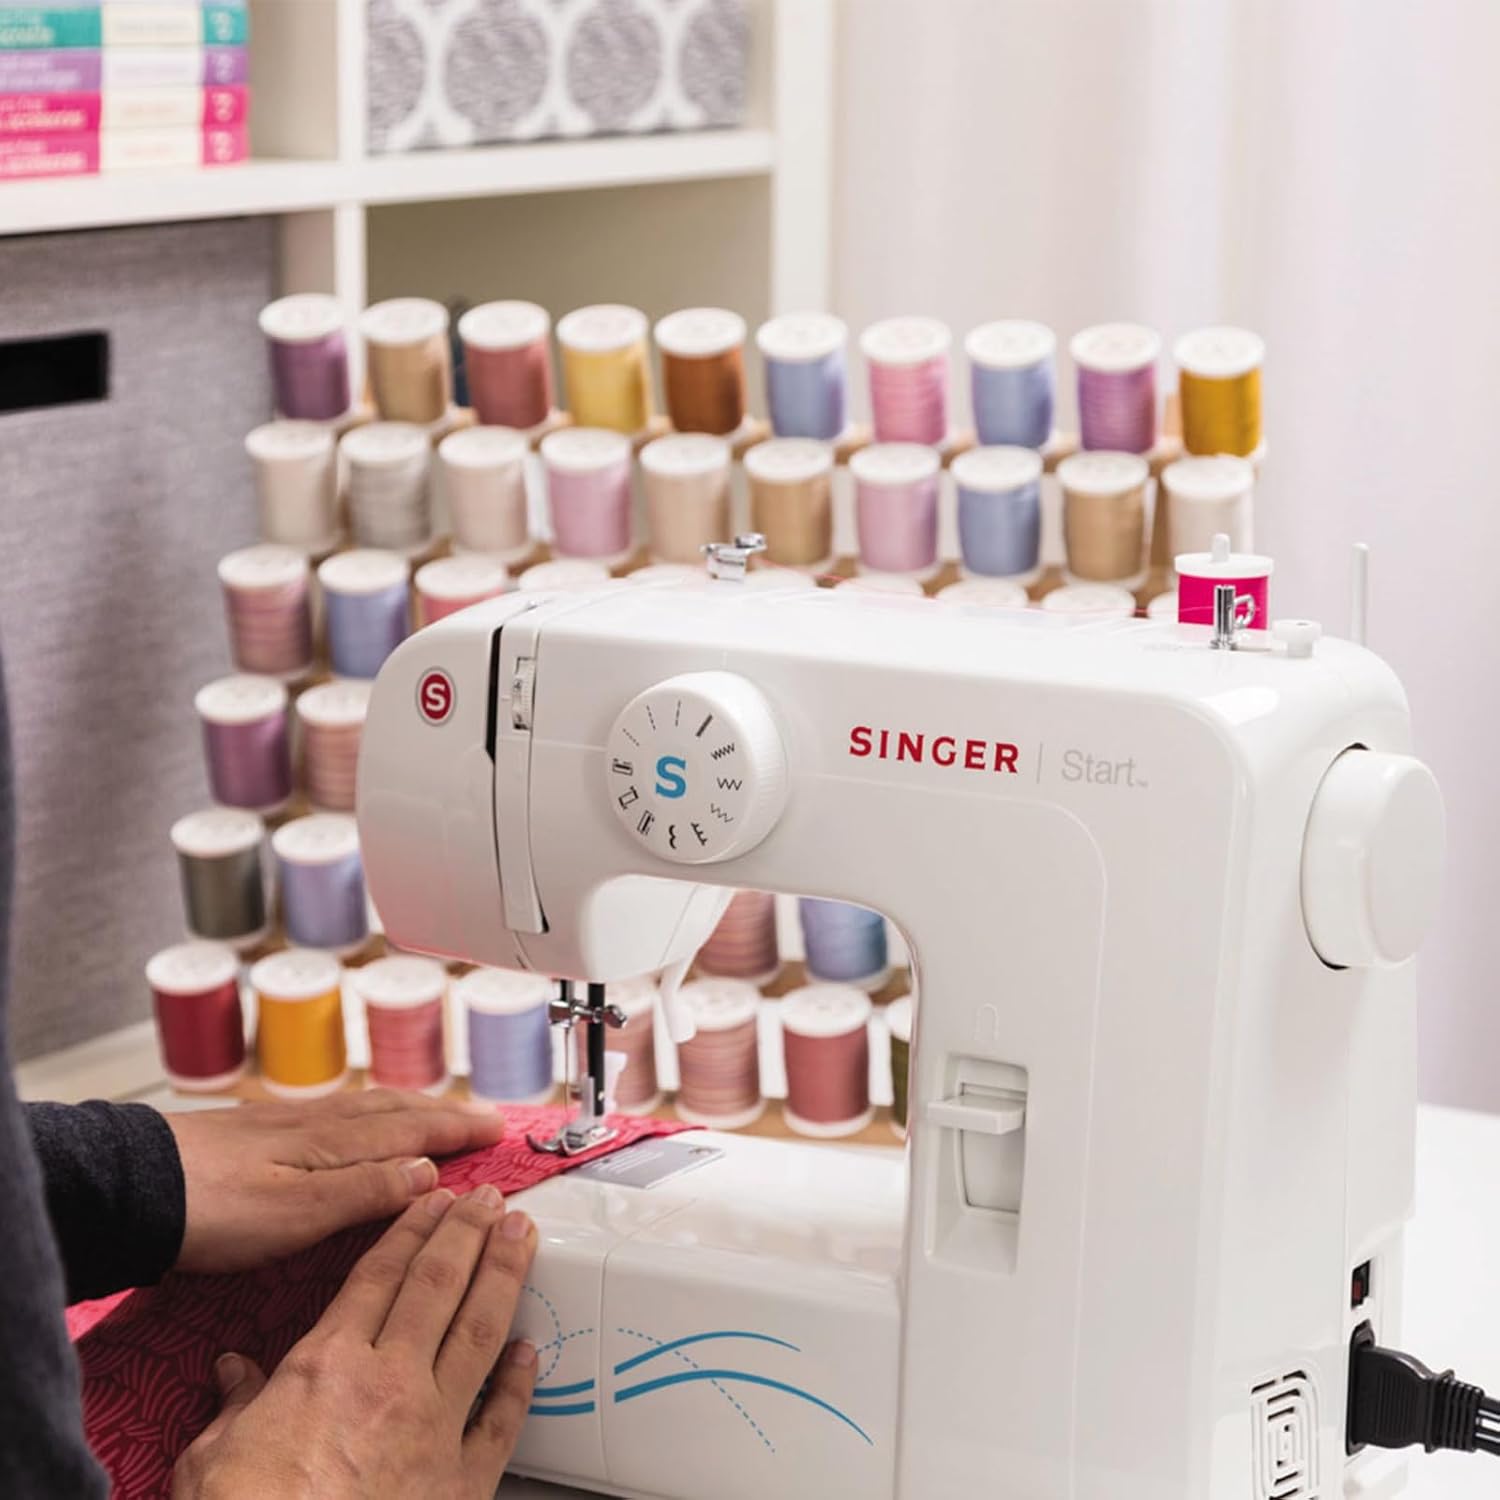
2.2 Sewing Basics
Place your fabric under the presser foot. Use the foot pedal to control the sewing speed. For securing seams, utilize the built-in reverse lever to sew backward at the beginning and end of your stitches.
2.3 Buttonholes
The machine features a simple 4-step buttonhole function. Attach the buttonhole foot and follow the instructions in the quick start guide to create consistent buttonholes.

2.4 Adjustable Tension
Adjust the thread tension settings as needed for different fabric types to ensure balanced stitches. Refer to the instruction manual for specific tension recommendations.
3. Maintenance and Care
3.1 Cleaning
Regularly clean the bobbin area and feed dogs using the provided lint brush to remove lint and thread buildup. This helps maintain smooth operation and prevents issues.
3.2 Needle Replacement
Replace needles frequently, especially when sewing different fabric types or if the needle becomes dull or bent. A fresh needle prevents skipped stitches and fabric damage.
4. Troubleshooting Common Issues
4.1 Skipped Stitches
If stitches are skipping, check if the needle is inserted correctly, is not bent, and is the appropriate type for your fabric. Re-thread the machine completely, ensuring the thread is seated properly in all guides.
4.2 Thread Breakage
Thread breaking can be caused by incorrect tension, a damaged needle, or poor quality thread. Adjust tension, replace the needle, or try a different spool of thread.
4.3 Fabric Jamming
If fabric jams, immediately stop the machine. Raise the needle and presser foot, then gently pull the fabric out. Check for thread tangles in the bobbin area and ensure the feed dogs are clear.
5. Product Specifications
| Feature | Specification |
|---|---|
| Model Number | 1304 |
| Product Dimensions | 13 x 7 x 11.5 inches |
| Item Weight | 11.5 pounds |
| Stitch Applications | 57 |
| Built-in Stitches | 6 (straight, zigzag, satin, blind hem, scallop, 4-step buttonhole) |
| Bobbin Type | Class 15 |
| Presser Feet Included | All-Purpose Foot, Zipper Foot, Buttonhole Foot |
| Power Source | Corded Electric |
| Material | Metal, Plastic |
6. Warranty and Customer Support
The SINGER Start 1304 sewing machine comes with a limited 25-year manufacturer warranty. For detailed warranty information, service, or additional support, please refer to the official SINGER website.
SINGER product manuals are now paperless and available online. Visit singer.com/support for access to the full instruction manual, FAQs, and other helpful resources.


