Introduction
This manual provides detailed instructions for the safe and proper installation, operation, and maintenance of your Chief LTM1U Flat Panel Hardware Mount. Designed for robust support and flexible positioning of flat panel displays, this mount incorporates features like centerless shift, centrist tilt, and control zone leveling adjustment. Please read this manual thoroughly before beginning installation to ensure optimal performance and safety.
Safety Information
WARNING: Failure to read, understand, and follow all instructions can result in serious personal injury, property damage, or voiding of the product warranty.
- Ensure the mounting surface can safely support the combined weight of the mount and the display.
- Always use appropriate tools and personal protective equipment during installation.
- Do not exceed the maximum weight capacity specified for this mount.
- Consult a qualified professional if you are unsure about the installation process or the structural integrity of your wall.
- Keep children and pets away from the installation area.
Package Contents
Before beginning installation, verify that all components listed below are present and undamaged. If any parts are missing or damaged, do not proceed with installation and contact Chief customer support.
- Chief LTM1U Flat Panel Hardware Mount assembly
- Installation hardware kit (screws, washers, spacers, etc.)
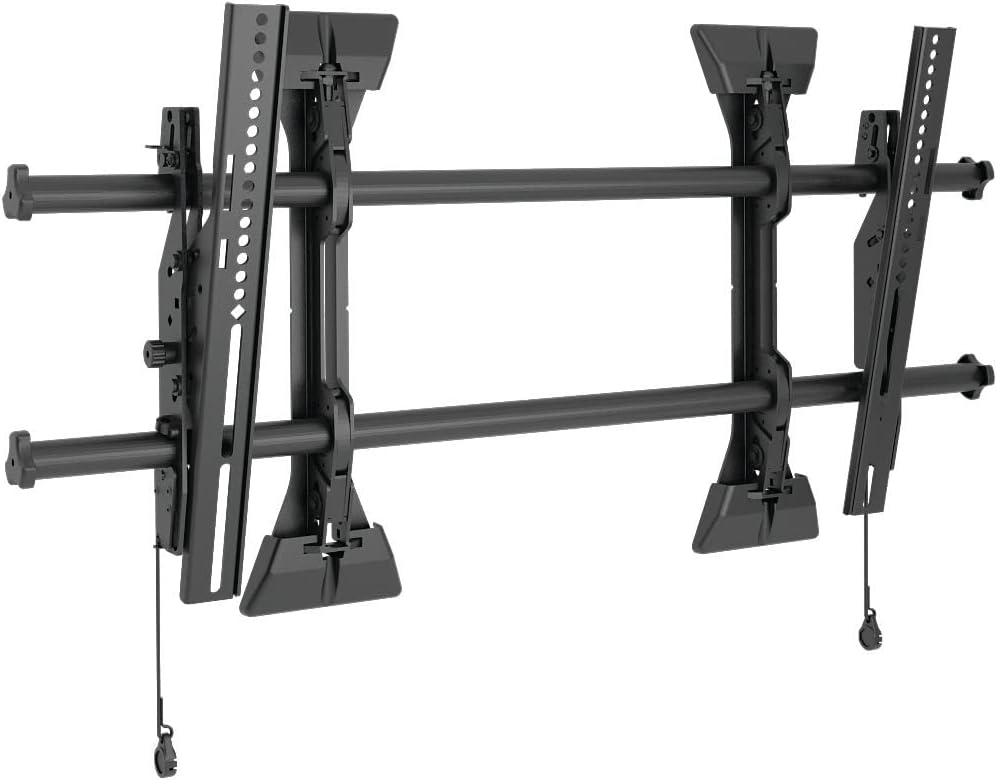 This image displays the complete Chief LTM1U Flat Panel Hardware Mount assembly, featuring the wall plate, display brackets, and horizontal rails. The design allows for easy installation and adjustment of flat panel displays.
Setup and Installation
Proper installation is crucial for the safety and stability of your display. Follow these steps carefully.
- Prepare the Wall: Locate wall studs or suitable mounting points. Mark the desired height and center of your display on the wall. Ensure the area is free of electrical wires or plumbing.
- Attach Wall Plate: Secure the wall plate component of the mount to the wall using the provided lag bolts. Ensure it is level and firmly attached to structural supports.
- Attach Display Brackets: Fasten the vertical display brackets to the back of your flat panel display using the appropriate screws and spacers from the hardware kit. Ensure a secure fit.
- Hang Display: Carefully lift the display and hook the attached brackets onto the horizontal rails of the wall plate. Engage the disconnect latching mechanism to secure the display in place.
- Adjust Positioning: Utilize the centerless shift, centrist tilt, and control zone leveling adjustment features to fine-tune the display's position and angle.
 A side view of the Chief LTM1U mount, highlighting the adjustable tilt mechanism and the robust construction of the display brackets. This view demonstrates the depth of the mount and its components.
 This image illustrates the Chief LTM1U mount installed on a wall, with a transparent outline of a flat panel television superimposed. It provides a visual representation of how the mount supports a display and its relative size.
Operating Instructions
The Chief LTM1U mount offers several adjustment features for optimal viewing.
- Centerless Shift: To horizontally reposition the display, loosen the appropriate fasteners on the wall plate and slide the display along the horizontal rails to the desired position. Retighten fasteners securely.
- Centrist Tilt: Adjust the vertical viewing angle by manipulating the tilt mechanism on the display brackets. Loosen the tilt knobs, set the desired angle, and then retighten the knobs to lock the tilt in place.
- Control Zone Leveling Adjustment: For minor leveling adjustments after installation, use the integrated leveling screws or mechanisms to ensure the display is perfectly horizontal.
- Disconnect Latching: To remove the display from the wall mount, pull the release cords located at the bottom of the display brackets. This disengages the latches, allowing the display to be lifted off the wall plate.
Maintenance
Regular maintenance ensures the longevity and safe operation of your Chief LTM1U mount.
- Cleaning: Wipe the mount surfaces with a soft, dry cloth. Avoid abrasive cleaners or solvents that could damage the finish.
- Periodic Inspection: Annually inspect all fasteners and connections to ensure they remain tight and secure. Check for any signs of wear, corrosion, or damage.
- Lubrication: Moving parts, such as the tilt mechanism, may benefit from occasional lubrication with a silicone-based spray if movement becomes stiff.
Troubleshooting
This section addresses common issues you might encounter with your Chief LTM1U mount.
- Display is not level: Use the control zone leveling adjustment feature to fine-tune the horizontal alignment. Ensure the wall plate was installed level initially.
- Display feels loose: Verify that all mounting screws and bolts are securely tightened, both to the wall and to the display. Re-engage the disconnect latches if they appear disengaged.
- Difficulty adjusting tilt: Loosen the tilt knobs sufficiently before attempting to adjust the angle. If movement is stiff, apply a small amount of lubricant to the pivot points.
- Mount appears damaged: Do not attempt to repair damaged components. Contact Chief customer support for assistance or replacement parts.
Specifications
Refer to the following specifications for your Chief LTM1U Flat Panel Hardware Mount.
| Feature | Detail |
|---|---|
| Brand Name | Chief |
| Item Model Number | LTM1U |
| Item Weight | 18 pounds |
| Product Dimensions | 17 x 2 x 34.75 inches |
| Mounting Type | Wall Mount |
| Movement Type | Tilt |
| Material | Metal |
| Color | Black |
| Compatible Devices | Television |
| Visible Screen Diagonal | 37" / 94 cm |
| UPC | 841872163277, 642892808991 |
Warranty and Support
Chief products are designed for durability and reliability. This product is covered by the manufacturer's warranty. For specific warranty terms and conditions, please refer to the documentation included with your purchase or visit the official Chief website.
For technical support, replacement parts, or further assistance, please contact Chief customer service through their official website or authorized distributors. When contacting support, please have your model number (LTM1U) and purchase information readily available.


