Introduction
Thank you for choosing the Hoover DV70 DV11 Handheld Vacuum Cleaner. This manual provides essential information for the safe and efficient operation, maintenance, and troubleshooting of your appliance. Please read it thoroughly before first use and keep it for future reference.
Important Safety Instructions
- Always disconnect the appliance from the power supply before cleaning or performing maintenance.
- Do not use the vacuum cleaner to pick up water or wet substances.
- Do not pick up flammable or combustible materials, hot ashes, or sharp objects.
- Keep hair, loose clothing, fingers, and all parts of the body away from openings and moving parts.
- Do not operate the vacuum cleaner with a damaged cord or plug.
- This appliance is for domestic use only.
- Ensure the dust container is correctly fitted before use.
Product Overview
Familiarize yourself with the components of your Hoover DV70 DV11 vacuum cleaner.
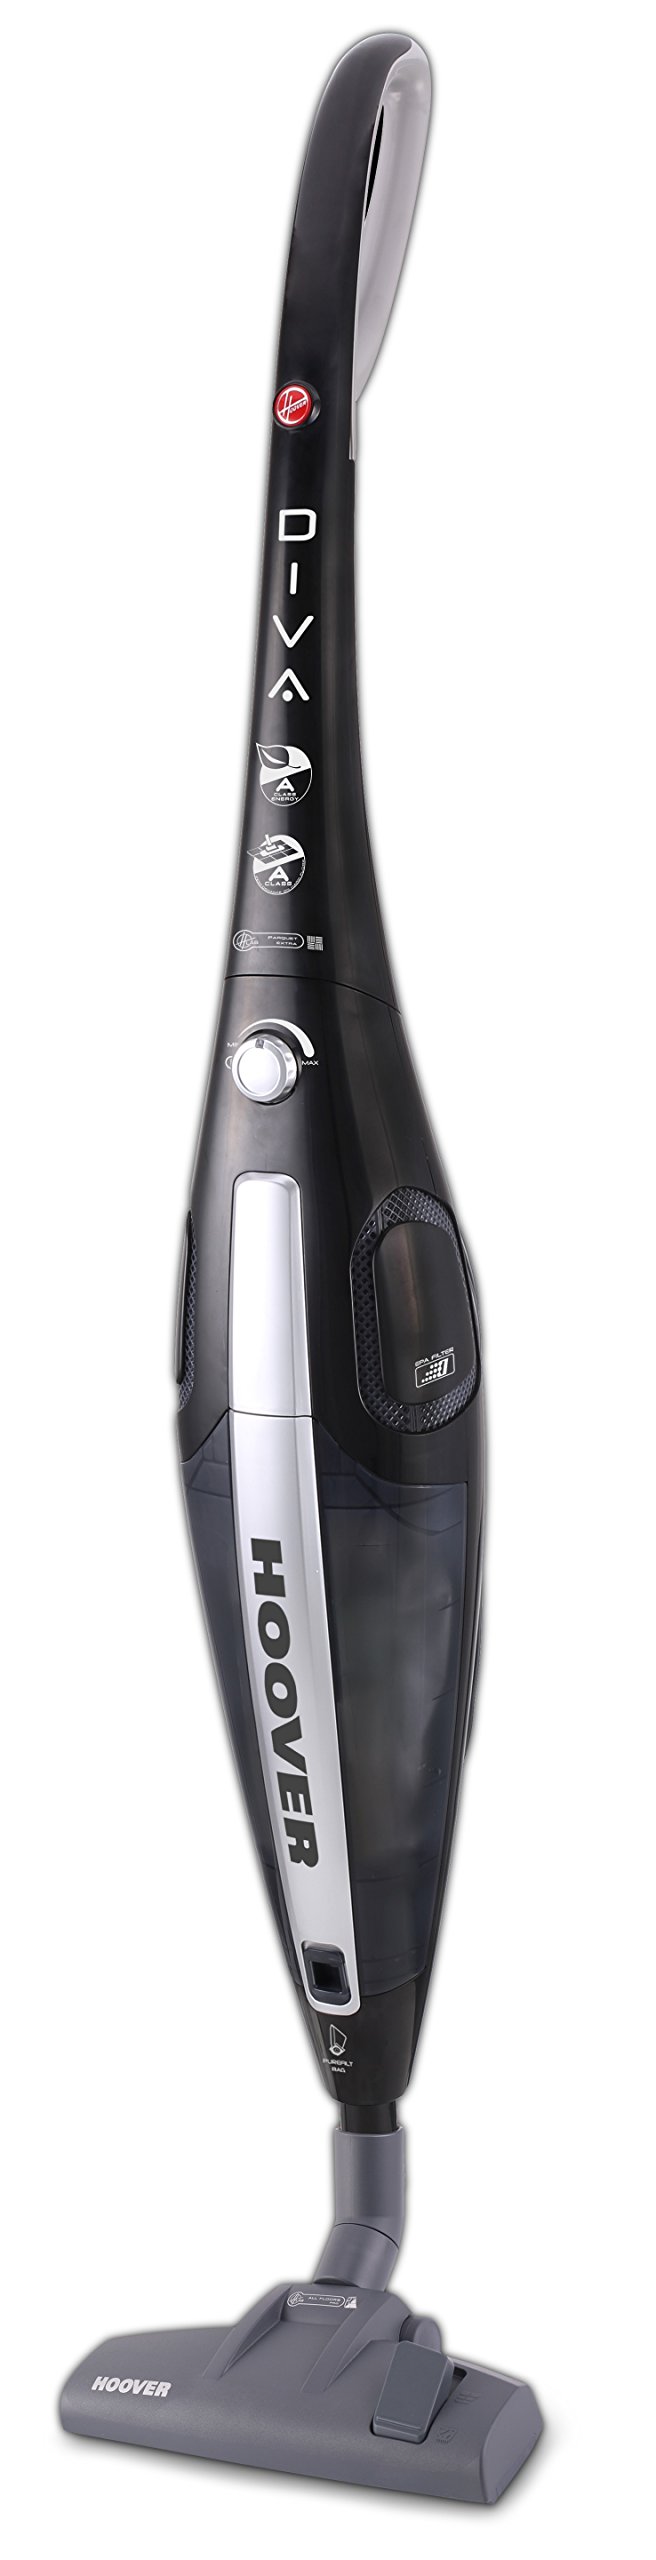
Figure 1: Hoover DV70 DV11 Handheld Vacuum Cleaner. This image shows the full assembly of the vacuum cleaner, highlighting its sleek black and silver design with the handle, main body, and floor nozzle.
- Handle
- Power Button / Performance Control
- Dust Container Release Button
- Dust Container
- Filter Assembly
- Floor Nozzle (Switchable)
- Easy Parquet Nozzle (for hard floors)
- Power Cord
Setup and Assembly
Follow these steps to assemble your vacuum cleaner before first use.
- Unpack Components: Carefully remove all parts from the packaging. Ensure all components listed in the Product Overview section are present.
- Attach Handle: Insert the handle into the main body of the vacuum cleaner until it clicks securely into place.
- Connect Floor Nozzle: Attach the desired floor nozzle (either the switchable floor nozzle or the Easy Parquet nozzle for hard floors) to the bottom of the main body. Ensure it is firmly connected.
- Power Connection: Unwind the power cord and plug it into a suitable electrical outlet.
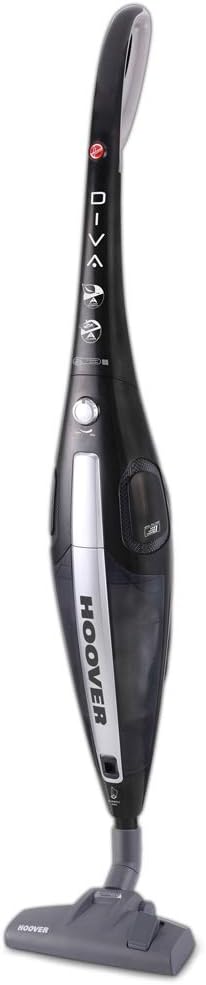
Figure 2: Front view of the Hoover DV70 DV11. This image provides a clear view of the main body and handle, useful for assembly reference.
Operating Instructions
- Power On/Off: Press the power button located on the main body to turn the vacuum cleaner on. Press it again to turn it off.
- Performance Control: Your vacuum cleaner features electronic performance control. Adjust the suction power as needed for different surfaces or cleaning tasks using the control on the device.
- Using Nozzles:
- Use the switchable floor nozzle for general cleaning on various floor types.
- For delicate hard floors, attach the Easy Parquet nozzle to prevent scratches and ensure effective cleaning.
- Dust Container Level: Monitor the dust container level indicator. Empty the container when it reaches the maximum fill line to maintain optimal suction performance.
Maintenance and Cleaning
Regular maintenance ensures the longevity and optimal performance of your vacuum cleaner.
Emptying the Dust Container
- Disconnect Power: Always unplug the vacuum cleaner from the power outlet before emptying.
- Remove Dust Container: Press the dust container release button and carefully detach the dust container from the main body.
- Empty Contents: Hold the dust container over a waste bin and open the bottom flap to empty the collected dust and debris.
- Reattach: Close the flap and reattach the dust container to the vacuum cleaner, ensuring it clicks securely into place.
Cleaning the Filters
It is recommended to clean the filters regularly, especially if you notice a decrease in suction power.
- Access Filters: With the dust container removed, locate the filter assembly.
- Remove Filters: Carefully remove the filters. Depending on your model, these may be washable.
- Clean Filters:
- For washable filters: Rinse under cold running water until the water runs clear. Do not use detergents.
- For non-washable filters: Tap gently over a bin to remove dust. Do not wash.
- Dry Filters: Allow washable filters to air dry completely for at least 24 hours before reinserting. Do not use a dryer or heat.
- Reassemble: Once dry, reinsert the filters into the assembly and reattach the dust container.
Troubleshooting
If you encounter issues with your vacuum cleaner, refer to the following common problems and solutions.
| Problem | Possible Cause | Solution |
|---|---|---|
| Vacuum cleaner does not turn on. | Not plugged in; power outlet faulty; power button not pressed. | Check power cord connection; try a different outlet; press power button firmly. |
| Low suction power. | Dust container full; filters clogged; nozzle blocked. | Empty dust container; clean or replace filters; check nozzle for obstructions. |
| Unusual noise during operation. | Obstruction in the brush roll or hose; motor issue. | Turn off and unplug the vacuum. Inspect brush roll and hose for blockages and remove them. If noise persists, contact customer support. |
Specifications
| Feature | Detail |
|---|---|
| Brand | Hoover |
| Model Name | DF70_DV11011 |
| Model Number | DV70 DV11 |
| Special Features | Dust container level indicator |
| Power Source | Corded Electric |
| Item Weight | 3.9 Kilograms |
| Capacity | 1.8 Liters |
| Wattage | 750 watts |
| Form Factor | Stick |
| Color | Multi-color |
| Noise Level | 79 Decibels |
| Portable | Yes |
| Control Type | Hand control |
| Connectivity Technology | Wi-Fi |
| Energy Efficiency Class | A (from A to G) |
| Annual Energy Consumption | 27 kWh/year |
| Carpet Cleaning Class | C (from A to G) |
| Hard Floor Cleaning Class | A (from A to G) |
| Dust Emission Class | B (from A to G) |
Warranty and Customer Support
For warranty information, please refer to the warranty card included with your product or visit the official Hoover website. If you require further assistance, have questions, or need to report a problem not covered in this manual, please contact Hoover customer support.
You can typically find contact details for customer support on the Hoover website or on your purchase documentation.


