
Introduction
Thank you for choosing the HOMCOM 650W Electric Paint Sprayer. This advanced system is designed for efficient and smooth application of various paints on small to medium-sized projects, such as fences, furniture, and walls. Its lightweight design ensures ease of transport and assembly, providing a drip-free, spill-free, and splatter-free painting experience.
Please read this manual thoroughly before operating the paint sprayer to ensure safe and effective use. Keep these instructions for future reference.

Image: The HOMCOM 650W Electric Paint Sprayer, featuring a blue compressor unit and a black spray gun, ready for use.
Safety Instructions
Always follow basic safety precautions when using electrical appliances to reduce the risk of fire, electric shock, and personal injury.
- Read all instructions: Familiarize yourself with the controls and proper use of the equipment.
- Wear appropriate personal protective equipment (PPE): Always wear safety glasses, a respirator mask, gloves, and protective clothing.
- Ensure proper ventilation: Use the sprayer in a well-ventilated area to avoid inhaling paint fumes.
- Keep work area clean and well-lit: Cluttered or dark areas invite accidents.
- Avoid accidental starting: Ensure the switch is in the off position before plugging in.
- Do not spray flammable materials: Never use with highly flammable liquids or in explosive atmospheres.
- Disconnect power: Always unplug the sprayer before cleaning, adjusting, or performing maintenance.
- Keep children and bystanders away: Do not allow children or untrained persons to operate the sprayer.
Product Components
The HOMCOM 650W Electric Paint Sprayer kit includes the following components:
- Main Compressor Unit
- Spray Gun
- Flexible Air Hose (1.5m)
- Paint Container (800ml capacity)
- Viscosity Measuring Cup
- Cleaning Clip/Brush
- Carrying Strap
- Power Cord

Image: A comprehensive view of all parts included in the HOMCOM paint sprayer kit, including the spray gun, hose, container, compressor unit, viscosity cup, cleaning tool, and strap.
Setup Instructions
- Prepare the Work Area: Ensure the area is clean, well-ventilated, and free from obstructions. Cover surfaces not to be painted.
- Assemble the Sprayer:
- Connect the flexible air hose to the air outlet on the main compressor unit and to the air inlet on the spray gun. Ensure connections are secure.
- Attach the paint container to the bottom of the spray gun by screwing it clockwise until tight.
- If desired, attach the carrying strap to the compressor unit for easier portability.
- Prepare the Paint:
- Consult your paint manufacturer's instructions for thinning recommendations.
- Use the provided viscosity measuring cup to check the paint's viscosity. Fill the cup with paint and time how long it takes for the paint to flow out. Adjust with thinner until the desired viscosity is achieved (maximum 130 DIN).
- Strain the paint to remove any lumps or debris that could clog the nozzle.
- Pour the prepared paint into the paint container.
- Connect Power: Ensure the ON/OFF switch on the compressor unit is in the 'OFF' position before plugging the power cord into a suitable electrical outlet (220-230V/50Hz).
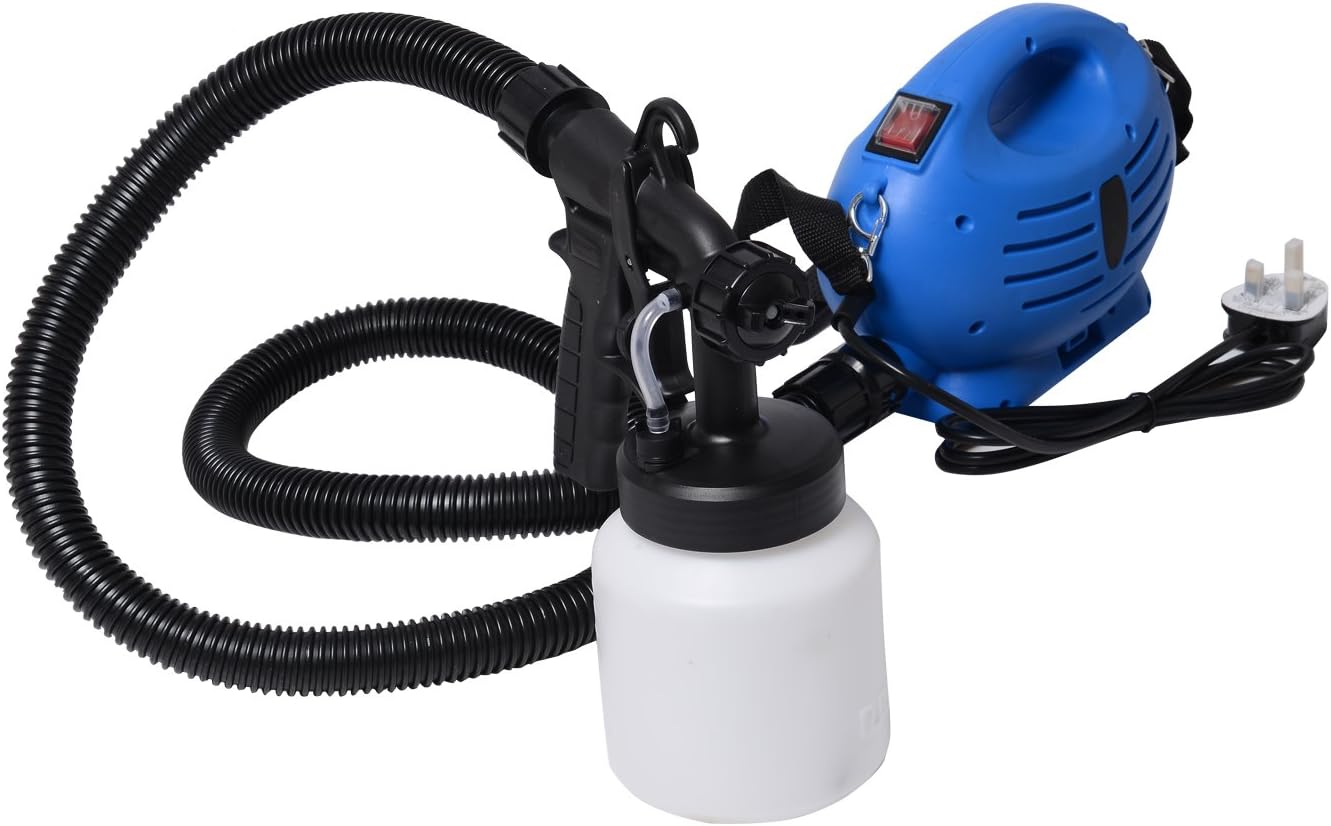
Image: The HOMCOM paint sprayer fully assembled, demonstrating the connection between the compressor unit and the spray gun via the flexible hose.
Operating Instructions
- Power On: Flip the ON/OFF switch on the compressor unit to the 'ON' position. The compressor will start.
- Adjust Spray Pattern: The spray gun features an adjustable nozzle for three spray patterns: horizontal, vertical, and circular (nummular). Rotate the air cap ears to select the desired pattern based on your project needs.
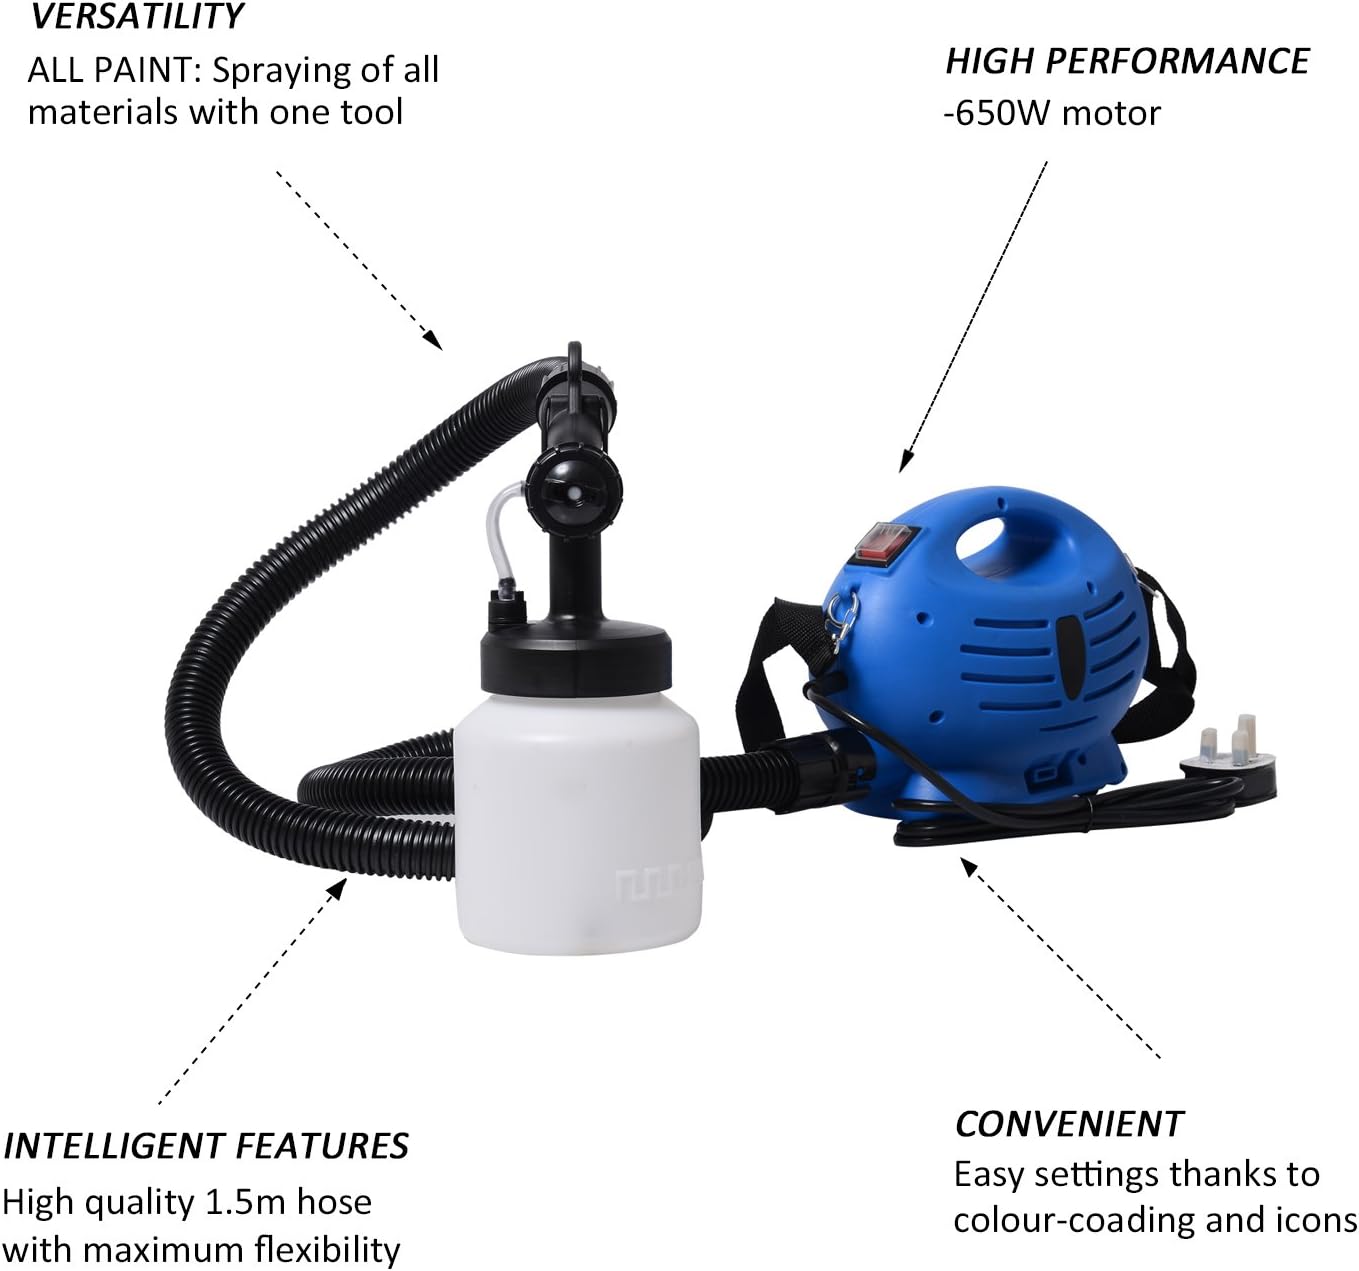
Image: Visual representation of the horizontal, vertical, and circular spray patterns achievable by adjusting the nozzle.
- Adjust Flow Control: Use the flow control knob on the spray gun to regulate the amount of paint being sprayed. Start with a lower setting and increase as needed.
- Test Spray: Before painting your actual project, test the spray pattern and flow on a piece of scrap material. Adjust settings until you achieve an even and consistent spray.
- Spraying Technique:
- Hold the spray gun approximately 6-12 inches (15-30 cm) from the surface, keeping it perpendicular to the surface.
- Move the gun in smooth, even strokes, overlapping each pass by about one-third.
- Release the trigger at the end of each stroke to avoid paint buildup.
- Apply multiple thin coats rather than one thick coat for a better finish and to prevent drips.
- Working at Any Angle: The design allows for spraying from various angles, including overhead, without issues.

Image: Close-up of the compressor's ON/OFF switch and the spray gun's flow control knob, essential for operating the device.
Maintenance and Cleaning
Proper cleaning after each use is crucial for maintaining the performance and longevity of your paint sprayer. Neglecting cleaning can lead to clogs and damage.
- Disconnect Power: Always unplug the sprayer from the power outlet before cleaning.
- Empty Paint Container: Remove any remaining paint from the container and return it to its original can or dispose of it properly.
- Rinse Container: Fill the paint container with an appropriate cleaning solution (water for latex paints, mineral spirits for oil-based paints).
- Flush Sprayer: Reattach the container to the spray gun and spray the cleaning solution through the gun until it runs clear. Do this in a safe, well-ventilated area, directing the spray into a waste container.
- Disassemble and Clean Components:
- Unscrew the paint container and detach the air hose from both the gun and compressor.
- Disassemble the spray gun nozzle and air cap.
- Use the provided cleaning clip/brush and appropriate cleaning solution to thoroughly clean all parts, including the nozzle, air cap, fluid tube, and paint container.
- Ensure all paint residue is removed from internal and external surfaces.
- Dry and Store: Allow all components to dry completely before reassembling. Store the sprayer in a clean, dry place, away from extreme temperatures.

Image: The viscosity measuring cup, an essential tool for preparing paint to the correct consistency for spraying.
Troubleshooting
| Problem | Possible Cause | Solution |
|---|---|---|
| No spray or weak spray |
|
|
| Uneven spray pattern |
|
|
| Paint drips or runs |
|
|
If you encounter problems not listed here or if solutions do not resolve the issue, please contact customer support.
Specifications
| Feature | Specification |
|---|---|
| Model Number | B40-002 |
| Power | 650 W |
| Voltage | 220-230 V / 50 Hz |
| Hose Length | 1.5 m |
| Nozzle Material | Plastic |
| Nozzle Size | Φ 2.5 mm |
| Motor Speed | 32000 r/min |
| Container Capacity | 800 ml |
| Maximum Viscosity | 130 DIN |
| Net Weight | 1.8 kg |
Warranty and Support
For warranty information or technical support, please refer to the documentation provided with your purchase or contact HOMCOM customer service directly. Keep your purchase receipt as proof of purchase.
For further assistance, please visit the official HOMCOM website or contact their customer support channels.