Introduction
This manual provides comprehensive instructions for the setup, operation, and maintenance of your Galaxy Audio CBM-362 Carbon Fiber Boom Microphone System. The CBM-362 is designed for professional audio capture in various environments, offering flexibility through its carbon fiber construction and interchangeable microphone capsules.
The system includes a microphone stand, a carbon fiber boom arm, a microphone body, three interchangeable capsules (cardioid, supercardioid, and omnidirectional), and a mini-XLR to XLR cable with an integrated 10dB pad and 80Hz high-pass filter.
Setup
1. Unpacking and Component Identification
Carefully unpack all components and verify that the following items are present:
- Microphone Stand
- Carbon Fiber Boom Arm
- Microphone Body
- Cardioid Capsule
- Supercardioid Capsule
- Omnidirectional Capsule
- Mini-XLR to XLR Cable with Pad/Filter
2. Stand Assembly
Extend the legs of the microphone stand to form a stable base. Adjust the height of the stand to your desired level by loosening the locking clutch, extending the pole, and then tightening the clutch securely.
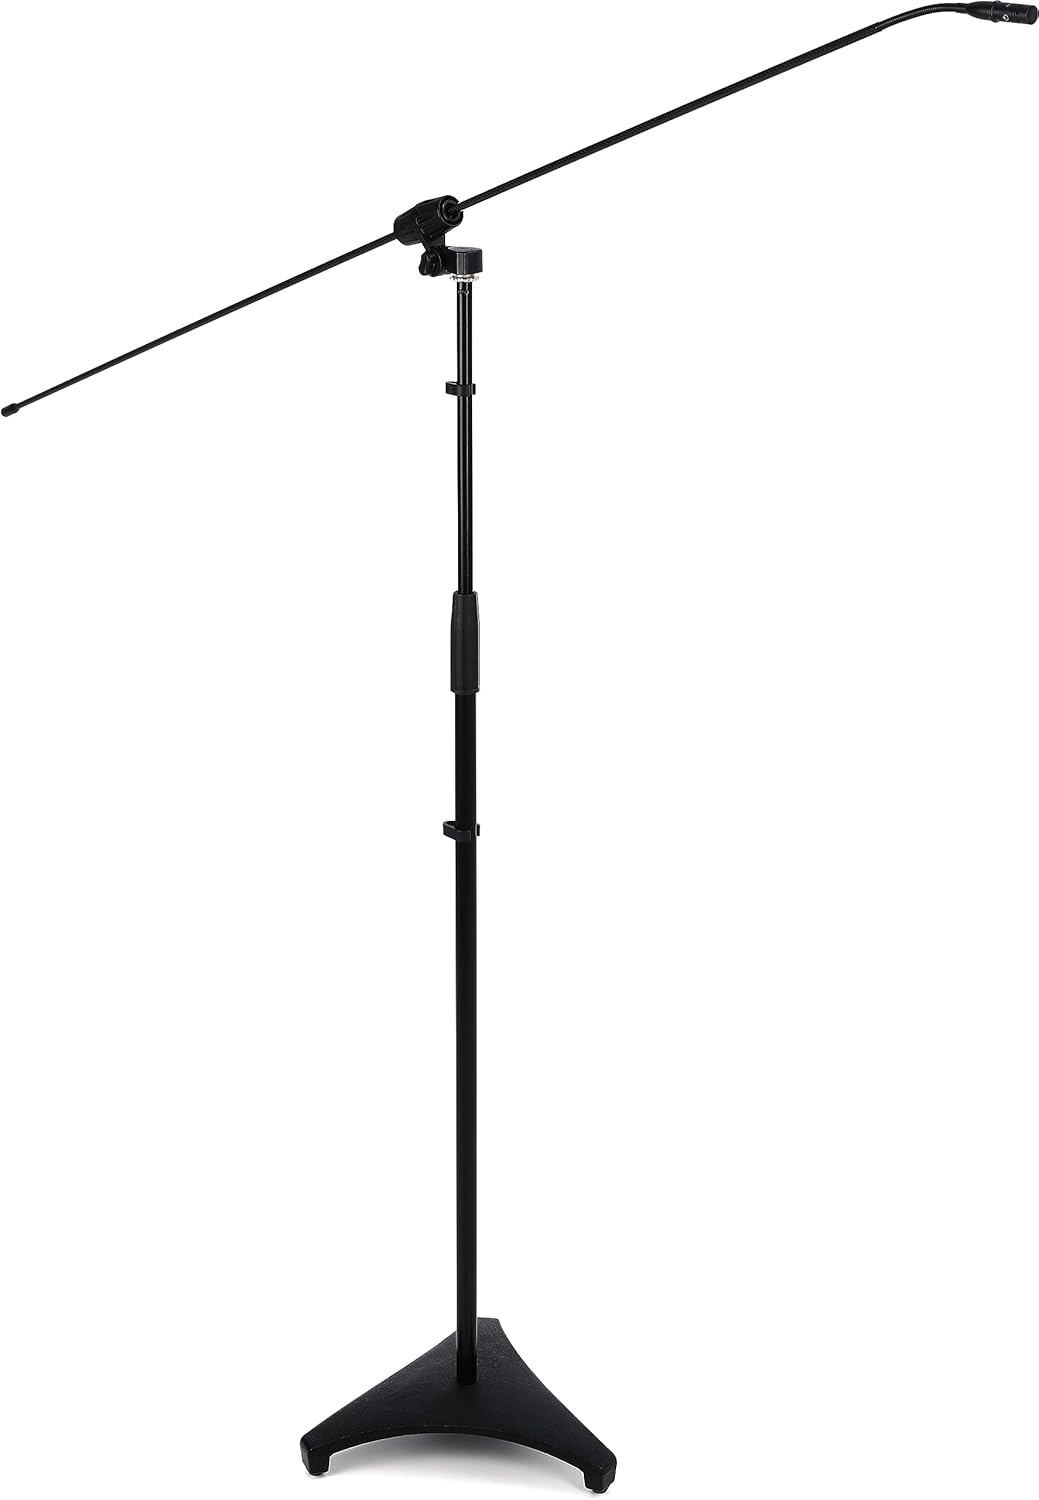
The microphone stand is shown fully extended with the carbon fiber boom arm attached, ready for microphone placement. The stand features a stable tripod base.
3. Boom Arm Attachment
Attach the carbon fiber boom arm to the top of the microphone stand. Ensure the boom arm is securely fastened using the integrated adjustment knob. Adjust the angle and extension of the boom arm as needed for optimal microphone positioning.

This detailed view shows the adjustable mechanism that secures the carbon fiber boom arm to the microphone stand, allowing for precise angle and position adjustments.
4. Microphone Capsule Installation
Select the desired microphone capsule (cardioid, supercardioid, or omnidirectional) based on your recording requirements. Gently screw the chosen capsule onto the microphone body until it is finger-tight. Do not overtighten.

A detailed view of one of the interchangeable microphone capsules, showing its threaded base for attachment to the microphone body and its protective grille.
5. Cable Connection
Connect the mini-XLR end of the provided cable to the microphone body. Connect the standard XLR end of the cable to your audio interface, mixer, or preamplifier. Ensure that your audio device provides 48V phantom power, as this is required for the CBM-362 to operate.

The included mini-XLR to XLR cable is depicted, highlighting its inline module containing a 10dB attenuation pad and an 80Hz high-pass filter. Two of the three interchangeable microphone capsules are also visible.

This image displays the complete Galaxy Audio CBM-362 system, including the microphone stand, carbon fiber boom arm, microphone body, three interchangeable capsules, and the mini-XLR to XLR cable with integrated pad and filter.
Operation
1. Capsule Selection
The CBM-362 includes three interchangeable capsules, each offering a distinct polar pattern:
- Cardioid: Captures sound primarily from the front, reducing pickup from the sides and rear. Ideal for isolating a sound source.
- Supercardioid: A narrower pickup pattern than cardioid, offering greater rejection of off-axis sound. Useful for highly focused sound capture.
- Omnidirectional: Captures sound equally from all directions. Suitable for ambient recording or when multiple sound sources need to be captured evenly.
Choose the capsule that best suits your recording environment and desired sound pickup.
2. Using the 10dB Pad and 80Hz High-Pass Filter
The inline module on the mini-XLR to XLR cable features two switches:
- 10dB Pad: Engages a 10-decibel attenuation. Use this when recording very loud sound sources to prevent input clipping or distortion at your mixer/interface.
- 80Hz High-Pass Filter: Activates a filter that reduces frequencies below 80Hz. This helps to eliminate unwanted low-frequency noise such as rumble, handling noise, or air conditioning hum, improving clarity in vocal or instrument recordings.
3. Microphone Placement Recommendations
The CBM-362 is versatile for various applications:
- Theater/Choir: Position the boom microphone above the performers, angled towards the sound source, to capture a balanced blend of voices.
- Orchestra: Use as an overhead microphone to capture sections or the entire ensemble, adjusting height and angle for desired blend and stereo imaging (if using multiple units).
- Ambient Room Mic: With an omnidirectional capsule, place the microphone to capture the natural acoustics and reverberation of a room, adding depth to recordings.
4. Phantom Power
Ensure that your connected audio device (mixer, interface, preamplifier) is supplying 48V phantom power to the XLR input. The CBM-362 is a condenser microphone and requires phantom power to operate.
Maintenance
1. Cleaning
To clean the carbon fiber boom arm and microphone body, use a soft, dry cloth. For stubborn dirt, a slightly damp cloth with mild soap can be used, followed by immediate drying. Avoid using harsh chemicals or abrasive materials, as these can damage the finish and carbon fiber.
For microphone capsules, use a soft brush to gently remove dust from the grille. Do not attempt to clean the internal components of the capsule.
2. Storage
When not in use, store the CBM-362 system in a clean, dry environment, away from extreme temperatures and humidity. Disassemble the boom arm and stand for compact storage if desired. Keep capsules protected in their cases to prevent damage.
3. Handling
While carbon fiber is durable, avoid subjecting the boom arm to excessive force or sharp impacts, which could cause structural damage. Always handle the microphone and capsules with care to prevent damage to the sensitive components.
Troubleshooting
No Sound Output
- Verify all cable connections are secure at both the microphone and the audio device.
- Ensure 48V phantom power is enabled on your audio interface or mixer for the connected input channel.
- Check that the input gain on your audio device is set appropriately.
- Confirm the microphone capsule is securely screwed onto the microphone body.
Distorted or Clipped Sound
- Engage the 10dB pad on the inline cable module if recording a very loud sound source.
- Reduce the input gain on your audio interface or mixer.
- Ensure the microphone is not positioned too close to the sound source.
Hum or Unwanted Noise
- Ensure all audio equipment is properly grounded.
- Try a different XLR cable to rule out a faulty cable.
- Engage the 80Hz high-pass filter on the inline cable module to reduce low-frequency rumble.
- Move the microphone and cables away from power sources, fluorescent lights, or other potential sources of electromagnetic interference.
Specifications
- Brand: Galaxy Audio
- Model: CBM-362
- Material: Carbon Fiber (Boom Arm)
- Item Weight: 6.5 Pounds (approximate, for entire system)
- Item Dimensions (L x W x H): 12.1 x 12 x 3.7 inches (packaged dimensions)
- Microphone Type: Condenser
- Polar Patterns: Cardioid, Supercardioid, Omnidirectional (interchangeable capsules)
- Included Features: 10dB Pad, 80Hz High-Pass Filter (on inline cable module)
- Power Requirement: 48V Phantom Power
Warranty and Support
For information regarding warranty coverage, technical support, or service, please visit the official Galaxy Audio website or contact their customer service department. You can find more information at the Galaxy Audio Store.


