Introduction
This manual provides essential instructions for the installation, operation, and maintenance of your Gecko Keypad Kit with Overlay. This kit is specifically designed for use with M-Class and TSPA spa control systems. Please read these instructions thoroughly before proceeding with installation or operation to ensure proper function and safety.
Product Overview
The Gecko Keypad Kit (Model 0200-007119) includes the following components:
- TSC-4 Keypad (Part Number: 0201-007148): The primary control unit for your spa functions.
- 8-Button Overlay (Part Number: 9916-100094): A protective and functional cover for the keypad, indicating button assignments.
This kit is compatible with Gecko M-Class and TSPA spa control systems, providing an interface for managing various spa features such as jets, lighting, and temperature settings.
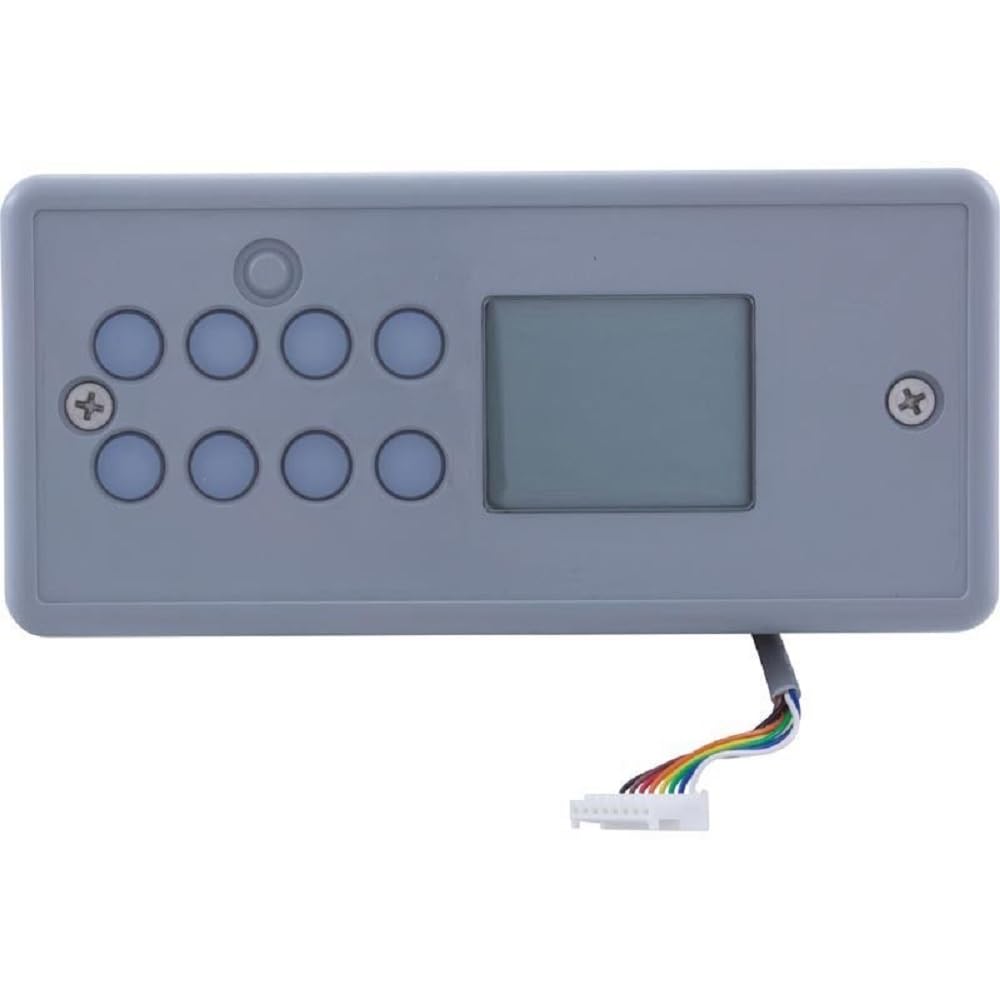
Image: The Gecko Keypad Kit, featuring a gray rectangular keypad unit. It has eight blue circular buttons arranged in two rows of four on the left side, a small rectangular display screen on the right, and a single small circular button above the top row of blue buttons. A multi-colored ribbon cable with a white connector extends from the bottom right side of the unit. Two screws are visible on the top left and right corners of the keypad face.
Setup and Installation
Proper installation is crucial for the safe and effective operation of your spa control system. If you are unsure about any step, consult a qualified technician.
- Safety First: Before beginning any installation, ensure that the main power supply to the spa is completely disconnected at the circuit breaker. Verify that there is no power to the spa control system.
- Locate Keypad Port: Identify the designated keypad connection port on your M-Class or TSPA spa control system. Refer to your spa control system's manual for the exact location.
- Connect Keypad Cable: Carefully insert the ribbon cable connector from the TSC-4 keypad into the corresponding port on the spa control system. Ensure the connector is fully seated and oriented correctly to avoid damage to the pins.
- Mount Keypad: Secure the TSC-4 keypad in its intended mounting location on the spa. Use appropriate fasteners (typically screws) to ensure it is firmly attached.
- Apply Overlay: Once the keypad is mounted, carefully align and apply the 8-button overlay (9916-100094) over the keypad face. Ensure all buttons are properly covered and the display window is clear. The overlay is typically adhesive-backed; remove the protective backing and press firmly to secure.
- Restore Power: After installation is complete and all connections are secure, restore power to the spa at the circuit breaker.
- Initial Test: Power on the spa and test all keypad functions to ensure proper communication with the spa control system.
Operation
The 8-button overlay provides intuitive control over your spa's functions. While specific button labels and functions may vary slightly based on your spa's configuration, the general operation principles are as follows:
- Power Button: Typically used to turn the spa system on or off, or to activate/deactivate specific modes.
- Jet Buttons: Control the various jet pumps in your spa. Multiple presses may cycle through different speeds or jet configurations.
- Light Button: Activates or changes the spa's lighting system. Repeated presses may cycle through colors or modes.
- Temperature Control: Usually indicated by up/down arrows or a dedicated temperature button. Press to adjust the desired water temperature. The display will show the current and/or set temperature.
- Mode/Program Button: May be used to access different operating modes (e.g., economy, sleep) or to enter programming menus for advanced settings.
- Display Screen: Shows important information such as water temperature, operating modes, error codes, and active functions.
Refer to your specific spa system's user manual for detailed descriptions of each button's function and advanced programming options.
Maintenance
Regular maintenance of your keypad ensures its longevity and reliable performance.
- Cleaning: Clean the keypad and overlay regularly with a soft, damp cloth. Use a mild, non-abrasive soap if necessary. Avoid harsh chemicals, solvents, or abrasive cleaners, as these can damage the overlay and keypad surface.
- Protection: Protect the keypad from direct sunlight for extended periods and extreme weather conditions when the spa is not in use, if possible.
- Inspection: Periodically inspect the keypad and cable for any signs of wear, damage, or loose connections. Address any issues promptly.
Troubleshooting
If you encounter issues with your Gecko Keypad Kit, consider the following troubleshooting steps:
- Keypad Not Responding:
- Ensure the spa has power.
- Check the keypad cable connection to the spa control system. Ensure it is securely seated.
- Try cycling the power to the spa (turn off at the breaker for 30 seconds, then turn back on).
- Display Not Working/Blank:
- Verify power to the spa.
- Check the keypad cable connection.
- If the display is blank but buttons still function, there might be a display-specific issue.
- Incorrect Button Function:
- Ensure the 8-button overlay is correctly aligned with the underlying keypad buttons.
- Refer to your spa system's manual to confirm expected button functions for your specific model.
If these steps do not resolve the issue, it may indicate a fault with the keypad or the spa control system. Contact a qualified spa technician or Gecko customer support for further assistance.
Specifications
- Model Number: 0200-007119
- Kit Components: TSC-4 Keypad (0201-007148), 8-Button Overlay (9916-100094)
- Compatibility: Gecko M-Class and TSPA Spa Control Systems
- Product Dimensions: Approximately 9.1 x 8 x 3.5 inches
- Item Weight: Approximately 1 pound
- Manufacturer: Gecko Alliance
Warranty and Support
For information regarding product warranty, please refer to the documentation provided by Gecko Alliance at the time of purchase or visit the official Gecko website. For technical support or service inquiries, please contact Gecko customer service directly.