
1. Introduction
The 3M Peltor Sport RangeGuard Electronic Hearing Protector is designed to provide hearing protection in noisy environments, such as shooting ranges or during hunting activities. It features a Noise Reduction Rating (NRR) of 21 dB, suppressing harmful gunshot noise while amplifying ambient sounds like voices for clear communication. This manual provides instructions for the proper setup, operation, and maintenance of your device.

Image 1: The Peltor Sport RangeGuard Electronic Hearing Protector.
2. Safety Information
Always prioritize safety when using hearing protection devices. Ensure the device is functioning correctly before entering a noisy environment.
- California Proposition 65 Warning: This product contains chemicals known to the State of California to cause cancer and birth defects or other reproductive harm.
- Do not modify the hearing protector. Unauthorized modifications may reduce its effectiveness and void the warranty.
- Regularly inspect the ear cushions and headband for wear and tear. Replace damaged components immediately.
3. Features
The Peltor Sport RangeGuard offers several features designed for optimal performance and user comfort:
- Noise Reduction Rating (NRR) 21 dB: Effectively suppresses harmful impulse noises like gunshots.
- Amplifies Voices: Allows for clear communication and awareness of surroundings.
- Low-Profile Cups: Designed with cut-outs to accommodate rifle and shotgun use without interference.
- Durable Recessed Microphones: Protects microphones from damage and reduces wind noise.
- Adjustable Padded Headband: Ensures a comfortable and secure fit for various head sizes.
- Single On/Off and Volume Control: Easy-to-use control for power and sound amplification.
- 4-Hour Auto Shut-Off: Conserves battery life.
- 3.5mm Audio Input Jack: Compatible with MP3 players and two-way radios.

Image 2: Low-profile cups for firearm compatibility.
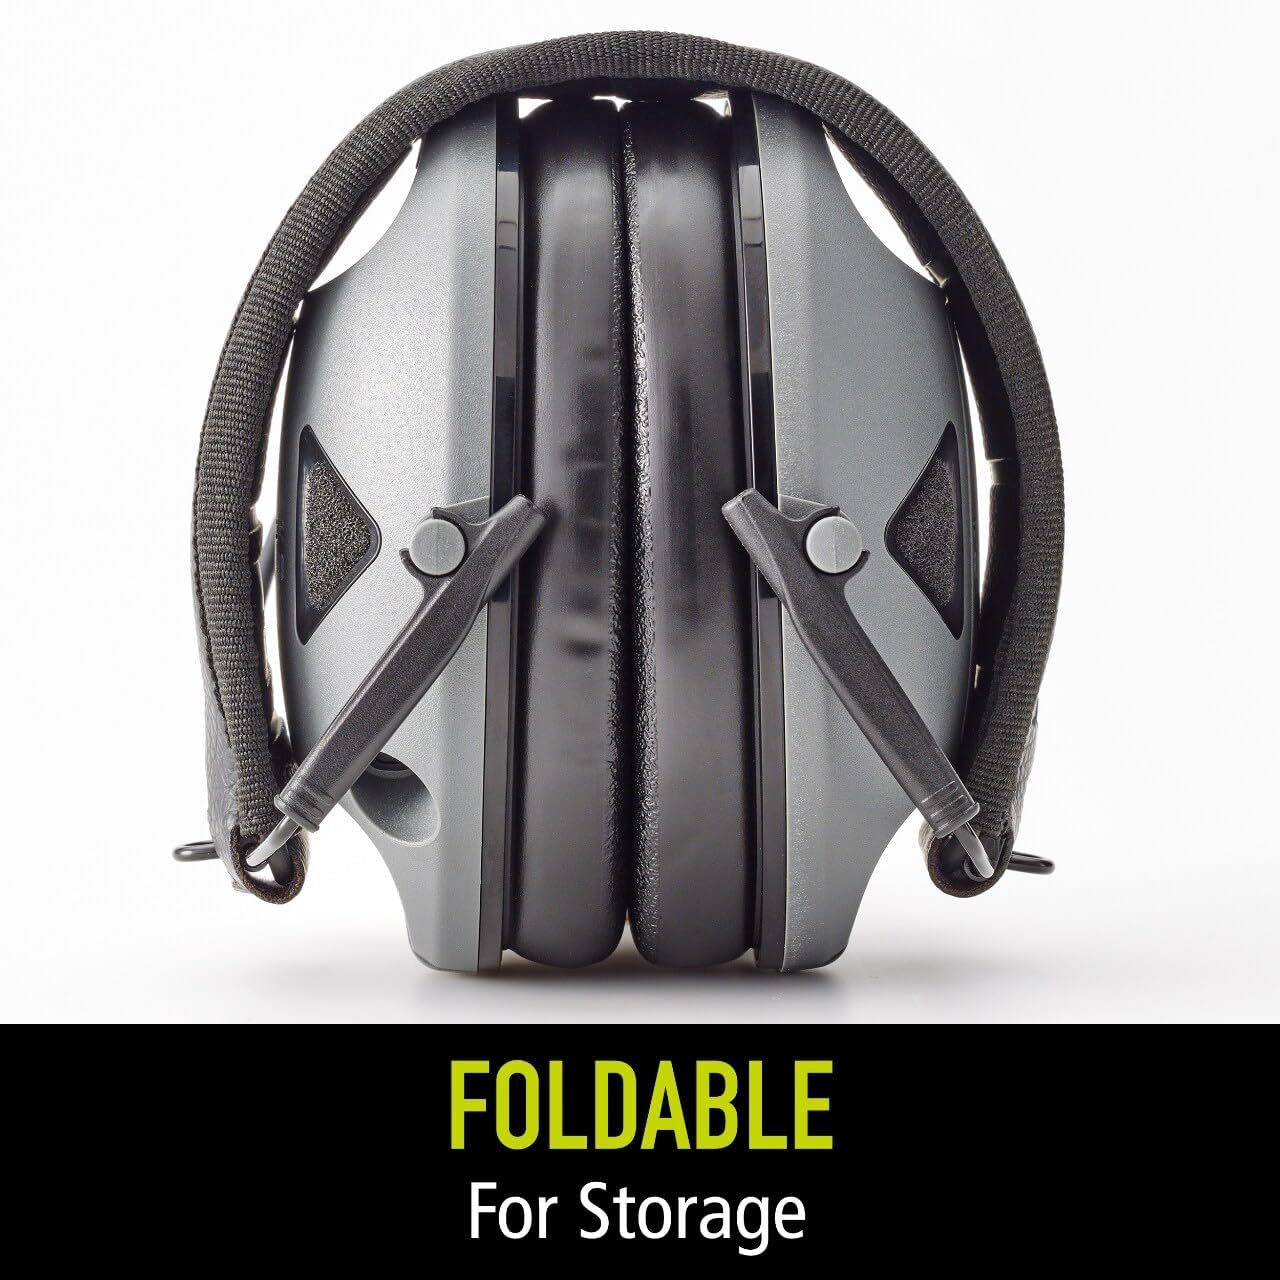
Image 3: Recessed microphones reduce wind noise.

Image 4: Adjustable headband for comfort.
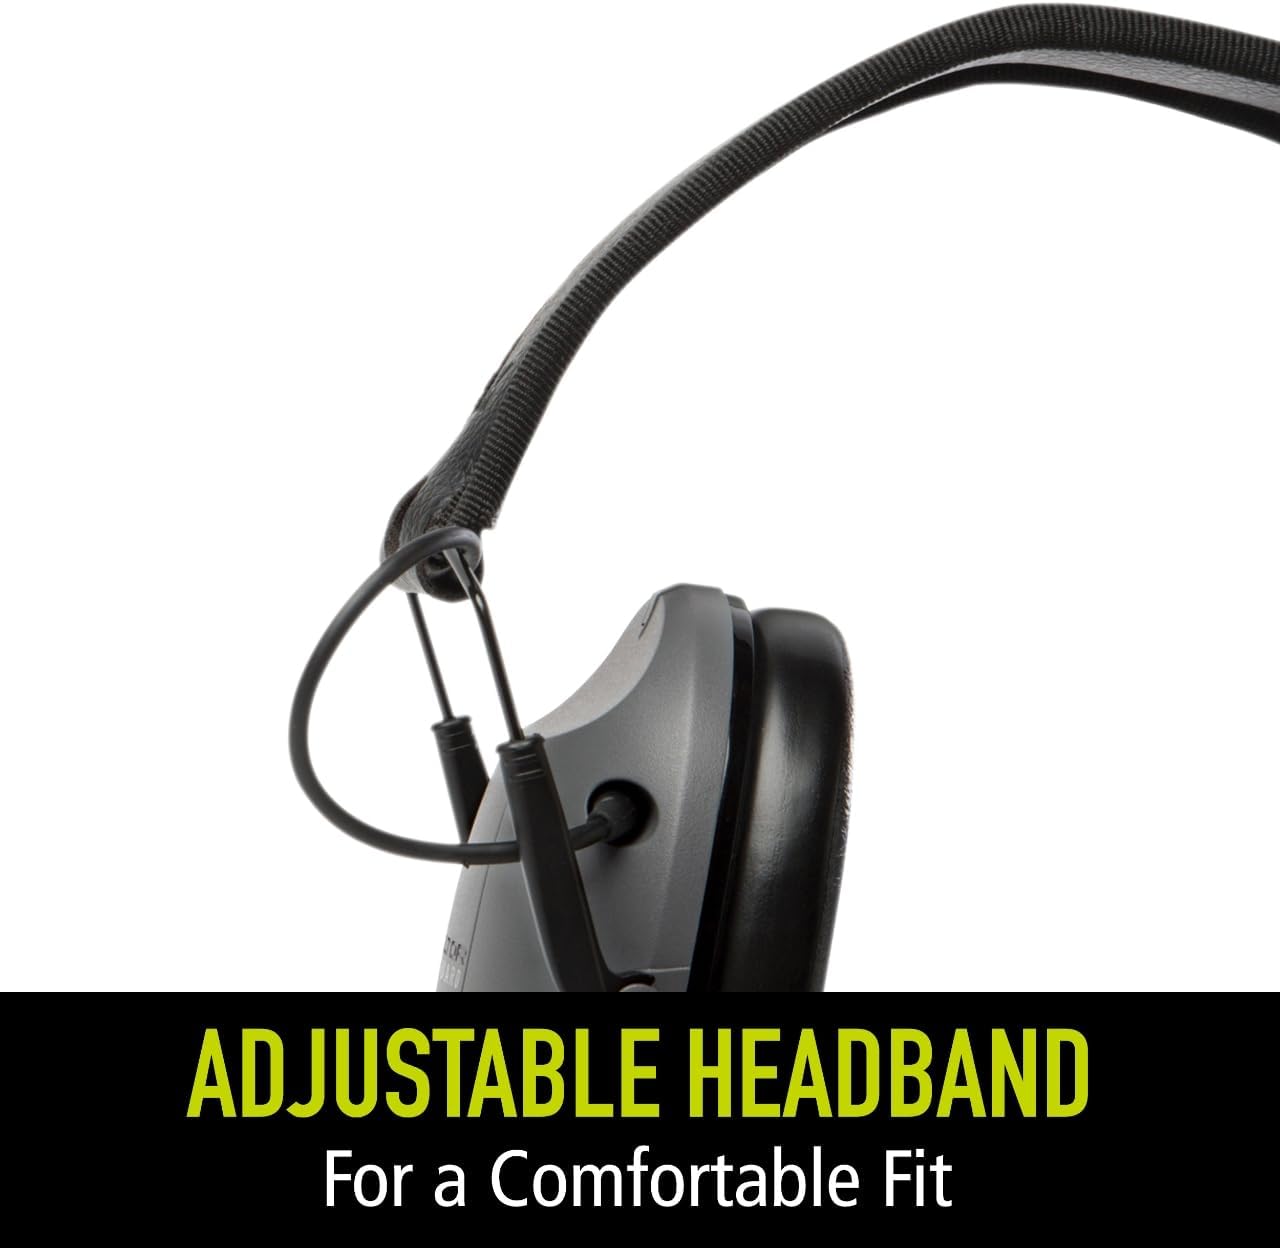
Image 5: Foldable design for easy storage.
4. Setup
4.1 Battery Installation
The Peltor Sport RangeGuard requires two (2) AAA batteries (not included) for operation. Follow these steps to install the batteries:
- Locate the external battery door on one of the ear cups.
- Gently open the battery door.
- Insert two AAA batteries, ensuring correct polarity (+/-) as indicated inside the compartment.
- Close the battery door securely.
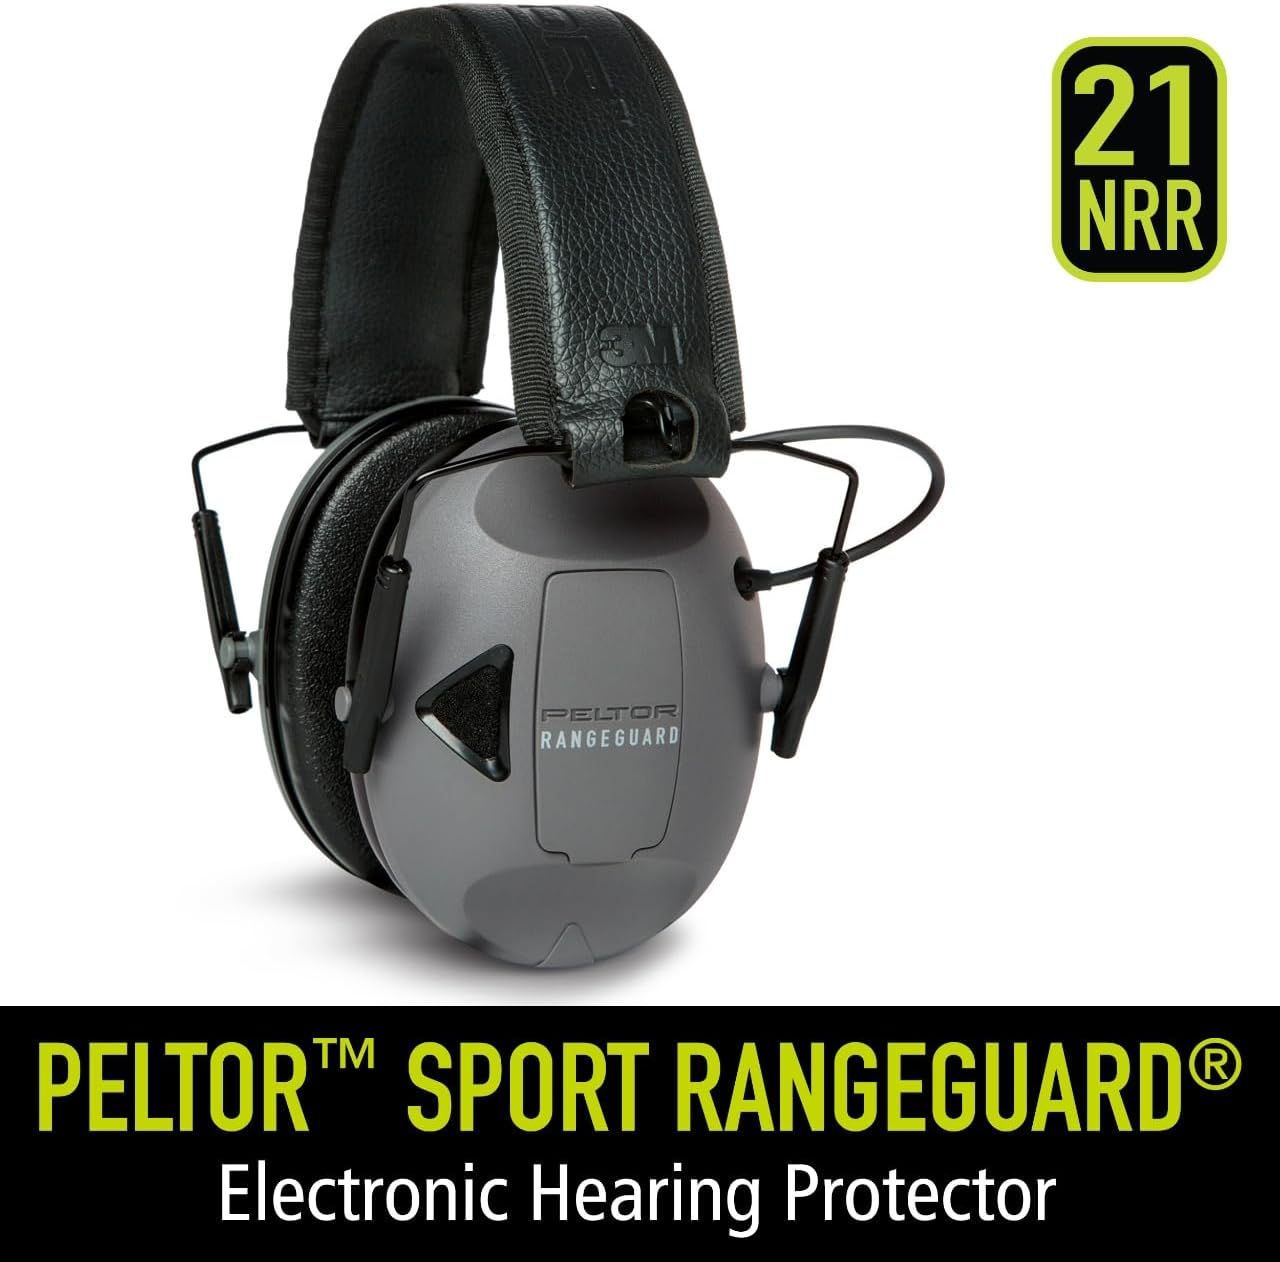
Image 6: The product packaging highlights the NRR 21dB rating.
5. Operating Instructions
5.1 Power On/Off and Volume Control
The device features a single control knob for both power and volume. To operate:
- To turn on, rotate the knob clockwise until you hear a click.
- Continue rotating the knob clockwise to increase the volume of ambient sound amplification.
- Rotate the knob counter-clockwise to decrease the volume.
- To turn off, rotate the knob counter-clockwise until you hear a click.
5.2 Audio Input
The 3.5mm audio input jack allows connection to external audio devices such as MP3 players or two-way radios. Connect your audio source using a compatible 3.5mm audio cable (not included).
5.3 Automatic Shut-Off
To conserve battery life, the hearing protector is equipped with a 4-hour automatic shut-off feature. The device will power down automatically after 4 hours of continuous operation. To resume use, simply turn the unit off and then back on.
Video 1: An official overview of the Peltor Sport RangeGuard Hearing Protector, demonstrating its features and use.
6. Maintenance
Proper maintenance ensures the longevity and effectiveness of your hearing protector:
- Cleaning: Wipe the ear cups and headband with a damp cloth. Do not immerse the device in water. Avoid using harsh chemicals or abrasive cleaners.
- Storage: Store the hearing protector in a cool, dry place away from direct sunlight when not in use. Remove batteries if storing for extended periods to prevent leakage.
- Ear Cushions: Periodically check ear cushions for cracks, hardening, or other damage. Replace them if necessary to maintain optimal noise reduction and comfort.
7. Troubleshooting
If you experience issues with your Peltor Sport RangeGuard, refer to the following common troubleshooting steps:
- No Power/No Sound:
- Ensure batteries are correctly installed with proper polarity.
- Replace old or depleted batteries with fresh AAA batteries.
- Check that the power/volume knob is turned on and adjusted to an audible level.
- Distorted Sound/Static:
- Lower the volume setting.
- Ensure the microphones are clean and unobstructed.
- If using the audio input, check the connection cable and the external audio source.
- Reduced Noise Reduction:
- Ensure the ear cups form a tight seal around your ears. Adjust the headband for a snug fit.
- Inspect ear cushions for wear or damage and replace if necessary.
If the issue persists after attempting these steps, contact 3M customer support for further assistance.
8. Specifications
| Specification | Value |
|---|---|
| Brand | 3M |
| Model Number | RG-OTH-1-W |
| Noise Reduction Rating (NRR) | 21 dB |
| Power Source | 2 AAA Batteries (not included) |
| Automatic Shut-Off | 4 hours |
| Audio Input | 3.5mm Jack |
| Item Weight | 8.32 ounces |
| Item Dimensions | 4.16 x 5.02 x 8.79 inches |
| Material Type | Synthetic |
| Fit Type | Over the Head |
| Color | Gray |
9. Warranty and Support
This 3M Peltor Sport RangeGuard Electronic Hearing Protector comes with a manufacturer's warranty. For specific details regarding warranty coverage, duration, and terms, please refer to the documentation included with your product or visit the official 3M website.
For technical support, troubleshooting assistance beyond what is provided in this manual, or to inquire about replacement parts, please contact 3M customer service directly. Contact information can typically be found on the product packaging or the 3M official website.
