
1. Product Overview
The Mirabox HSV373 HDMI Extender allows for the transmission of 1080P HDMI signals over a single Cat5, Cat5e, Cat6, Cat6e, or Cat7 cable up to 400 feet (120 meters). This device converts HDMI signals to standard TCP/IP, enabling virtually unlimited transmission distance with the aid of network devices. It supports a 1-to-many splitter function, allowing one transmitter to connect to a maximum of 253 receivers over a network switch. The extender supports Full HD 1080p resolution at 60Hz, 36-bit deep color, lip sync, and multichannel audio formats including Dolby Digital Plus, 7.1 LPCM, Dolby TrueHD, and DTS Master Audio.
2. Package Contents
The Mirabox HSV373 HDMI Extender package includes the following items:
- 1x HDMI Extender Rj45 TX Sender (Transmitter)
- 1x HDMI Extender Rj45 RX Receiver (Receiver)
- 2x Power Adapters (DC 5V)
- 1x User Manual
For a visual overview of the product and its components, please refer to the video below:
3. Product Overview and Components
The Mirabox HSV373 HDMI Extender consists of a Transmitter (TX) unit and a Receiver (RX) unit. Both units feature durable metal enclosures with ventilation slots to ensure optimal performance and longevity. Mounting flanges are integrated for easy installation.
Transmitter (TX) Unit
- HDMI IN: Connects to your HDMI source device (e.g., computer, DVD player, Blu-ray player, surveillance camera).
- DC 5V: Power input port.
- LAN (Cat5/5e/6/6e/7): Connects to the Receiver unit via an Ethernet cable.
- RESET: Button to reset the unit.
- LINK LED: Indicates a successful connection between the Transmitter and Receiver.
Receiver (RX) Unit
- HDMI OUT: Connects to your HDMI display device (e.g., TV, monitor, projector).
- DC 5V: Power input port.
- LAN (Cat5/5e/6/6e/7): Connects to the Transmitter unit via an Ethernet cable.
- RESET: Button to reset the unit.
- LINK LED: Indicates a successful connection between the Transmitter and Receiver.

Image: Mirabox HSV373 HDMI Extender Transmitter and Receiver Units. This image shows a close-up of the transmitter and receiver units, highlighting their ports and indicators.
4. Setup and Installation
Follow these steps to set up your Mirabox HSV373 HDMI Extender:
- Connect HDMI Source to Transmitter: Plug one end of an HDMI cable into your HDMI source device (e.g., computer, DVD player) and the other end into the HDMI IN port of the Transmitter (TX) unit.
- Connect HDMI Display to Receiver: Plug one end of an HDMI cable into your HDMI display device (e.g., TV, monitor, projector) and the other end into the HDMI OUT port of the Receiver (RX) unit.
- Connect Transmitter and Receiver via Ethernet: Use a single Cat5, Cat5e, Cat6, Cat6e, or Cat7 Ethernet cable to connect the LAN port of the Transmitter unit to the LAN port of the Receiver unit. Ensure you use a dedicated network for optimal performance and avoid using your regular home network.
- Power On: Connect one of the provided 5V DC power adapters to the DC 5V port on either the Transmitter or the Receiver unit. The power-over-cable technology will supply power to the other unit through the Ethernet cable.
- Verify Connection: Once both units are powered on and connected, the LINK LED indicators on both units should illuminate, confirming a successful connection.
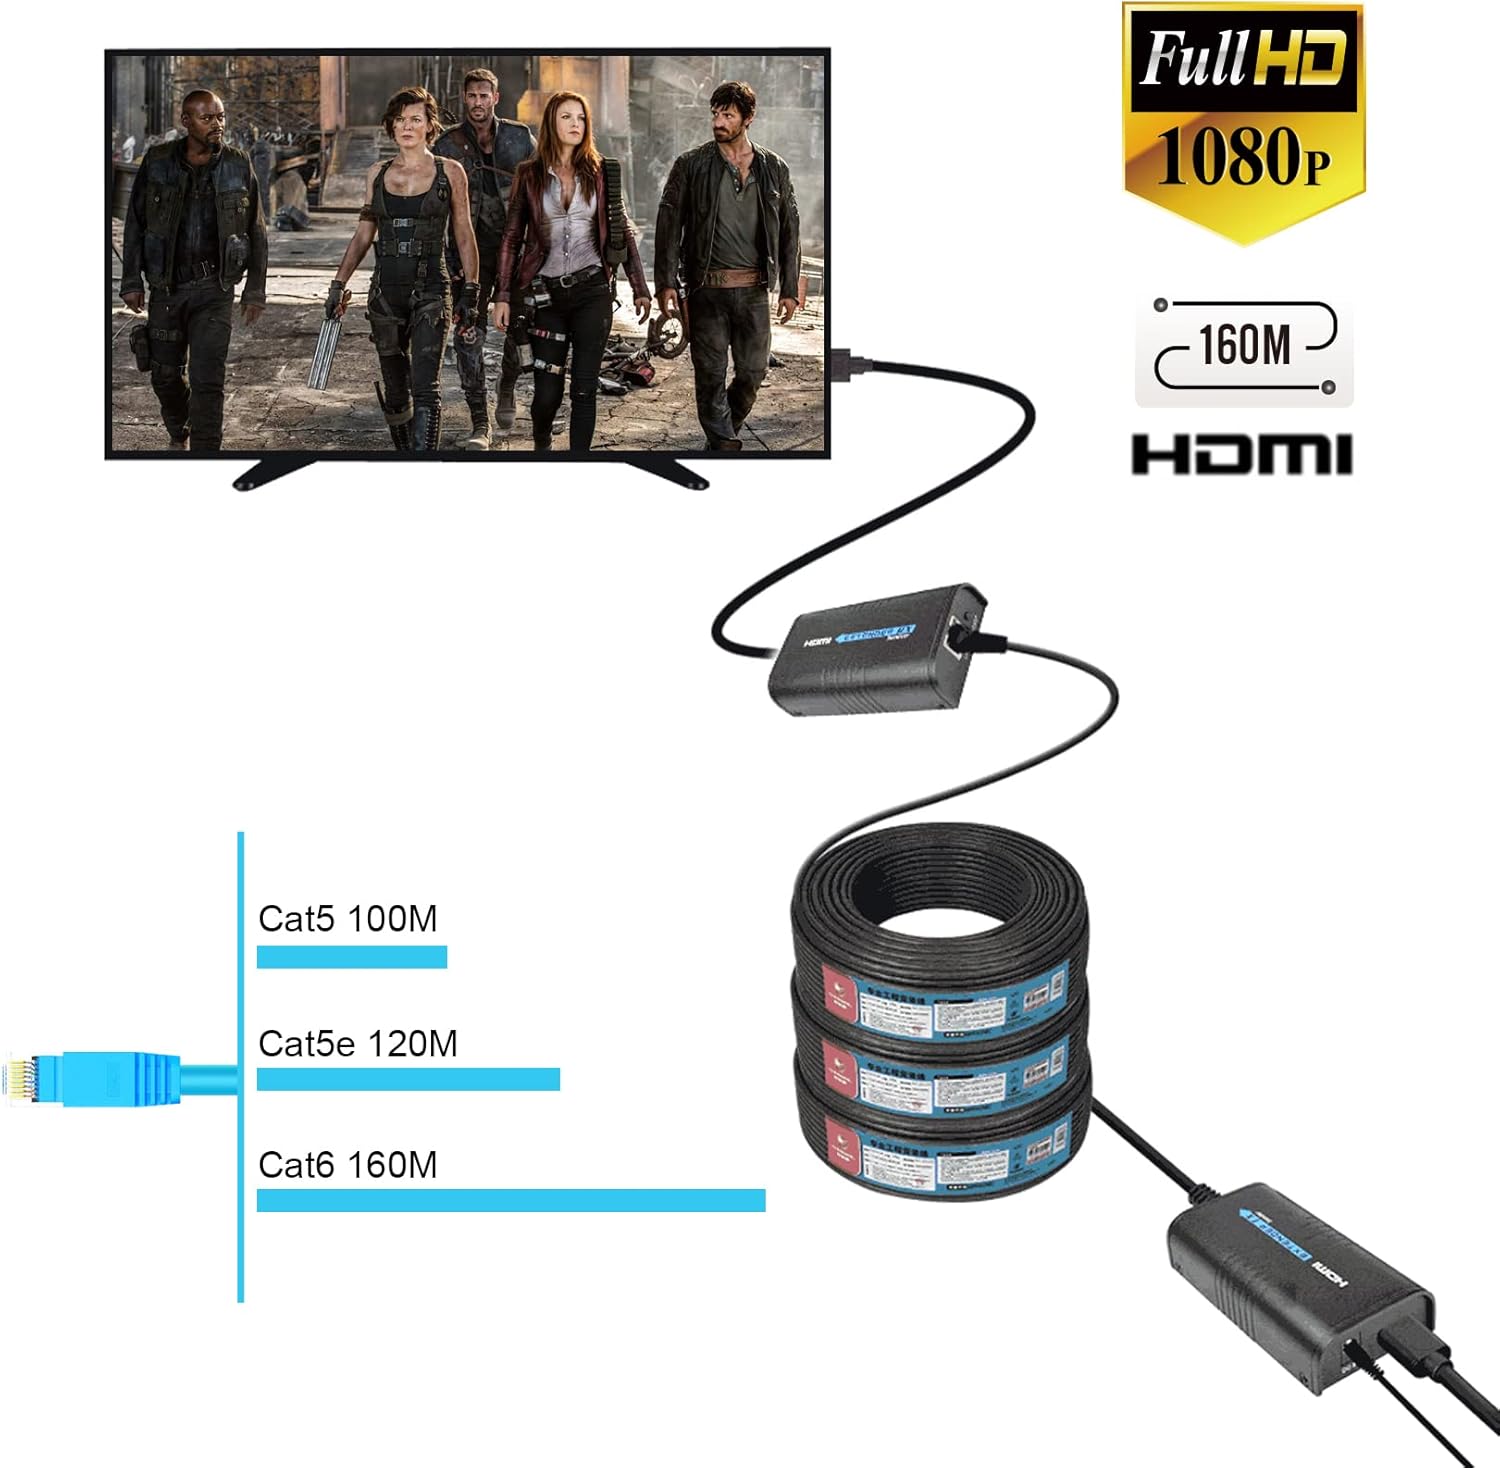
Image: Mirabox HSV373 HDMI Extender Connection Diagram. This diagram illustrates how to connect the HDMI source, transmitter, Ethernet cable, receiver, and HDMI display.

Image: Mirabox HSV373 HDMI Extender Setup Example. This image shows a typical setup with a laptop connected to the transmitter and a TV connected to the receiver, with an Ethernet cable in between.

Image: Mirabox HSV373 HDMI Extender Laptop to TV Connection. This image provides another example of connecting a laptop to a TV using the extender.
Multi-Receiver (1-to-Many) Setup
To use the 1-to-many splitter function, connect the Transmitter unit to a network switch. Then, connect multiple Receiver units to the same network switch. Each Receiver unit will then connect to its own HDMI display. The system supports up to 253 Receiver units.

Image: Mirabox HSV373 HDMI Extender Multi-Receiver Setup. This diagram illustrates how to connect one transmitter to multiple receivers via a network switch for simultaneous display on several monitors.

Image: Mirabox HSV373 HDMI Extender Multi-Receiver Cascade Mode. This image shows a more complex setup where multiple receivers are connected through several network switches, demonstrating the cascade support.
5. Operating Instructions
Once the setup is complete and all connections are secure, the Mirabox HSV373 HDMI Extender operates automatically. The HDMI signal from your source will be transmitted to all connected displays without further configuration. The system is plug-and-play, requiring no software installation.
Resolution Support
The extender supports various resolutions:
- 1080p@50Hz / 1080p@60Hz / 1080p@24Hz
- 1080i@50Hz / 1080i@60Hz
- 720p@50Hz / 720p@60Hz
- 576i@50Hz / 576p@50Hz
- 480i@50Hz / 480p@60Hz
Reset Function
If you encounter any display issues, you can press the RESET button on either the Transmitter or Receiver unit to restart the connection. This may help re-establish the signal or adjust the resolution.
6. Specifications
| Feature | Value |
|---|---|
| Brand | Mirabox |
| Model Number | HSV373 |
| Connector Type | HDMI to Rj45 |
| Cable Type | HDMI, Cat5/5e/6/6e/7 |
| Transmission Distance | Up to 400ft (120m) |
| Resolution Support | 1080p@60Hz (Full HD) and lower |
| Data Transfer Rate | 100 Megabits Per Second |
| Color | Black |
| Power Supply | DC 5V, 1A (Power over Cable supported) |
| Item Weight | 11.3 ounces (0.32 Kilograms) |
| Product Dimensions | 4.72 x 1.97 x 0.87 inches |
| Indoor/Outdoor Usage | Indoor, Outdoor |
7. Maintenance
To ensure the longevity and optimal performance of your Mirabox HSV373 HDMI Extender, follow these maintenance guidelines:
- Cleaning: Use a dry, soft cloth to clean the units. Avoid using liquid cleaners or solvents, as they may damage the device.
- Ventilation: Ensure the ventilation slots on the sides of the units are not obstructed to prevent overheating.
- Cable Management: Keep cables neatly organized and avoid sharp bends or excessive tension, which can damage the cables or ports.
- Storage: When not in use for extended periods, store the units in a cool, dry place away from direct sunlight and extreme temperatures.
8. Troubleshooting
If you encounter issues with your HDMI Extender, try the following troubleshooting steps:
- No Signal/Poor Picture Quality:
- Ensure all HDMI and Ethernet cables are securely connected.
- Verify that the Ethernet cable is Cat5e/6/6e/7 and is not damaged.
- Press the RESET button on both the Transmitter and Receiver units.
- Check if the resolution of your source device is supported by the extender and your display.
- Ensure only one power adapter is connected to either the TX or RX unit.
- IR Control Not Working:
- Ensure the IR blaster cables are correctly plugged into the designated IR ports on the units.
- Position the IR emitter directly in front of the IR sensor of your source device.
- Ensure the IR receiver is positioned to receive signals from your remote control.
- Network Interference:
- Avoid using the extender on your regular home network. Use a dedicated Cat5e/6/6e/7 LAN cable for the extender connection.
9. Safety Information
Please observe the following safety precautions:
- Do not disassemble the product. Disassembly voids the warranty and may cause damage.
- Keep the units away from water or excessive moisture. The product is not waterproof.
- Avoid using the product in environments with extremely high or low temperatures.
- Avoid contact with corrosive substances.
- In case of damage or physical shock, discontinue use and contact customer support.


