
1. Introduction
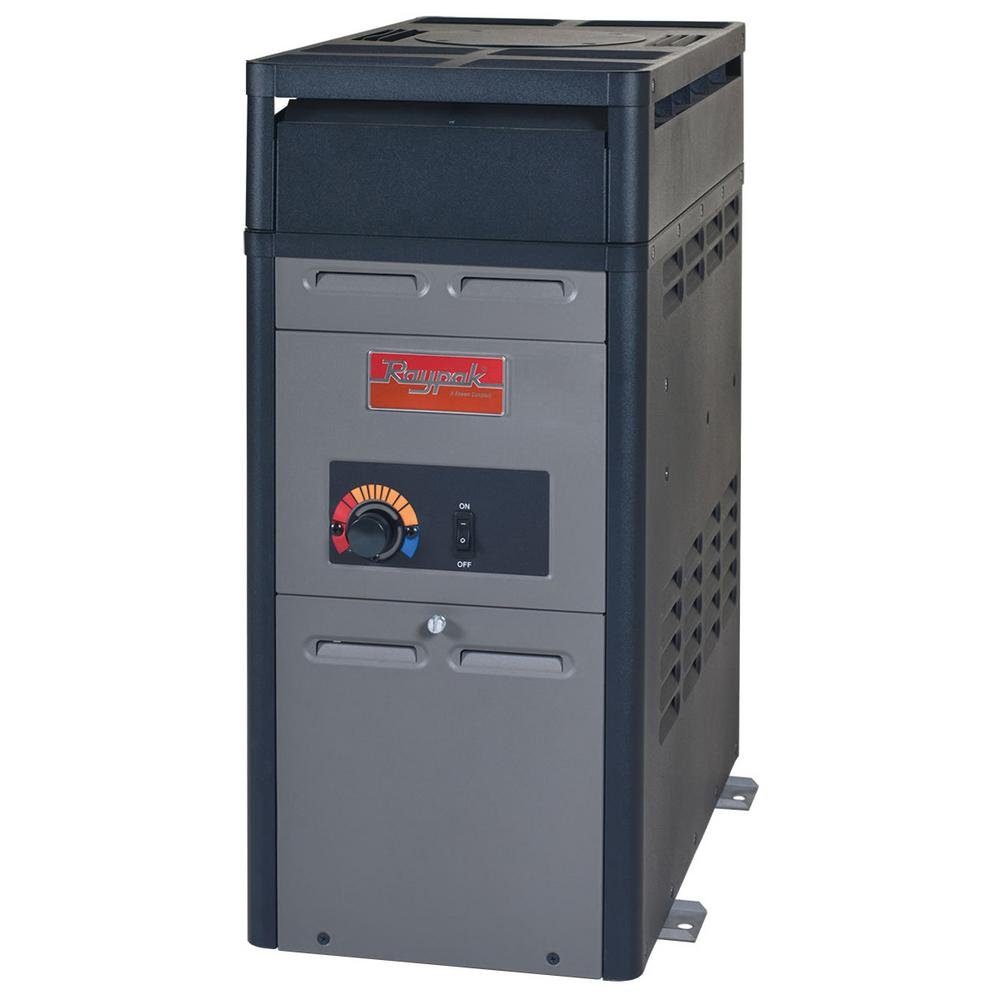
Thank you for choosing the Raypak 106A Natural Gas Pool Heater. This manual provides essential information for the proper installation, safe operation, and routine maintenance of your new pool heater. Please read all instructions carefully before attempting to install or operate the unit. Retain this manual for future reference.
The Raypak 106A is designed for above-ground pools and spas, featuring an all-copper fin-tube heat exchanger for efficient heat transfer and a durable PolyTuf textured powder coating for corrosion resistance.
2. Safety Information
WARNING: Improper installation, adjustment, alteration, service, or maintenance can cause property damage, injury, or death. Read the installation, operating, and maintenance instructions thoroughly before installing or servicing this equipment.
This appliance must be installed by a qualified installer or service agency. All installations must comply with local codes or, in the absence of local codes, with the National Fuel Gas Code ANSI Z223.1/NFPA 54.
- Ensure adequate ventilation around the heater.
- Do not store or use gasoline or other flammable vapors and liquids in the vicinity of this or any other appliance.
- Keep the area around the heater clear of combustible materials, debris, and chemicals.
- Never operate the heater if any part has been submerged in water. Immediately call a qualified service technician to inspect the appliance and to replace any part of the control system and any gas control that has been submerged in water.
- Always turn off the gas supply to the heater before performing any maintenance or service.
3. Setup and Installation
Installation of this pool heater requires specialized knowledge and should only be performed by a qualified professional. Incorrect installation can lead to serious hazards.
3.1 Pre-Installation Checks
- Verify that the heater model (P-R106A-AN-C) matches your requirements and is designed for natural gas.
- Ensure the installation site is level, stable, and provides adequate clearance from combustible surfaces.
- Confirm that the gas supply pressure and volume are sufficient for the heater's BTU rating (106,000 BTU).
- Check that the electrical supply meets the heater's requirements.
3.2 Connecting Water and Gas Lines
The Raypak 106A features 2-inch water connections and 1/2-inch NPT gas connections. All connections must be sealed properly to prevent leaks.
3.3 Venting
Proper venting is critical for safe operation. Follow all manufacturer instructions and local codes for venting the exhaust gases. Ensure the vent termination is clear of obstructions and away from windows or air intakes.
4. Operating Instructions
Once installed and all connections are verified by a qualified professional, the heater can be operated.
4.1 Initial Startup
- Ensure the pool pump is running and water is flowing through the heater.
- Slowly open the manual gas shut-off valve to the heater.
- Turn on the electrical power to the heater.
- Set the desired water temperature on the heater's control panel. The heater will automatically ignite and begin heating the water.
4.2 Temperature Adjustment
Use the control panel to increase or decrease the desired water temperature. Allow sufficient time for the heater to reach the set temperature, as heating times vary based on pool size and ambient conditions.
4.3 Shutting Down the Heater
- Turn off the heater at the control panel.
- Turn off the electrical power to the heater.
- Close the manual gas shut-off valve.
5. Maintenance
Regular maintenance ensures efficient operation and extends the life of your Raypak pool heater. Always disconnect power and gas supply before performing maintenance.
5.1 Routine Checks
- Keep Area Clear: Ensure the area around the heater is free of debris, leaves, and any flammable materials.
- Inspect Venting: Periodically check the vent system for obstructions or damage.
- Water Chemistry: Maintain proper pool water chemistry to prevent scaling or corrosion within the heater's heat exchanger.
5.2 Professional Servicing
It is recommended to have a qualified service technician inspect and service your heater annually, especially before the start of the swimming season. This includes checking the burner, heat exchanger, and control components.
5.3 Winterization
In areas subject to freezing temperatures, the heater must be properly winterized to prevent damage. This typically involves draining all water from the heater and associated plumbing. Consult a qualified pool professional for proper winterization procedures.
6. Troubleshooting
Before calling for service, review the following common issues and solutions.
| Problem | Possible Cause | Solution |
|---|---|---|
| Heater does not ignite | No gas supply No power Low water flow | Check gas valve Check circuit breaker Ensure pump is running and filter is clean |
| Heater cycles on and off rapidly | Insufficient water flow High limit switch tripping | Check pump and filter Ensure proper water circulation |
| Water not heating | Incorrect temperature setting Heater too small for pool volume Heat exchanger issues | Adjust thermostat Consult a professional Contact service technician |
If troubleshooting steps do not resolve the issue, contact a qualified service technician.
7. Specifications
| Feature | Detail |
|---|---|
| Model Number | P-R106A-AN-C |
| Heat Output | 106,000 BTU |
| Fuel Type | Natural Gas |
| Water Connections | 2 inches |
| Gas Connections | 1/2 inch NPT |
| Dimensions (L x W x H) | 60.96 x 35.56 x 69.85 cm (24 x 13 x 27.5 inches) |
| Weight | 35.83 kg (79 lbs) |
| Heat Exchanger | All-Copper Fin-Tube |
| Cabinet Finish | PolyTuf Textured Powder Coating |
Note: Reduce input 4% for each 1000 feet above sea level when installed above 2000 feet elevation. This model is not designed to meet emissions regulations in areas requiring Low NOx levels.
8. Warranty and Support
Raypak products are manufactured to high standards. For specific warranty details, please refer to the warranty card included with your product or visit the official Raypak website. It is important to note that the warranty for internal parts may be limited to 90 days from the date of purchase. Keep your proof of purchase for warranty claims.
For technical support, service, or warranty inquiries, please contact your authorized Raypak dealer or a qualified service technician. Unauthorized service may void your warranty.


