
1. Introduction
This manual provides detailed instructions for the installation, operation, and maintenance of the Wright Products VWC50WH Adjustable Self-Closing Interior Door Closer. This closer is designed for interior doors that require automatic closing, such as basement, garage, or other interior doors. It features adjustable tension and is suitable for both left and right-hinged doors.

Figure 1: Wright Products VWC50WH Adjustable Self-Closing Interior Door Closer in its retail packaging, showing the main unit, arm, and mounting hardware.
2. Package Contents
Before beginning installation, ensure all components are present:
- Door Closer Unit (White)
- Adjustable Arm
- Mounting Plate/Bracket
- Mounting Screws

Figure 2: All components of the VWC50WH door closer, including the main closer body, arm, and various screws, laid out on a white surface.
3. Setup and Installation
The VWC50WH door closer is designed for hinge-side mounting on the push side of interior doors. It is compatible with both left and right-hinged doors.
3.1 Tools Required
- Pencil
- Drill
- Screwdriver (Phillips head recommended)
- Measuring Tape
3.2 Installation Steps
- Position the Closer Unit: Hold the main closer unit against the door frame on the hinge side, ensuring it is vertically aligned and positioned at a suitable height, typically near the top hinge. The unit should be on the push side of the door.
- Mark Mounting Holes: Use a pencil to mark the locations for the mounting screws through the holes on the closer unit.
- Drill Pilot Holes: Carefully drill pilot holes at the marked locations. Ensure the pilot holes are appropriate for the provided screws to prevent wood splitting.
- Secure the Closer Unit: Attach the closer unit to the door frame using the provided mounting screws. Tighten securely.
- Attach the Arm: Insert the adjustable arm into the closer unit. The arm's position will determine the closing tension.
- Mount the Arm Bracket: With the door closed, position the arm bracket on the door surface so that the arm is slightly compressed, indicating initial tension. Mark the mounting holes for the arm bracket.
- Drill Pilot Holes for Bracket: Drill pilot holes for the arm bracket.
- Secure the Arm Bracket: Attach the arm bracket to the door using the remaining mounting screws.

Figure 3: An illustrative diagram demonstrating the correct placement and installation of the door closer on the hinge side of an interior door, highlighting the main unit and arm attachment.

Figure 4: A visual representation of the door closer's compatibility, indicating easy installation and suitability for both left and right-hinged interior doors, with components laid out.
4. Operating and Adjustment
The VWC50WH door closer allows for adjustable closing tension to suit your specific needs.
4.1 Adjusting Closing Tension
The closing tension is adjusted by changing the position of the arm within the closer unit. The closer unit typically has multiple holes or a mechanism to secure the arm at different angles. Moving the arm to a different hole or adjusting its rotational position will increase or decrease the spring tension, thereby affecting the closing speed and force.
- To increase closing tension (faster, stronger close), reposition the arm to apply more spring compression.
- To decrease closing tension (slower, lighter close), reposition the arm to apply less spring compression.
Test the door's closing action after each adjustment to achieve the desired speed and force. Ensure the door closes completely without slamming.

Figure 5: A detailed view of the installed door closer, highlighting the point where the arm connects to the main unit, illustrating how tension can be adjusted.
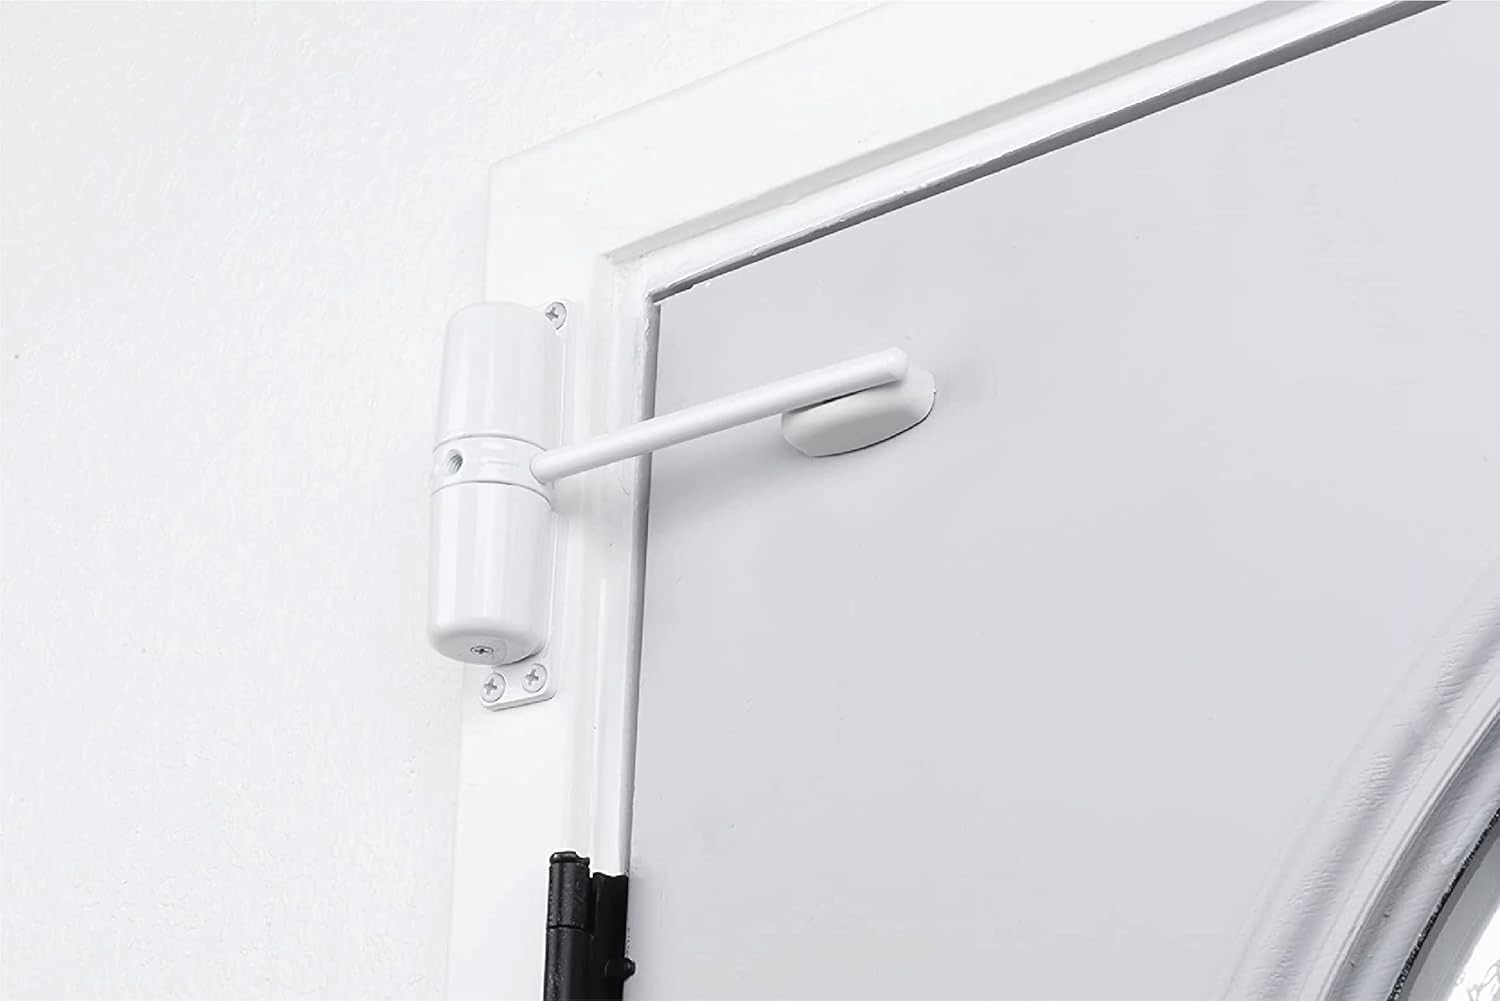
Figure 6: The Wright Products VWC50WH door closer installed on an interior door, demonstrating its discreet appearance and functionality as the door closes.
5. Maintenance
The Wright Products VWC50WH door closer is designed for durability and requires minimal maintenance.
- Cleaning: Periodically wipe the closer unit and arm with a soft, damp cloth to remove dust and grime. Avoid abrasive cleaners.
- Inspection: Regularly check all mounting screws to ensure they remain tight. If any screws are loose, tighten them to prevent the closer from shifting or becoming ineffective.
- Lubrication: The internal mechanism is factory-lubricated and generally does not require additional lubrication. If the closer begins to squeak or operate roughly, a small amount of silicone-based lubricant can be applied to the pivot points, but avoid over-lubricating.
6. Troubleshooting
| Problem | Possible Cause | Solution |
|---|---|---|
| Door does not close completely. | Insufficient spring tension. | Increase the closing tension by adjusting the arm position (refer to Section 4.1). |
| Door slams shut too quickly. | Excessive spring tension. | Decrease the closing tension by adjusting the arm position (refer to Section 4.1). |
| Closer unit is loose or wobbly. | Mounting screws are loose. | Tighten all mounting screws on both the closer unit and the arm bracket. |
| Squeaking or grinding noise. | Lack of lubrication or debris. | Clean the unit and apply a small amount of silicone-based lubricant to pivot points. |
7. Specifications
- Model: VWC50WH
- Material: Metal
- Color: White
- Installation Type: Screw-In
- Unit Count: 1
- Recommended Uses: Interior doors, basement doors, doors between garage and home.
- Compatibility: Left and right-hinged doors
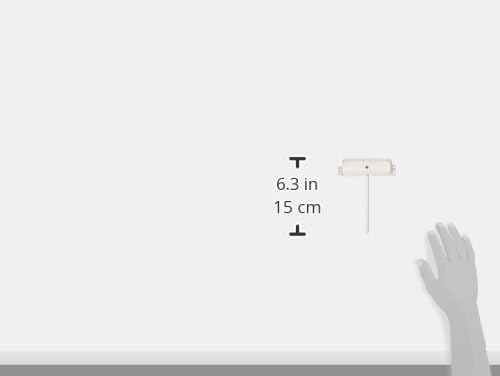
Figure 7: An image displaying the approximate dimensions of the door closer unit, indicating a length of 6.3 inches (15 cm).
8. Warranty Information
The Wright Products VWC50WH Adjustable Self-Closing Interior Door Closer comes with a Lifetime Manufacturer Warranty. Please retain your proof of purchase for warranty claims. For specific terms and conditions, refer to the official Wright Products website or contact customer support.
9. Support
For further assistance, technical support, or to inquire about replacement parts, please contact Wright Products customer service:
- Website: Visit the official Wright Products Store on Amazon for product information and resources.
- Contact: Refer to the packaging or the official Wright Products website for direct contact information (phone number, email).