
LEGO 9009853
LEGO Friends 9009853 Purple Brick Alarm Clock User Manual
Model: 9009853
Introduction
Thank you for purchasing the LEGO Friends 9009853 Purple Brick Alarm Clock. This manual provides essential information for the safe and efficient operation of your new alarm clock. Please read these instructions carefully before use and retain them for future reference.
Important Safety Information
- This product is not a toy. Adult supervision is recommended for children under 6 years old.
- Do not expose the clock to extreme temperatures, direct sunlight, or high humidity.
- Use only the specified battery type (2x AAA). Ensure correct polarity when inserting batteries.
- Remove exhausted batteries promptly to prevent leakage.
- Do not mix old and new batteries, or different types of batteries.
- Keep batteries out of reach of small children. If swallowed, seek immediate medical attention.
- Clean the clock with a soft, dry cloth. Do not use liquid cleaners or aerosols.
Package Contents
Please check that all items are present:
- 1 x LEGO Friends 9009853 Purple Brick Alarm Clock
- 2 x AAA Batteries (pre-installed or separate)
- 1 x User Manual (this document)
Product Overview
Familiarize yourself with the components of your alarm clock:
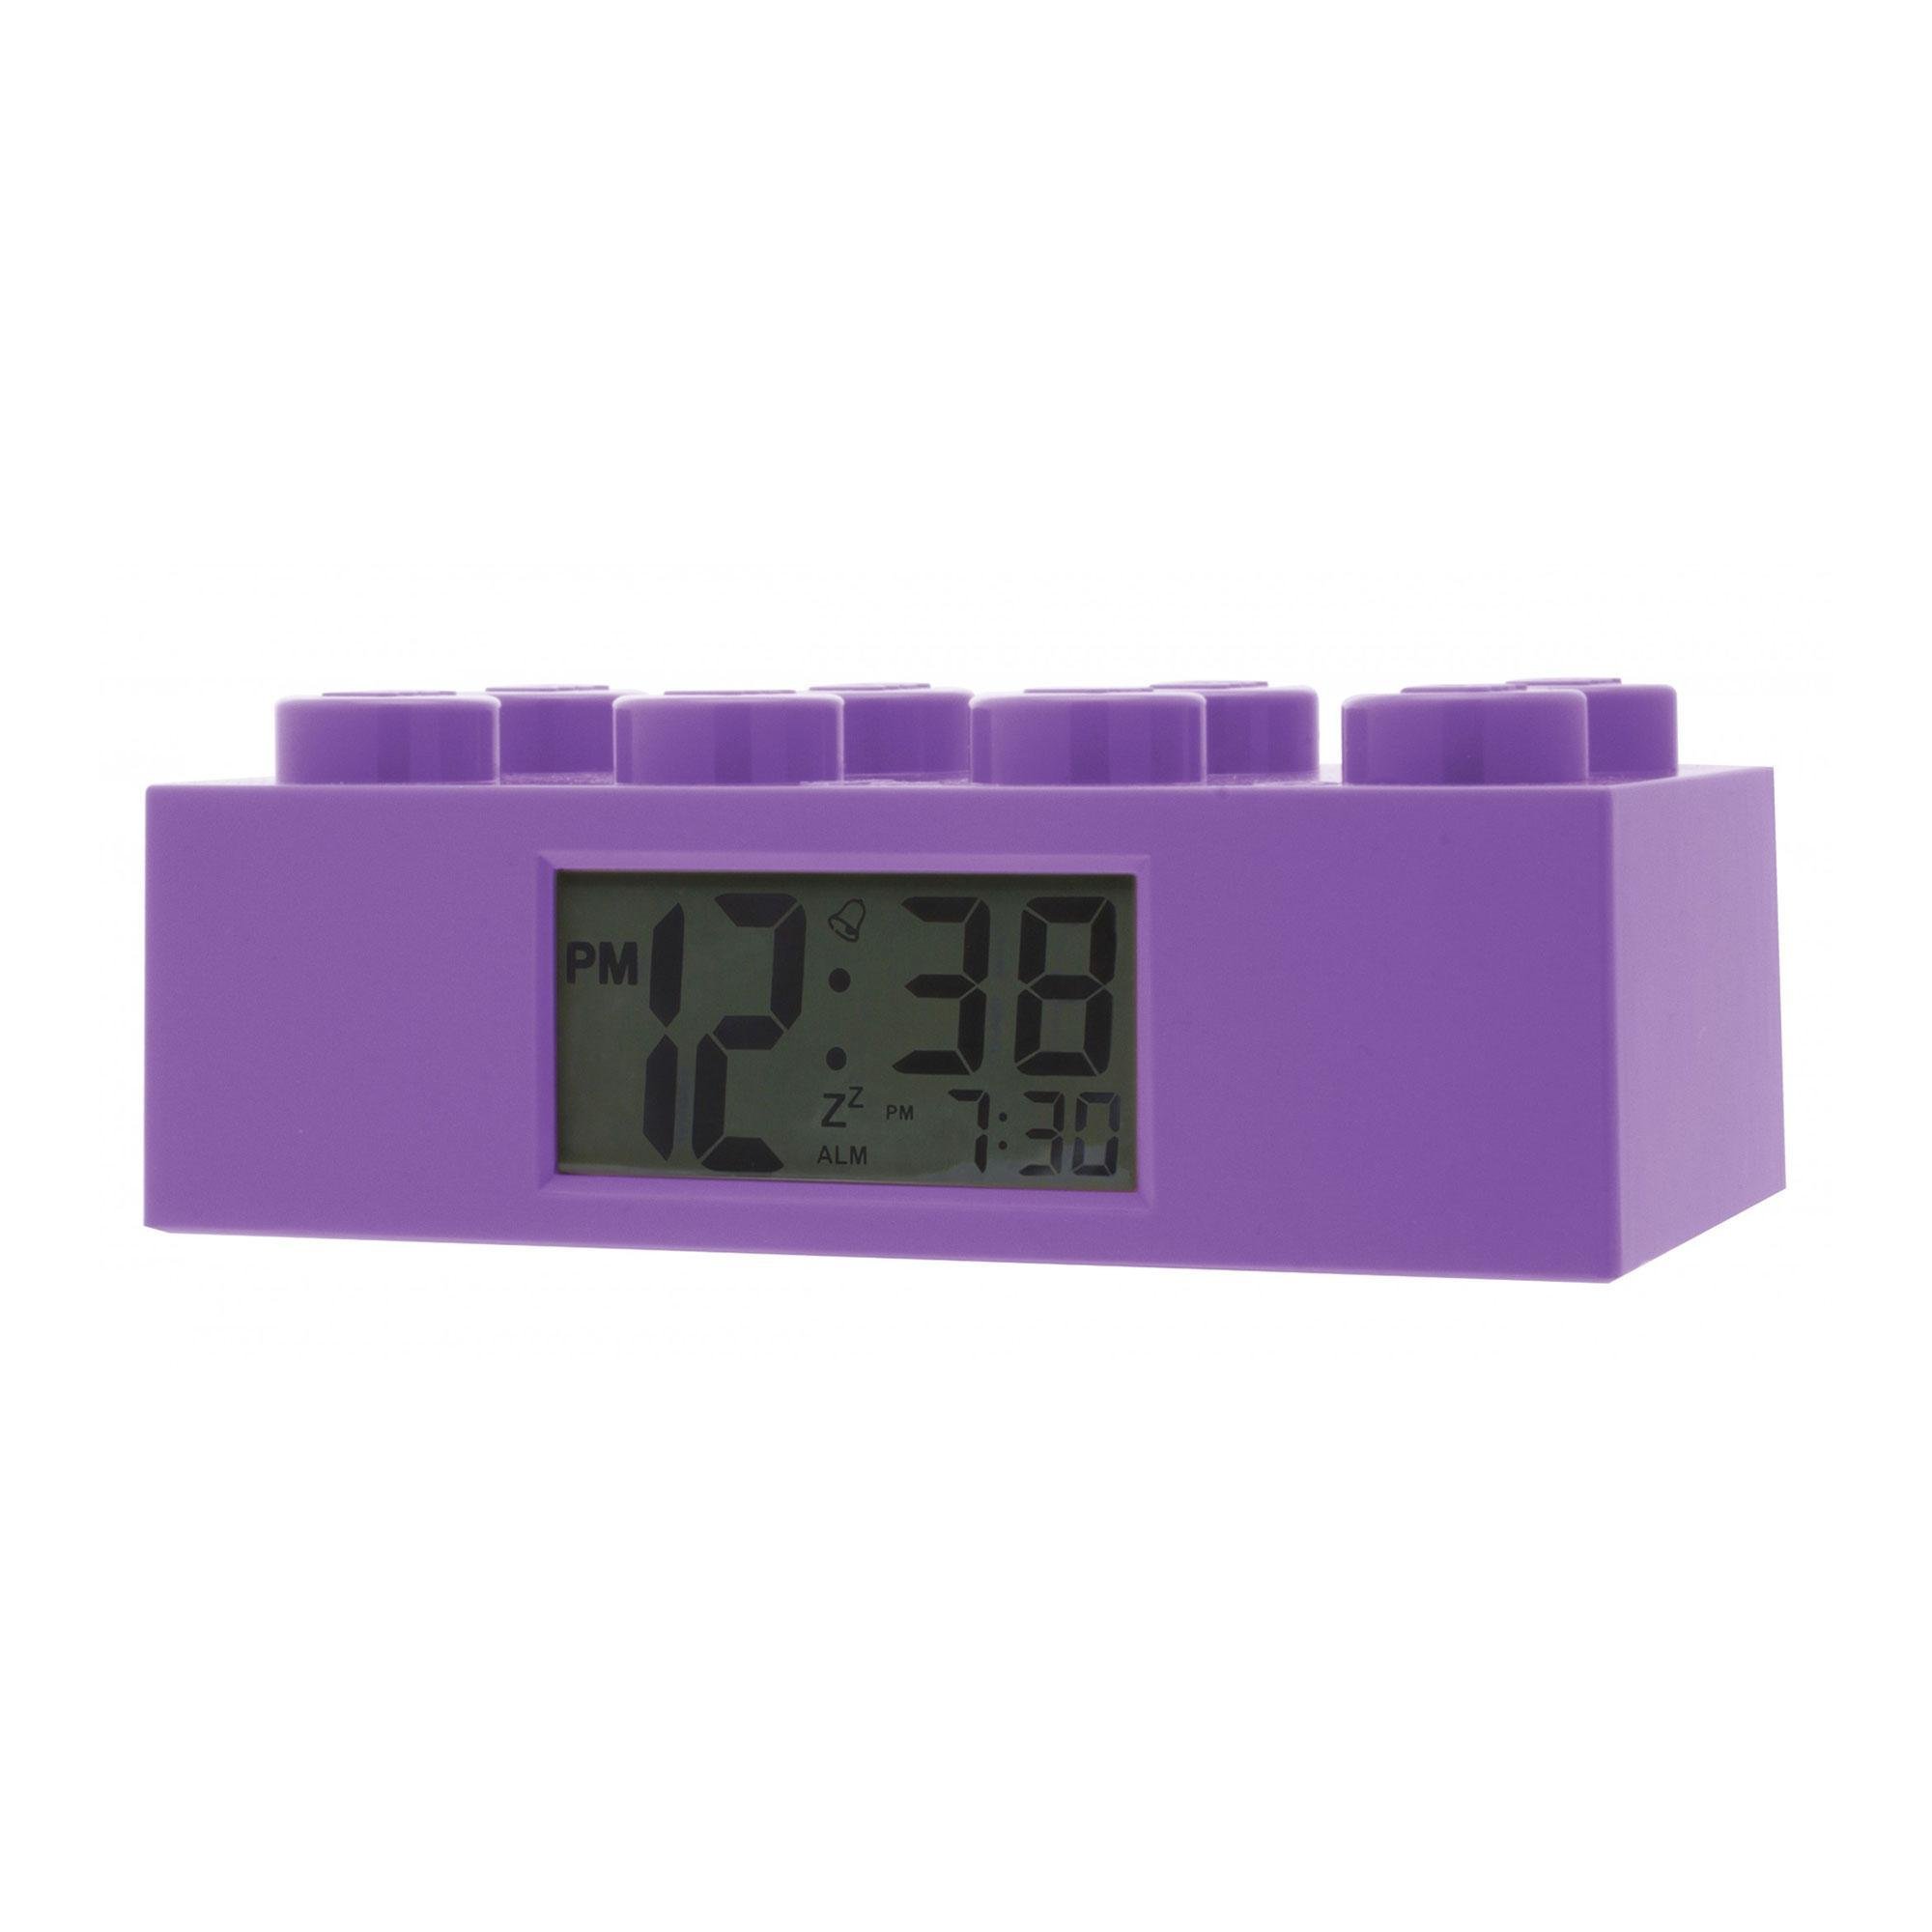
Image: Front view of the LEGO Friends 9009853 Purple Brick Alarm Clock, showing the digital LCD display and the iconic LEGO brick design.
- LCD Display: Shows time, alarm status.
- Top Stud/Button: Activates snooze and backlight.
- Control Buttons (Rear): Set, Time, Alarm, Hour, Minute.
- Battery Compartment (Rear): Holds 2x AAA batteries.
Setup
1. Battery Installation
- Locate the battery compartment cover on the back of the alarm clock.
- Using a small screwdriver (not included), carefully remove the screw and open the battery compartment.
- Insert 2 new AAA batteries, ensuring the correct polarity (+ and -) as indicated inside the compartment.
- Replace the battery compartment cover and secure it with the screw.
2. Initial Power On
Once batteries are installed, the LCD display will light up and show a default time (e.g., 12:00 AM). You can now proceed to set the current time and alarm.
Operating Instructions
1. Setting the Current Time
- Press and hold the SET button on the back of the clock until the hour digits begin to flash.
- Press the HOUR button repeatedly to adjust the hour. Pay attention to the AM/PM indicator.
- Press the SET button again. The minute digits will flash.
- Press the MINUTE button repeatedly to adjust the minutes.
- Press the SET button one more time to confirm the time setting and exit the setting mode.
2. Setting the Alarm
- Press and hold the ALARM button on the back of the clock until the alarm hour digits begin to flash.
- Press the HOUR button repeatedly to adjust the alarm hour. Observe the AM/PM indicator.
- Press the ALARM button again. The alarm minute digits will flash.
- Press the MINUTE button repeatedly to adjust the alarm minutes.
- Press the ALARM button one more time to confirm the alarm setting. The alarm icon will appear on the display, indicating the alarm is active.
To deactivate the alarm: Press the ALARM button once briefly. The alarm icon will disappear from the display.
3. Snooze and Backlight Function
When the alarm sounds, press the large stud/button on top of the clock to activate the snooze function. The alarm will pause for approximately 5 minutes and then sound again. Pressing the top stud/button at any other time will activate the backlight for a few seconds, illuminating the display.
To stop the alarm completely: Press any of the control buttons on the back of the clock (SET, TIME, ALARM, HOUR, MINUTE). The alarm will reset for the next day.
Maintenance
Cleaning
Wipe the clock with a soft, dry, lint-free cloth. Do not use abrasive cleaners, solvents, or chemical sprays, as these can damage the surface and internal components.
Battery Replacement
When the display becomes dim or the clock functions erratically, it is time to replace the batteries. Follow the "Battery Installation" steps in the Setup section to replace the 2 AAA batteries.
Troubleshooting
| Problem | Possible Cause | Solution |
|---|---|---|
| Display is blank or dim. | Low or dead batteries. Incorrect battery polarity. | Replace batteries with new AAA batteries, ensuring correct polarity. |
| Alarm does not sound. | Alarm is not activated. Alarm time is incorrect. | Ensure the alarm icon is visible on the display. Re-set the alarm time. |
| Time is incorrect. | Time was not set correctly. | Follow the "Setting the Current Time" instructions to adjust. |
| Snooze/Backlight button not working. | Low batteries. Button malfunction. | Replace batteries. If issue persists, contact customer support. |
Specifications
- Model: 9009853
- Brand: LEGO
- Display Type: Digital LCD
- Power Source: 2 x AAA Batteries (included)
- Material: Plastic
- Color: Purple
- Dimensions: Approximately 25.5 x 10 x 10.2 cm (10 x 3.9 x 4 inches)
- Weight: Approximately 318 g (0.7 lbs)
- Functions: Time display, Alarm, Snooze, Backlight
- Recommended Age: 6+ years
Warranty and Support
This LEGO Friends Alarm Clock comes with a 2-year warranty from the date of purchase. This warranty covers manufacturing defects under normal use. It does not cover damage caused by misuse, accidents, unauthorized modifications, or normal wear and tear.
For warranty claims or technical support, please contact your retailer or visit the official LEGO customer support website. Please have your model number (9009853) and proof of purchase ready.
Disposal Information
Do not dispose of this product or its batteries with household waste. Electronic products and batteries contain materials that can be harmful to the environment if not disposed of properly. Please take them to an appropriate recycling point designated by your local authorities.
Related documents9009853


Ask a question about this manual
Ask about setup, troubleshooting, compatibility, parts, safety, or missing instructions. Manuals+ will review the question and use this page’s manual context to help answer it.