
Introduction
This manual provides essential information for the safe and efficient operation, installation, and maintenance of your Comfort Glow KWP392 Propane Infrared Vent Free Wall Heater. This 18,000 BTU unit is designed to provide radiant heat for indoor spaces up to 800 square feet without the need for external venting. It features a contemporary design, variable heat control, and a built-in Oxygen Depletion Sensor (ODS) for safety.
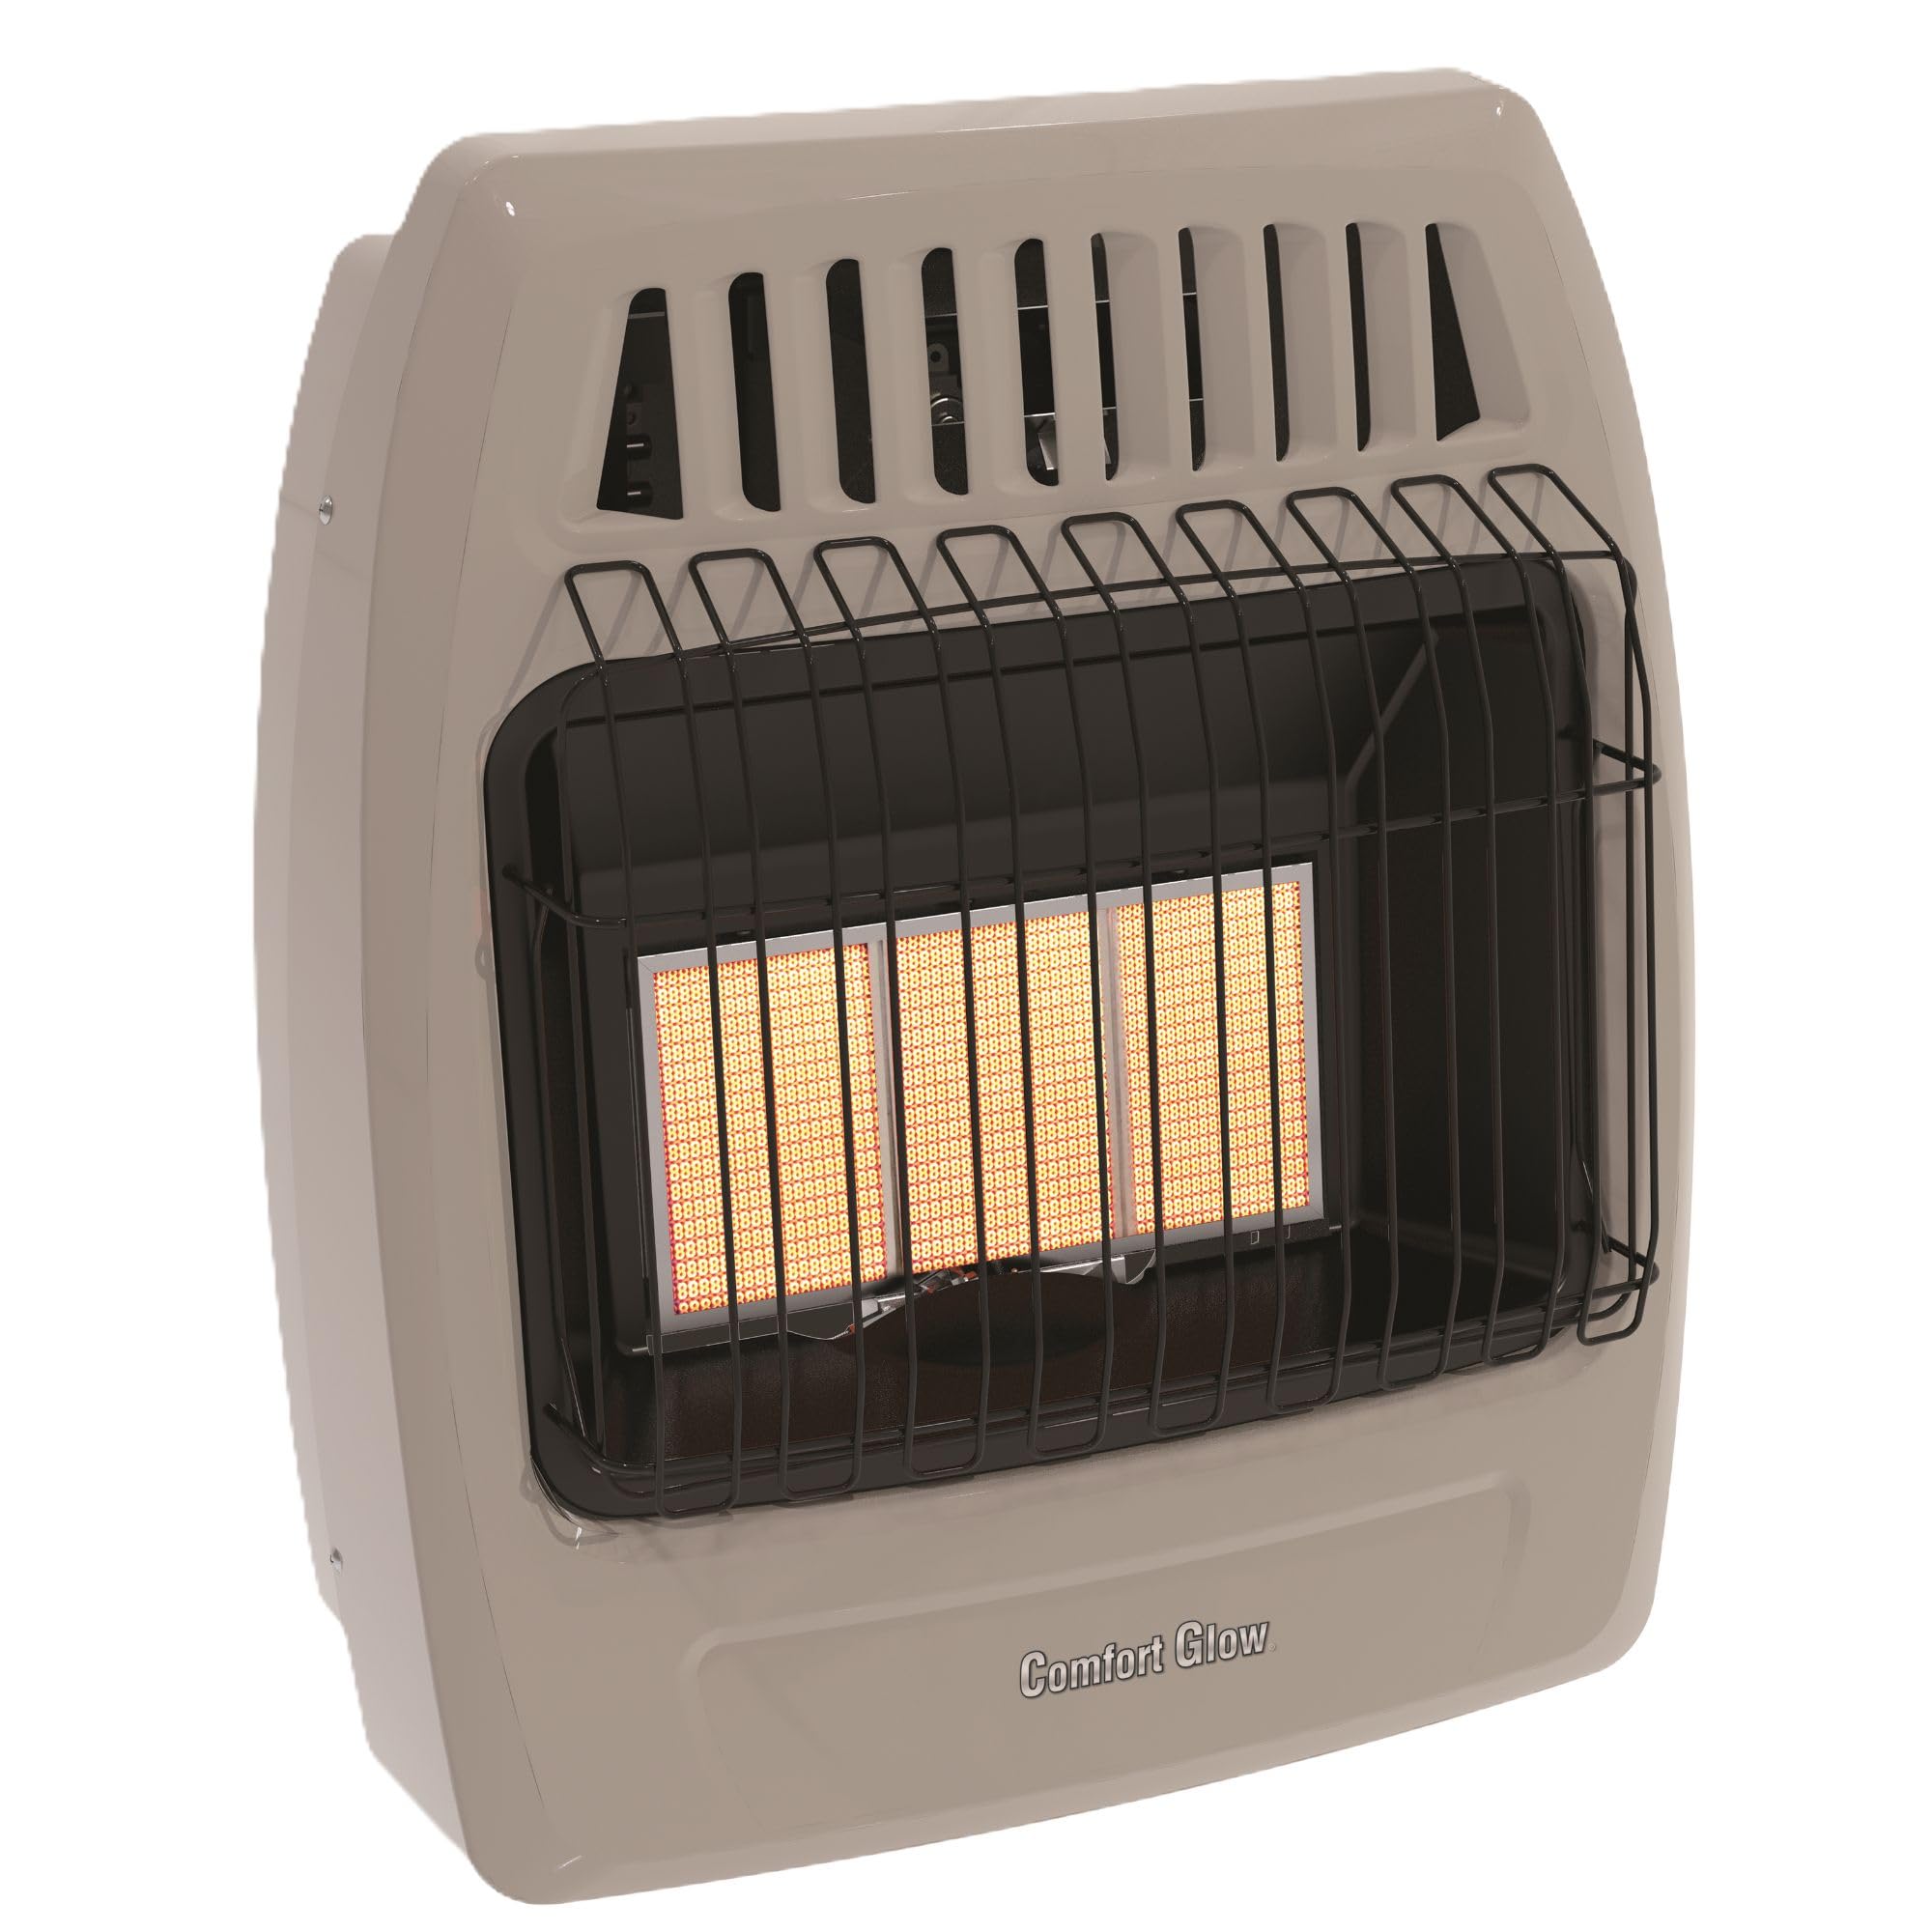
Image: Front view of the Comfort Glow KWP392 Propane Infrared Vent Free Wall Heater.
Safety Information
WARNING: Improper installation, adjustment, alteration, service, or maintenance can cause property damage, injury, or death. Read the installation, operating, and maintenance instructions thoroughly before installing or servicing this equipment.
- This product is for indoor use only.
- Ensure adequate ventilation in the area where the heater is installed.
- The Oxygen Depletion Sensor (ODS) is a safety device. Do not tamper with it.
- Due to the built-in oxygen safety sensor, vent-free products may not work properly at elevations of 4500 ft or higher.
- The state of California prohibits the use of this product. Please check your state and local codes prior to purchase.
- Keep combustible materials at a safe distance from the heater. Refer to the product labels for specific clearances.
- Never store or use gasoline or other flammable vapors and liquids in the vicinity of this or any other appliance.
- Always ensure the gas supply is turned off before performing any maintenance or service.
Package Contents
Verify that all components are present before beginning installation:
- Comfort Glow KWP392 Heater Unit
- Wall Bracket/Mounting Hardware
- Instruction Manual
Optional accessories such as a blower or floor mounting kit are sold separately.
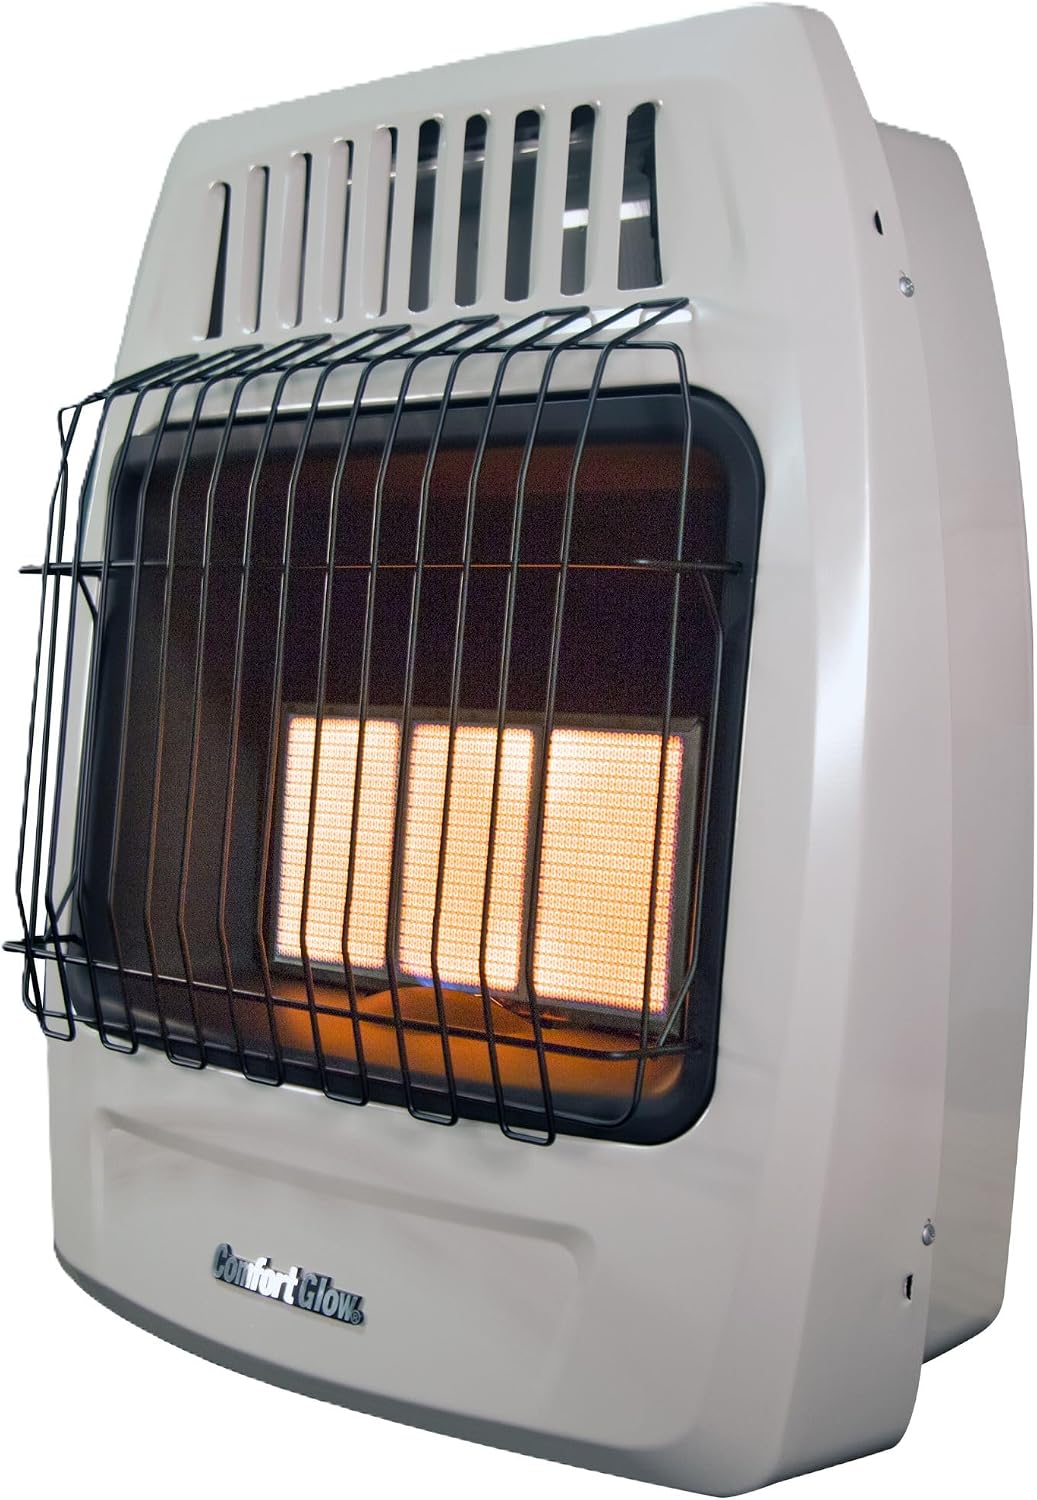
Image: Optional blower and floor mounting kit, sold separately.
Setup and Installation
The Comfort Glow KWP392 heater can be installed as a wall-mounted unit or as a free-standing unit using an optional floor mounting kit. Professional installation by a qualified service person is highly recommended for all gas appliances to ensure safety and compliance with local codes.
Installation Steps:
- Unpack the Heater: Carefully remove the heater and all components from the packaging. Inspect for any damage.
- Choose Location: Select a suitable indoor location, ensuring proper clearances from combustible materials as specified in the manual and on the product label.
- Mounting:
- Wall Mount: Use the provided wall bracket and hardware to securely mount the heater to a sturdy wall surface.
- Floor Stand (Optional): If using the optional floor mounting kit, attach the legs according to the kit's instructions.
- Gas Connection: Connect the heater to your propane gas supply. This unit requires a minimum 100 lb. propane tank. Ensure all connections are tight and leak-free. Use appropriate gas flex connections and adapter fittings if necessary.
- Ignition Battery: Install the required battery for the piezo ignition system.

Image: Dimensions of the Comfort Glow KWP392 heater (24" H x 21" W x 10.5" D).
Operating Instructions
The Comfort Glow KWP392 features manual control with variable heat settings and piezo ignition.
Starting the Heater:
- Ensure the gas supply valve is open.
- Locate the control knob and the piezo igniter button on the top of the unit.
- Push the control knob down and turn it counter-clockwise to the 'PILOT' position. Continue to hold the knob down for approximately 10-15 seconds to allow gas to flow and purge air from the line.
- While still holding the control knob down, repeatedly press the piezo igniter button until the pilot flame ignites. You should see a small blue flame at the pilot light assembly.
- Once the pilot is lit, continue to hold the control knob down for another 30-60 seconds to ensure the thermocouple is heated and holds the pilot flame. Release the knob slowly. If the pilot goes out, repeat steps 3-5.
- After the pilot is stable, push the control knob down slightly and turn it counter-clockwise to your desired heat setting (1-5). The main burner will ignite.
Adjusting Heat:
Rotate the control knob to select different heat levels (1-5) to achieve your desired room temperature. The heater operates with variable heat control, allowing you to adjust the output.
Turning Off the Heater:
To turn off the main burner, turn the control knob clockwise to the 'PILOT' position. To completely shut off the heater, turn the control knob further clockwise to the 'OFF' position and close the main gas supply valve.

Image: Close-up of the control knob and piezo igniter button on the heater.
Maintenance
Regular maintenance ensures the longevity and safe operation of your heater.
- Cleaning: Keep the heater area clear and free from combustible materials, gasoline, and other flammable vapors and liquids. Clean the exterior surfaces with a soft, damp cloth. Do not use abrasive cleaners.
- Pilot and Burner Inspection: Periodically inspect the pilot and main burner for proper flame appearance. The pilot flame should be steady and blue. The main burner flames should also be blue with no yellow tipping.
- Ventilation: Ensure that air openings on the heater are not obstructed.
- Professional Service: It is recommended to have the heater inspected annually by a qualified service technician to ensure all components are functioning correctly and safely.
Troubleshooting
If your heater is not operating correctly, consult the following common issues before contacting customer support:
| Problem | Possible Cause | Solution |
|---|---|---|
| Pilot will not light | No gas supply; Air in gas line; Faulty igniter battery; Pilot orifice clogged; ODS system activated. | Check gas supply; Purge air from line by holding pilot knob longer; Replace igniter battery; Clean pilot orifice; Ensure adequate ventilation. |
| Pilot lights but main burner does not | Control knob not turned to a heat setting; Main burner orifice clogged. | Turn control knob to a numbered heat setting; Clean main burner orifice. |
| Heater produces insufficient heat | Heater set to low setting; Room size exceeds heating capacity; Poor insulation. | Increase heat setting; Consider additional heating for larger spaces; Improve room insulation. |
| Heater shuts off unexpectedly | ODS system activated due to low oxygen; Gas supply interrupted. | Ventilate the area; Check gas supply. |
Specifications
| Feature | Detail |
|---|---|
| Brand | Comfort Glow |
| Model Number | KWP392 |
| Heat Output | 18,000 BTU |
| Heating Coverage | Up to 800 sq ft |
| Fuel Type | Propane |
| Burner Type | Radiant (Infrared) |
| Control Type | Manual Control (No Thermostat) |
| Ignition Type | Piezo Ignition |
| Safety Features | Oxygen Depletion Sensor (ODS) |
| Mounting Type | Wall Mount (Optional Floor Stand) |
| Product Dimensions (D x W x H) | 10.5" x 20.9" x 24" |
| Item Weight | 22.9 pounds |
| Color | Gray |
Warranty and Support
The Comfort Glow KWP392 Propane Infrared Vent Free Wall Heater comes with a 2-year manufacturer's warranty. This warranty covers defects in materials and workmanship under normal use and service.
For warranty claims, technical assistance, or to purchase replacement parts, please contact Comfort Glow customer support. Keep your purchase receipt and model number (KWP392) readily available when contacting support.
For further assistance, refer to the contact information provided in the original product packaging or on the Comfort Glow official website.