1. Product Overview
The Powermaster 9112 Powermax Starter is designed for automotive applications, providing reliable engine cranking. This starter is built to offer durability and consistent performance for vehicle-specific fitments.
Key Features:
- Vehicle Specific Fitment
- Compact Design: Package Dimensions: 5.5 H x 12.5 L x 7.5 W (inches)
- Lightweight Construction: Package Weight: 9.0 pounds
- Manufactured in the United States
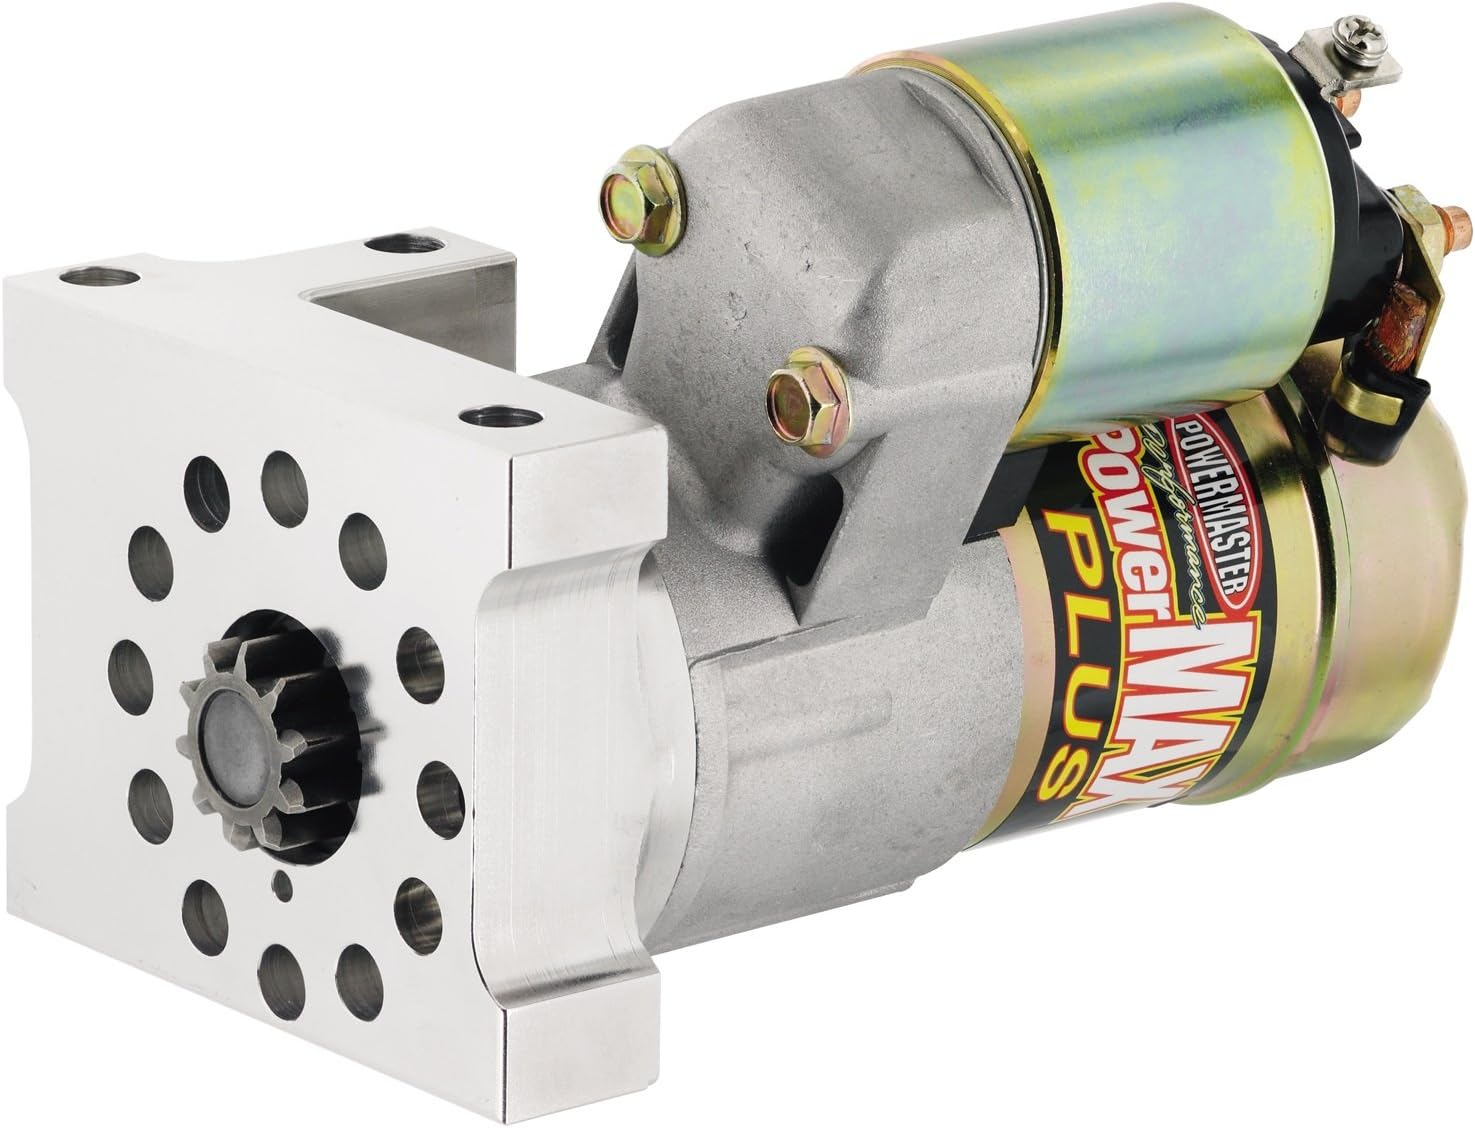
Figure 1: Powermaster 9112 Powermax Starter. This image displays the Powermaster 9112 Powermax Starter. It features a silver-colored main body with a gold-colored solenoid attached. The mounting plate, also silver, has multiple bolt holes and a central gear for engaging the engine's flywheel.
2. Installation and Setup
Proper installation is critical for the optimal performance and longevity of your Powermaster 9112 Powermax Starter. If you are unsure about any steps, it is recommended to seek assistance from a qualified automotive technician.
2.1 Pre-Installation Checks
- Ensure the vehicle's battery is disconnected before beginning installation.
- Verify that the new starter matches the specifications and mounting requirements of your vehicle.
- Inspect the flywheel/flexplate for any damaged teeth.
2.2 Mounting and Alignment
- Position the starter in its mounting location. The Powermaster 9112 may require 'clocking' (rotating the solenoid) to achieve optimal clearance with oil pans or headers, especially in tight engine compartments. This typically involves loosening retaining screws, rotating the motor assembly, and re-tightening.
- Secure the starter with the appropriate mounting bolts. Ensure all bolts are tightened to the manufacturer's recommended torque specifications.
- Check for proper gear mesh between the starter pinion and the flywheel/flexplate. Shims may be required to achieve correct engagement and prevent grinding or premature wear. Use a feeler gauge or paperclip method to verify adequate clearance.
2.3 Electrical Connections
- Connect the main battery cable to the large terminal on the starter solenoid. Ensure a clean, secure connection.
- Connect the ignition switch wire (S-terminal) to the small terminal on the solenoid.
- Ensure all ground connections are clean and secure.
- Reconnect the vehicle's battery.
3. Operating Instructions
The Powermaster 9112 Powermax Starter operates like a standard automotive starter. Follow these general guidelines for proper operation:
- Turn the ignition key to the 'START' position. The starter motor will engage the engine's flywheel, rotating the crankshaft to initiate combustion.
- Release the key immediately once the engine starts. Do not hold the key in the 'START' position for extended periods after the engine has fired, as this can damage the starter motor and flywheel.
- Avoid repeated, prolonged cranking. If the engine does not start after a few seconds of cranking, allow the starter to cool for a minute or two before attempting again. This prevents overheating.
4. Maintenance
The Powermaster 9112 Powermax Starter is designed for minimal maintenance. However, periodic checks can help ensure its longevity and reliable operation.
- Inspect Connections: Regularly check all electrical connections to the starter for corrosion, looseness, or damage. Clean terminals and ensure tight connections.
- Battery Health: Ensure your vehicle's battery is in good condition and fully charged. A weak battery can put excessive strain on the starter.
- Mounting Security: Periodically check that the starter mounting bolts are secure and properly torqued.
- Clearance: Verify that there is adequate clearance around the starter, especially if aftermarket headers or other components have been installed.
5. Troubleshooting
If you experience issues with your Powermaster 9112 Powermax Starter, consult the following troubleshooting guide:
| Symptom | Possible Cause | Solution |
|---|---|---|
| Starter does not crank or clicks once | Dead or weak battery; Loose or corroded battery cables; Faulty ignition switch; Faulty starter solenoid | Charge/replace battery; Clean and tighten battery cables; Test/replace ignition switch; Test/replace solenoid |
| Starter cranks slowly | Weak battery; Corroded battery cables; High engine compression; Excessive resistance in starter circuit | Charge/replace battery; Clean and tighten cables; Consult technician for engine compression issues; Check wiring for resistance |
| Grinding noise during cranking | Improper starter shimming/alignment; Damaged flywheel/flexplate teeth; Worn starter pinion gear | Re-shim/re-align starter; Inspect and replace flywheel/flexplate if damaged; Inspect and replace starter if pinion is worn |
| Starter continues to run after engine starts | Stuck solenoid; Faulty ignition switch | Tap solenoid gently (temporary fix); Replace solenoid; Test/replace ignition switch |
If these steps do not resolve the issue, professional diagnosis and repair may be necessary.
6. Specifications
| Specification | Value |
|---|---|
| Brand | POWERMASTER |
| Model Name | 9112 |
| Voltage | 12 Volts (DC) |
| Wattage | 7.5 watts |
| Amperage | 6 Amps |
| Item Weight | 0.6 Pounds |
| Package Weight | 4 Kilograms |
| Item Dimensions (L x W x H) | 12.5 x 5.5 x 7.5 inches |
| Material | Plastic (Note: This may refer to internal components or packaging, as the main body is typically metal) |
| Manufacturer | Powermaster |
| UPC | 692209017233 |
| Country of Origin | United States |
7. Warranty Information
The Powermaster 9112 Powermax Starter is covered by a Manufacturer Warranty. For specific details regarding the terms, conditions, and duration of the warranty, please refer to the documentation included with your product or contact Powermaster directly.
8. Customer Support
For technical assistance, installation questions, or warranty claims, please contact Powermaster customer support. Refer to the product packaging or the official Powermaster website for the most current contact information.