
Freeman P5FRFNFWSCB
Freeman P5FRFNFWSCB Pneumatic Framing and Finishing Nailers and Staplers Combo Kit
User Instruction Manual
1. Introduction
The Freeman P5FRFNFWSCB Pneumatic Framing and Finishing Nailer and Stapler Kit (5-Piece) is designed for a wide range of construction and home improvement projects. This comprehensive kit provides the essential tools for tasks from framing and wood fencing to insulation, upholstery, and trim work, offering durability and efficiency for both DIY enthusiasts and professional contractors.

Figure 1: Overview of the Freeman P5FRFNFWSCB 5-Piece Pneumatic Nailer and Stapler Combo Kit.
2. Important Safety Information
Always read and understand all safety warnings and instructions before operating any tool in this kit. Failure to follow the warnings and instructions may result in serious injury.
- Wear Eye Protection: Always wear ANSI Z87.1 approved safety glasses with side shields.
- Wear Hearing Protection: Prolonged exposure to noise can cause hearing damage.
- Wear Hand Protection: Use gloves to protect hands from splinters and sharp objects.
- Disconnect Air Supply: Always disconnect the air supply before making adjustments, clearing jams, or performing maintenance.
- Never Point Tool at Self or Others: Accidental discharge can cause severe injury.
- Use Correct Air Pressure: Do not exceed the maximum recommended air pressure for each tool.
- Secure Workpiece: Always ensure the workpiece is stable and secure before fastening.
3. Package Contents
The Freeman P5FRFNFWSCB kit includes the following items:
- 21-Degree 3-1/2" Full Head Framing Nailer (PFR2190)
- 16-Gauge 2-1/2" Straight Finish Nailer (PFN64)
- 18-Gauge 2" Brad Nailer (PBR50)
- 18-Gauge 1-5/8" Narrow Crown Stapler (PST9040)
- 20-Gauge Fine Wire Stapler (PFWS)
- Durable Canvas Storage Bag
- Fasteners for Each Tool (initial supply)
- Air Tool Oil
- Adjustment Tools (Hex wrenches)

Figure 2: All components included in the Freeman P5FRFNFWSCB kit, neatly arranged with the canvas bag, various nailers, staplers, and accessories.
4. Setup and Initial Operation
4.1 Connecting to Air Supply
- Ensure your air compressor is off and the air tank is drained.
- Apply 3-5 drops of air tool oil into the air inlet of the tool.
- Connect the air hose to the tool's air inlet. The tool features a 1/4" NPT fitting.
- Set the air compressor's regulator to the recommended operating pressure for the specific tool (refer to tool-specific markings or specifications section). Do not exceed 120 PSI.
- Ensure the tool's trigger is not depressed and the safety mechanism is engaged before connecting to air.
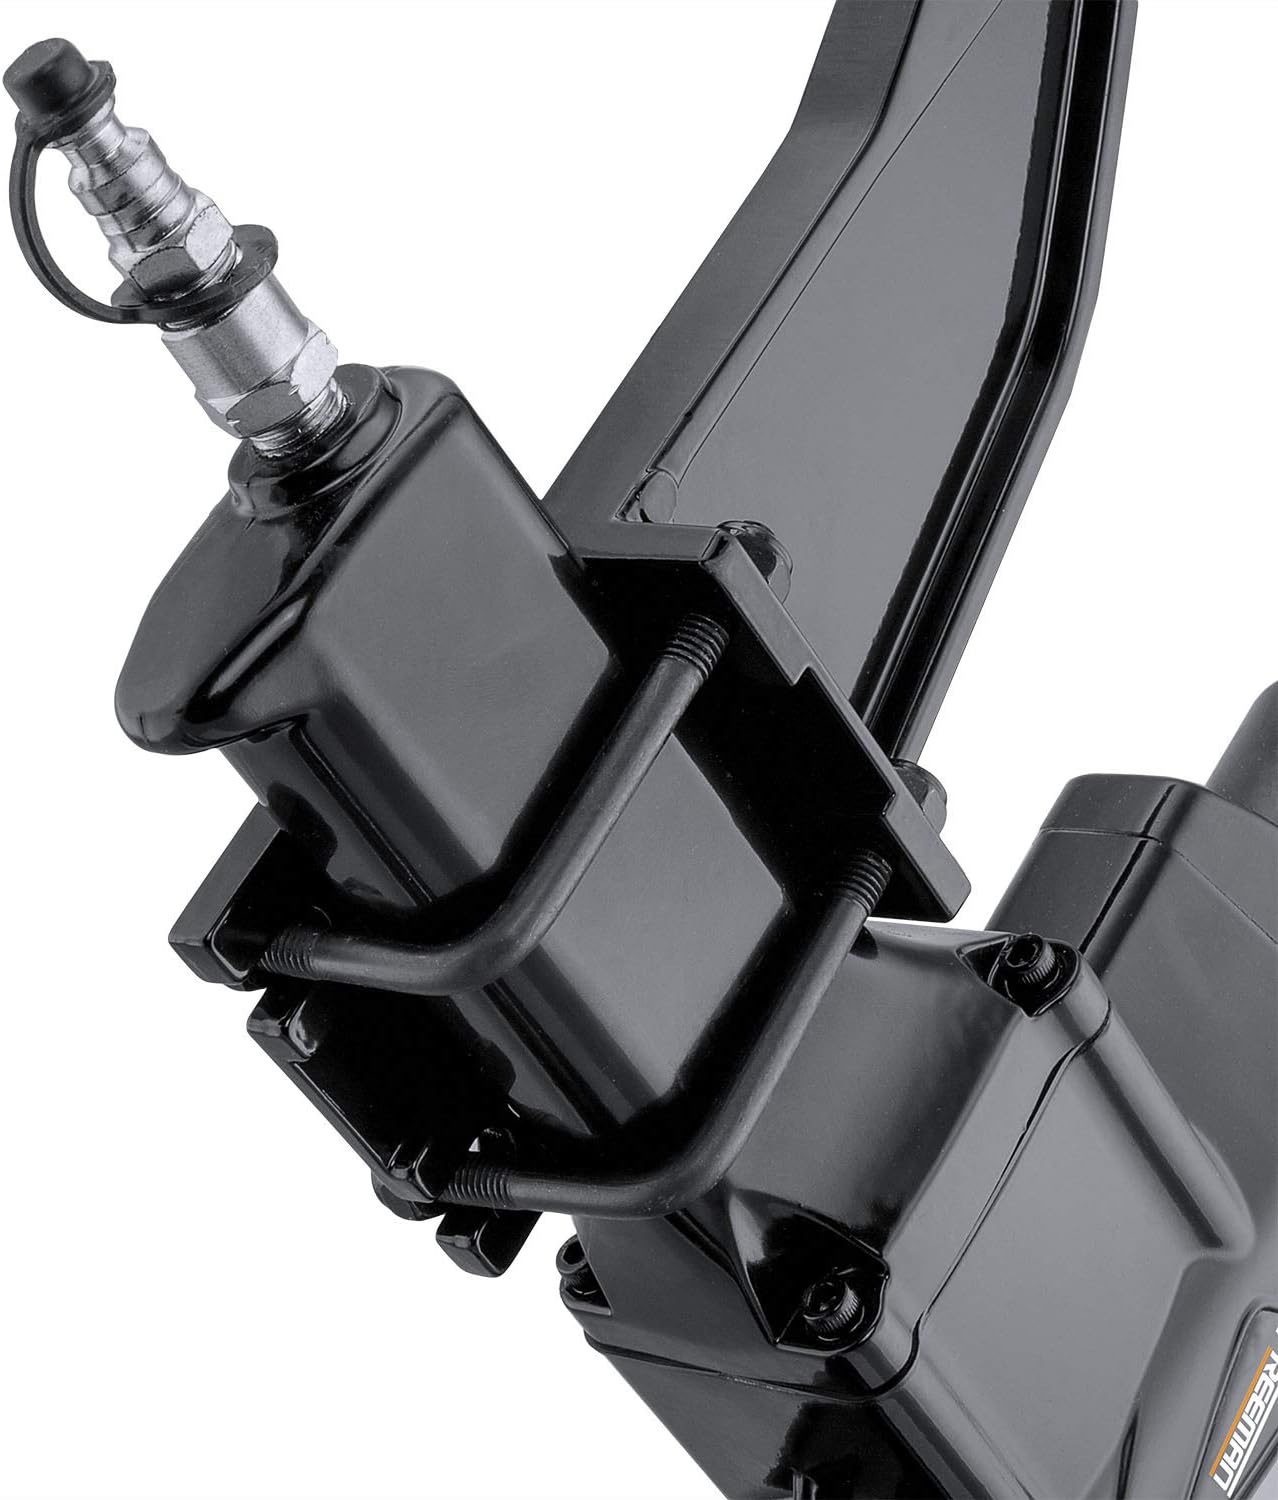
Figure 3: Detail of the air hose connection point on a Freeman pneumatic tool, showing the 1/4" NPT fitting.
4.2 Loading Fasteners
Each tool has a specific fastener type and size range. Refer to the individual tool's manual for precise loading instructions. Generally, fasteners are loaded into the magazine by pulling back the pusher and inserting the fastener strip or coil.
5. Operating Instructions
This kit includes various tools for different applications. Always ensure you are using the correct tool and fastener for the job.
5.1 Framing Nailer (PFR2190)
Ideal for heavy-duty tasks like framing, sheathing, and subflooring. Uses 21-degree full round head framing nails.

Figure 4: A worker demonstrating the use of the Freeman framing nailer to secure wooden studs during construction.
5.2 Finish Nailer (PFN64)
Suitable for trim work, baseboards, crown molding, and other finishing applications. Uses 16-gauge straight finish nails.

Figure 5: A worker using the Freeman finish nailer to attach interior trim, showcasing its precision for delicate work.
5.3 Brad Nailer (PBR50)
Perfect for delicate trim, crafts, and small woodworking projects. Uses 18-gauge brad nails.
5.4 Narrow Crown Stapler (PST9040)
Used for upholstery, insulation, screening, and light wood assembly. Uses 18-gauge 1/4" narrow crown staples.
5.5 Fine Wire Stapler (PFWS)
Ideal for fabric, screening, and light fastening tasks. Uses 20-gauge fine wire staples.
General Operation Steps:
- Ensure the tool is properly connected to the air supply and fasteners are loaded.
- Place the tool's nose against the workpiece where the fastener is to be driven.
- Depress the safety contact trip firmly against the surface.
- Squeeze the trigger to drive the fastener.
- Release the trigger and lift the tool from the workpiece.

Figure 6: A worker operating a Freeman flooring nailer to install hardwood flooring, demonstrating the tool's application in flooring projects.
6. Maintenance
Regular maintenance ensures optimal performance and extends the life of your tools.
- Daily Oiling: Add 3-5 drops of air tool oil to the air inlet before each use or every few hours of continuous use.
- Clean Air Filter: Regularly check and clean the air filter on your compressor to prevent debris from entering the tools.
- Inspect Hoses and Fittings: Check air hoses and fittings for wear, leaks, or damage before each use.
- Lubricate Moving Parts: Periodically lubricate external moving parts with a light machine oil.
- Store Properly: Store tools in a clean, dry environment, preferably in the provided canvas bag, when not in use.
7. Troubleshooting
| Problem | Possible Cause | Solution |
|---|---|---|
| Tool not firing | No air supply; Low air pressure; No fasteners; Safety engaged; Driver blade stuck. | Check air hose connection; Increase air pressure; Load fasteners; Ensure contact trip is fully depressed; Lubricate and free driver blade. |
| Fasteners not fully driven | Low air pressure; Incorrect fastener length; Worn driver blade. | Increase air pressure; Use appropriate fastener length; Replace driver blade if worn. |
| Air leak from tool | Loose fittings; Damaged O-rings or seals. | Tighten fittings; Replace damaged O-rings or seals. |
| Tool double firing | Excessive air pressure; Faulty trigger valve. | Reduce air pressure; Contact customer support for repair. |
8. Specifications
General specifications for the Freeman P5FRFNFWSCB Combo Kit:
- Model Number: P5FRFNFWSCB
- Manufacturer: Prime Global Products, Inc.
- Item Weight: 8.8 pounds (total kit weight may vary)
- Product Dimensions: 23.03 x 9.84 x 15.55 inches (packaging dimensions)
- Power Source: Air Powered
- Material: One piece hardened steel drive blade; Anodized aluminum magazine and cylinder
- Warranty: 7 Year Limited Warranty and 90 Day Wearable Parts Warranty
Fastener Compatibility:
- Framing Nailer (PFR2190): 21-Degree 3-1/2" Full Head Framing Nails
- Finish Nailer (PFN64): 16-Gauge 2-1/2" Straight Finish Nails
- Brad Nailer (PBR50): 18-Gauge 2" Brad Nails
- Narrow Crown Stapler (PST9040): 18-Gauge 1-5/8" Narrow Crown Staples
- Fine Wire Stapler (PFWS): 20-Gauge Fine Wire Staples

Figure 7: A diagram illustrating various fastener types and their dimensions, including T-cleats, L-cleats, and staples, relevant for different tools in the kit.
9. Warranty and Support
The Freeman P5FRFNFWSCB Pneumatic Framing and Finishing Nailers and Staplers Combo Kit is covered by Freeman's 7 Year Limited Warranty and 90 Day Wearable Parts Warranty.
For warranty claims, technical support, or replacement parts, please contact Freeman customer service. You can find contact information on the official Freeman Tools website or through your retailer.
For more information, visit the Freeman Store on Amazon.
Related documentsP5FRFNFWSCB


Ask a question about this manual
Ask about setup, troubleshooting, compatibility, parts, safety, or missing instructions. Manuals+ will review the question and use this page’s manual context to help answer it.