
1. Introduction
This manual provides detailed instructions for the installation, operation, and maintenance of your Maxxima M20341YCL Amber Super Thin Profile LED Clearance Marker Light. This light features 7 amber LEDs with a clear lens, designed for a sleek, low-profile style that fits tight areas. It is a P2PC combination clearance marker light, suitable for various vehicle applications. Please read this manual thoroughly before installation and use.
2. Product Features
- Super Thin Profile: Re-designed for a sleek, low-profile style, ideal for tight spaces.
- LED Illumination: Equipped with 7 amber LEDs for bright and efficient lighting.
- Clear Lens: Provides a clean aesthetic while emitting amber light.
- Mounting Options: Supports two-hole surface mount or 3M adhesive tape for versatile installation.
- Durable Design: Built to withstand various environmental conditions.
- Waterproof: Designed for reliable performance in wet conditions.
3. Package Contents
Verify that all components are present before beginning installation:
- 1 x Maxxima M20341YCL LED Clearance Marker Light Unit
- 1 x Instruction Guide (this document)
4. Safety Information
Please observe the following safety precautions to prevent injury or damage to the product:
- Always disconnect power to the vehicle's electrical system before installing or servicing any electrical components.
- Ensure proper wiring connections (positive to positive, negative to negative) to avoid short circuits or damage.
- Do not modify the light unit. Unauthorized modifications may void the warranty and create safety hazards.
- Wear appropriate personal protective equipment, such as safety glasses, during installation.
- Keep out of reach of children.
5. Installation Instructions
The Maxxima M20341YCL LED Clearance Marker Light offers flexible mounting options.
5.1 Mounting Options
Choose one of the following methods for mounting:
- Two-Hole Surface Mount:
- Identify a suitable flat surface on your vehicle for mounting.
- Mark the positions for the two mounting holes using the light unit as a template.
- Drill pilot holes if necessary, ensuring they are appropriate for your mounting hardware (not included).
- Secure the light unit to the surface using screws. Do not overtighten.
- 3M Adhesive Tape Mount:
- Clean the mounting surface thoroughly to ensure it is free of dirt, grease, and moisture.
- Peel off the protective backing from the pre-applied 3M adhesive tape on the back of the light unit.
- Carefully position the light unit on the desired surface and press firmly for at least 30 seconds to ensure good adhesion.
- Allow the adhesive to cure for 24 hours before exposing to extreme conditions or washing.
5.2 Wiring Connections
This light operates on a 12-volt system.
- Connect the positive wire from the light (typically red) to a switched 12V positive power source on your vehicle.
- Connect the negative wire from the light (typically black or white) to a suitable ground point on your vehicle chassis.
- Ensure all connections are secure and insulated to prevent short circuits and corrosion.
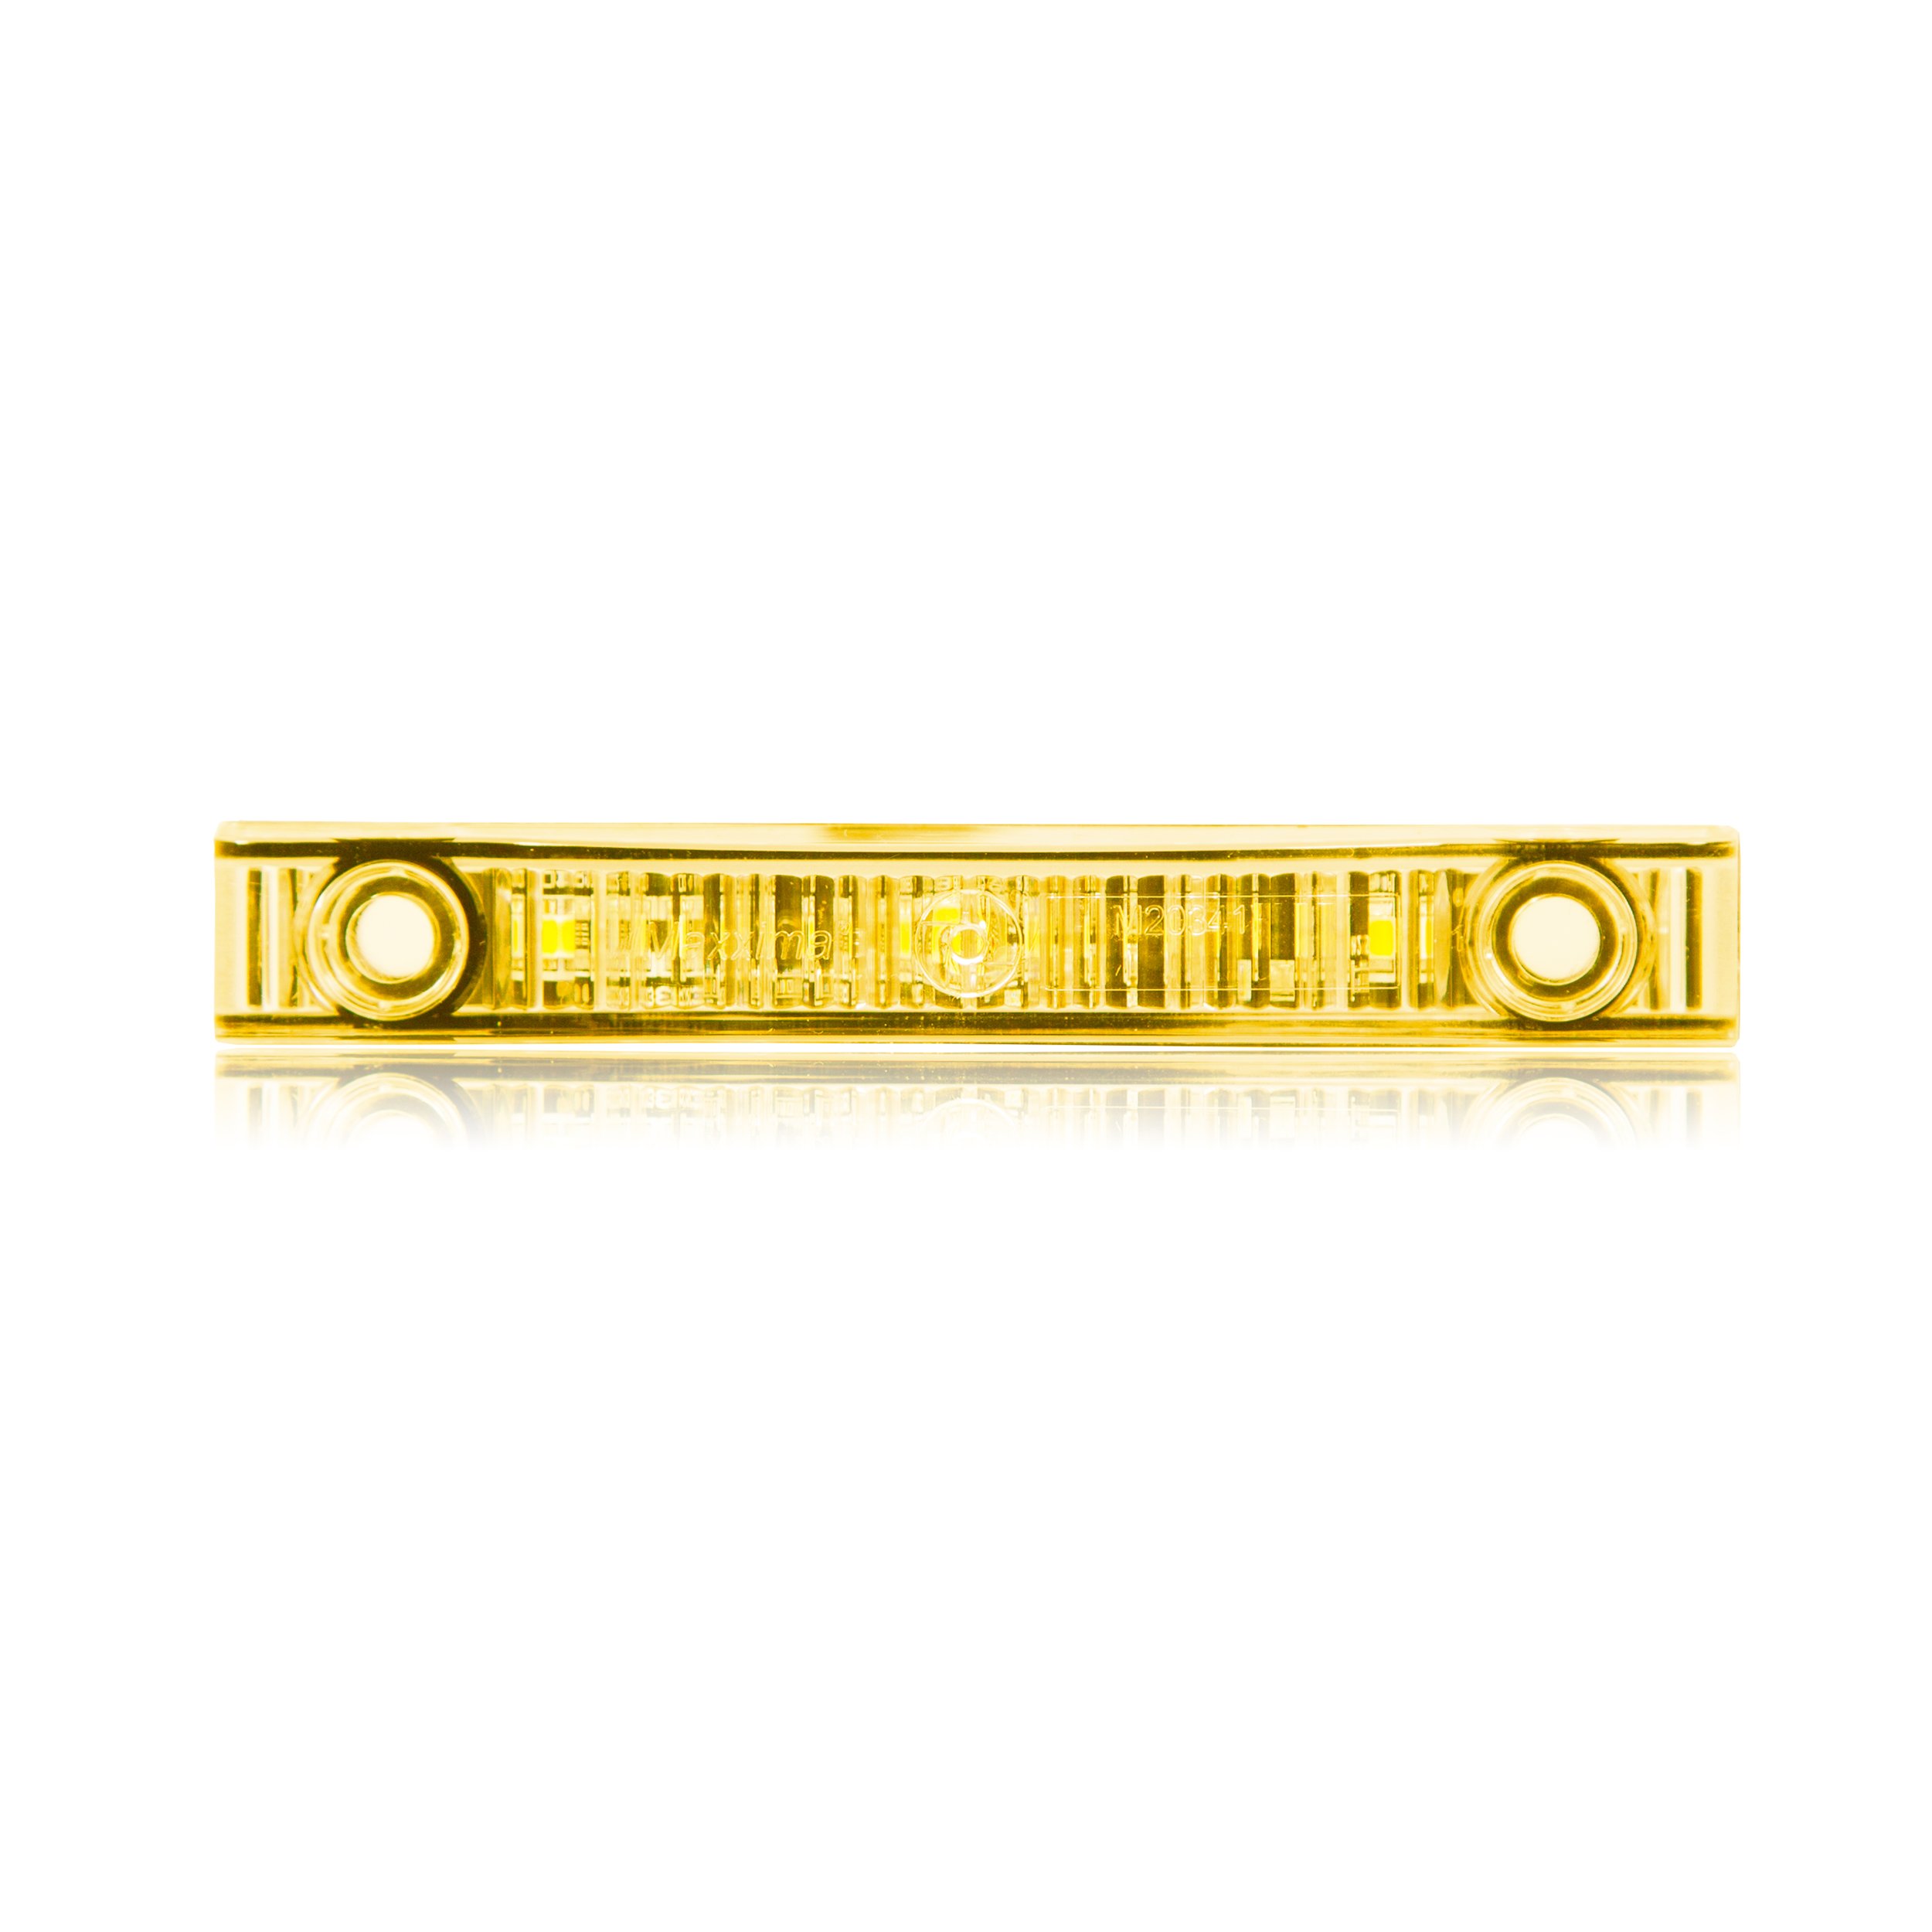
Figure 1: Maxxima M20341YCL Amber Super Thin Profile LED Clearance Marker Light. An amber LED clearance marker light with a clear lens, featuring a super thin profile suitable for various vehicle applications.
6. Operation
Once properly installed and wired, the Maxxima M20341YCL LED Clearance Marker Light will illuminate when power is supplied to its positive lead. This typically occurs when your vehicle's parking lights or headlights are activated, depending on how it was wired into your vehicle's electrical system.
7. Maintenance
The Maxxima M20341YCL LED Clearance Marker Light is designed for minimal maintenance.
- Cleaning: Clean the lens periodically with a soft cloth and mild soap and water. Avoid abrasive cleaners or solvents that could damage the lens or housing.
- Inspection: Periodically check wiring connections for corrosion or damage. Ensure the light remains securely mounted.
8. Troubleshooting
If your LED clearance marker light is not functioning as expected, consider the following:
- Light does not illuminate:
- Check all wiring connections to ensure they are secure and correctly polarized (positive to positive, negative to ground).
- Verify that the vehicle's power source (e.g., parking light circuit) is active and providing 12V.
- Inspect for any blown fuses in the circuit.
- Light is dim or flickers:
- Ensure there is a stable 12V power supply. Voltage drops can cause dimming.
- Check for loose or corroded connections that might impede current flow.
- Verify the ground connection is solid.
If issues persist after troubleshooting, contact Maxxima customer support.
9. Specifications
| Brand | Maxxima |
| Model Number | M20341YCL |
| Light Source Type | LED |
| Color | Amber Clear Lens |
| Voltage | 12 volts |
| Special Feature | Waterproof |
| Item Dimensions (L x W x H) | 8 x 2.5 x 0.5 inches |
| Item Weight | 18.14 g |
| UPC | 755183171343 |
| GTIN | 00755183171343 |
10. Warranty and Support
This Maxxima M20341YCL LED Clearance Marker Light comes with a 5 Year Warranty from the manufacturer.
For warranty claims, technical support, or additional product information, please visit the official Maxxima store or contact their customer service directly.
Maxxima Store: MaxximaLEDLighting on Amazon