1. Introduction
The Beseler 23c II XL Condenser Enlarger is designed for darkroom use, capable of handling negatives up to 6 x 9 cm without requiring additional condensers. This enlarger is constructed for dependable service and ease of use, requiring minimal maintenance. This manual provides essential information for the proper setup, operation, and care of your Beseler 23c II XL Photo Enlarger.
2. Safety Information
- Always disconnect the enlarger from the power source before performing any maintenance, cleaning, or lamp replacement.
- Ensure the enlarger is placed on a stable, level surface to prevent tipping.
- Do not expose electrical components to moisture. Operate in a dry environment.
- Handle the enlarger lamp with care. Avoid touching the glass with bare hands, as oils can reduce lamp life.
- Keep all cables and cords clear of moving parts and away from heat sources.
3. Setup
3.1 Unpacking and Component Identification
Carefully remove all components from the packaging. Verify that all parts are present according to the packing list. The main components include the baseboard, column, enlarger head assembly, negative stage, and lens board.

This image displays several Beseler 23c II XL enlargers, providing a general view of the complete unit, including the baseboard, column, and enlarger head.
3.2 Baseboard and Column Assembly
Attach the column securely to the baseboard using the provided hardware. Ensure the column is vertical and stable. The column provides the vertical adjustment for magnification.
3.3 Enlarger Head Mounting
Mount the enlarger head assembly onto the column. Secure it according to the instructions, ensuring it can move freely up and down the column for height adjustments. The enlarger head houses the light source, condensers, and negative stage.
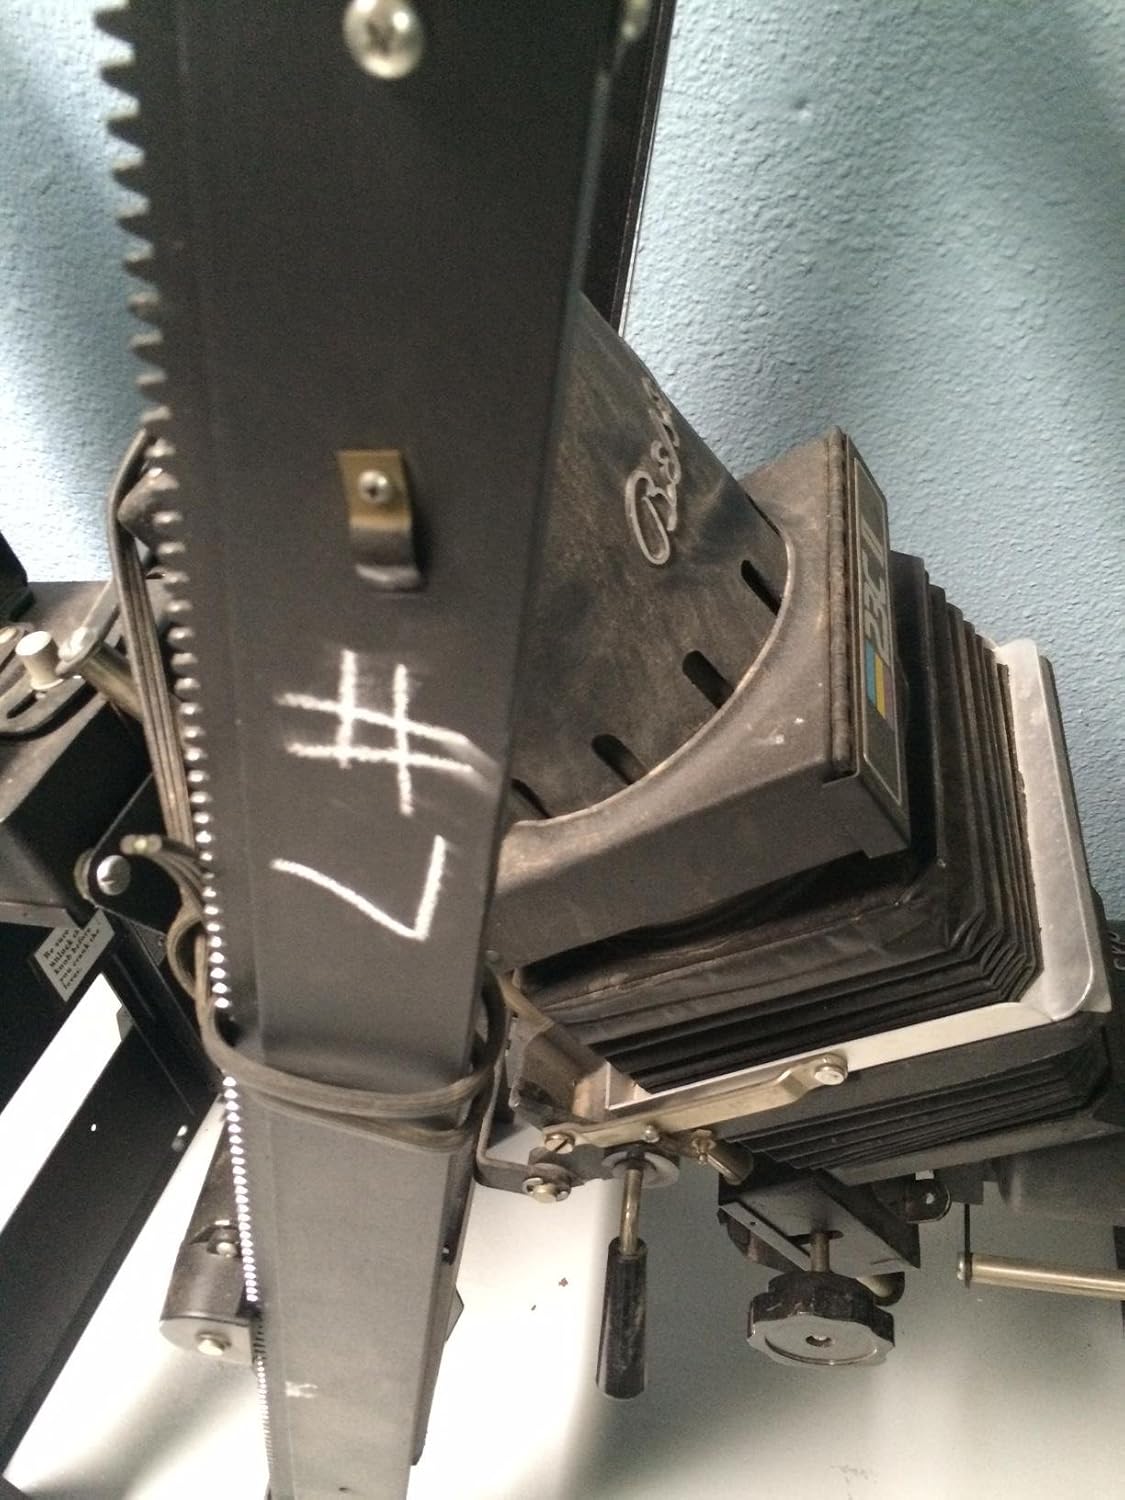
A detailed view of the enlarger head, highlighting the bellows system and the focusing knob. The model designation '23C II' is visible on the side.
3.4 Lamp Installation
Open the lamp housing cover on the enlarger head. Carefully insert the specified enlarger lamp, ensuring it is seated correctly. Do not overtighten. Close the lamp housing cover.
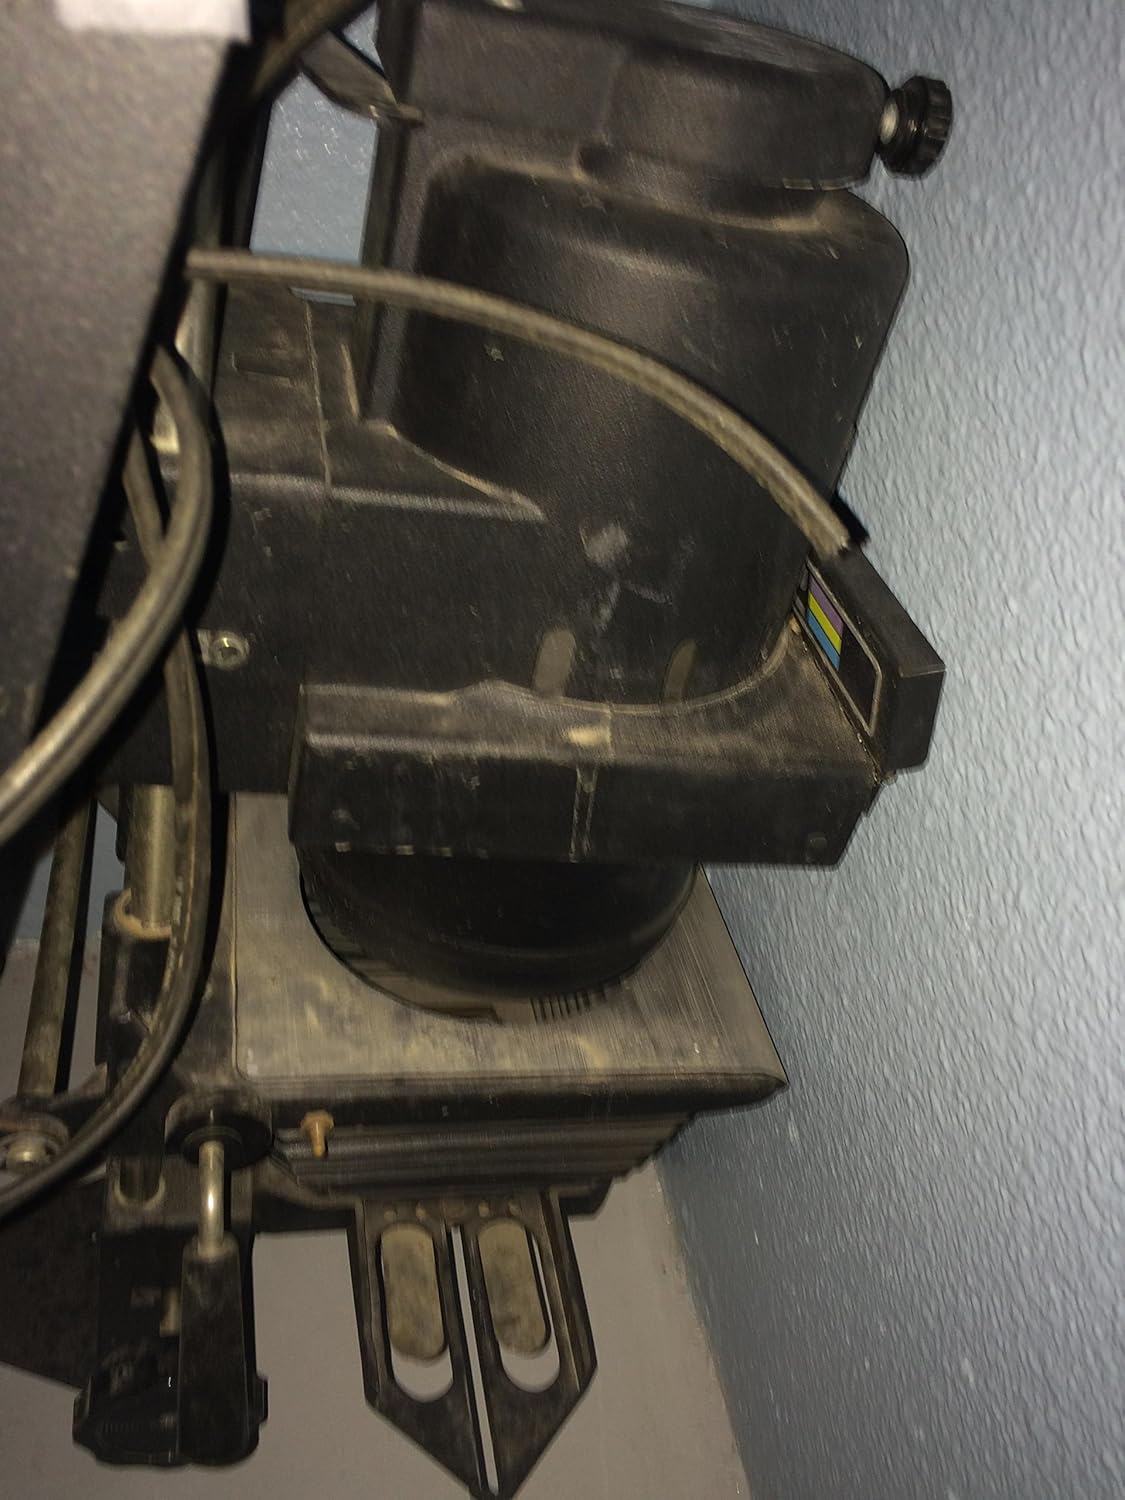
This image shows the side of the enlarger head, where the lamp housing is located. Cooling vents are visible, indicating the area for lamp installation and heat dissipation.
3.5 Condenser Placement
The Beseler 23c II XL uses a condenser system to provide even illumination. Ensure the condensers are clean and correctly positioned within the enlarger head. This model accommodates negatives up to 6 x 9 cm without needing additional condensers.
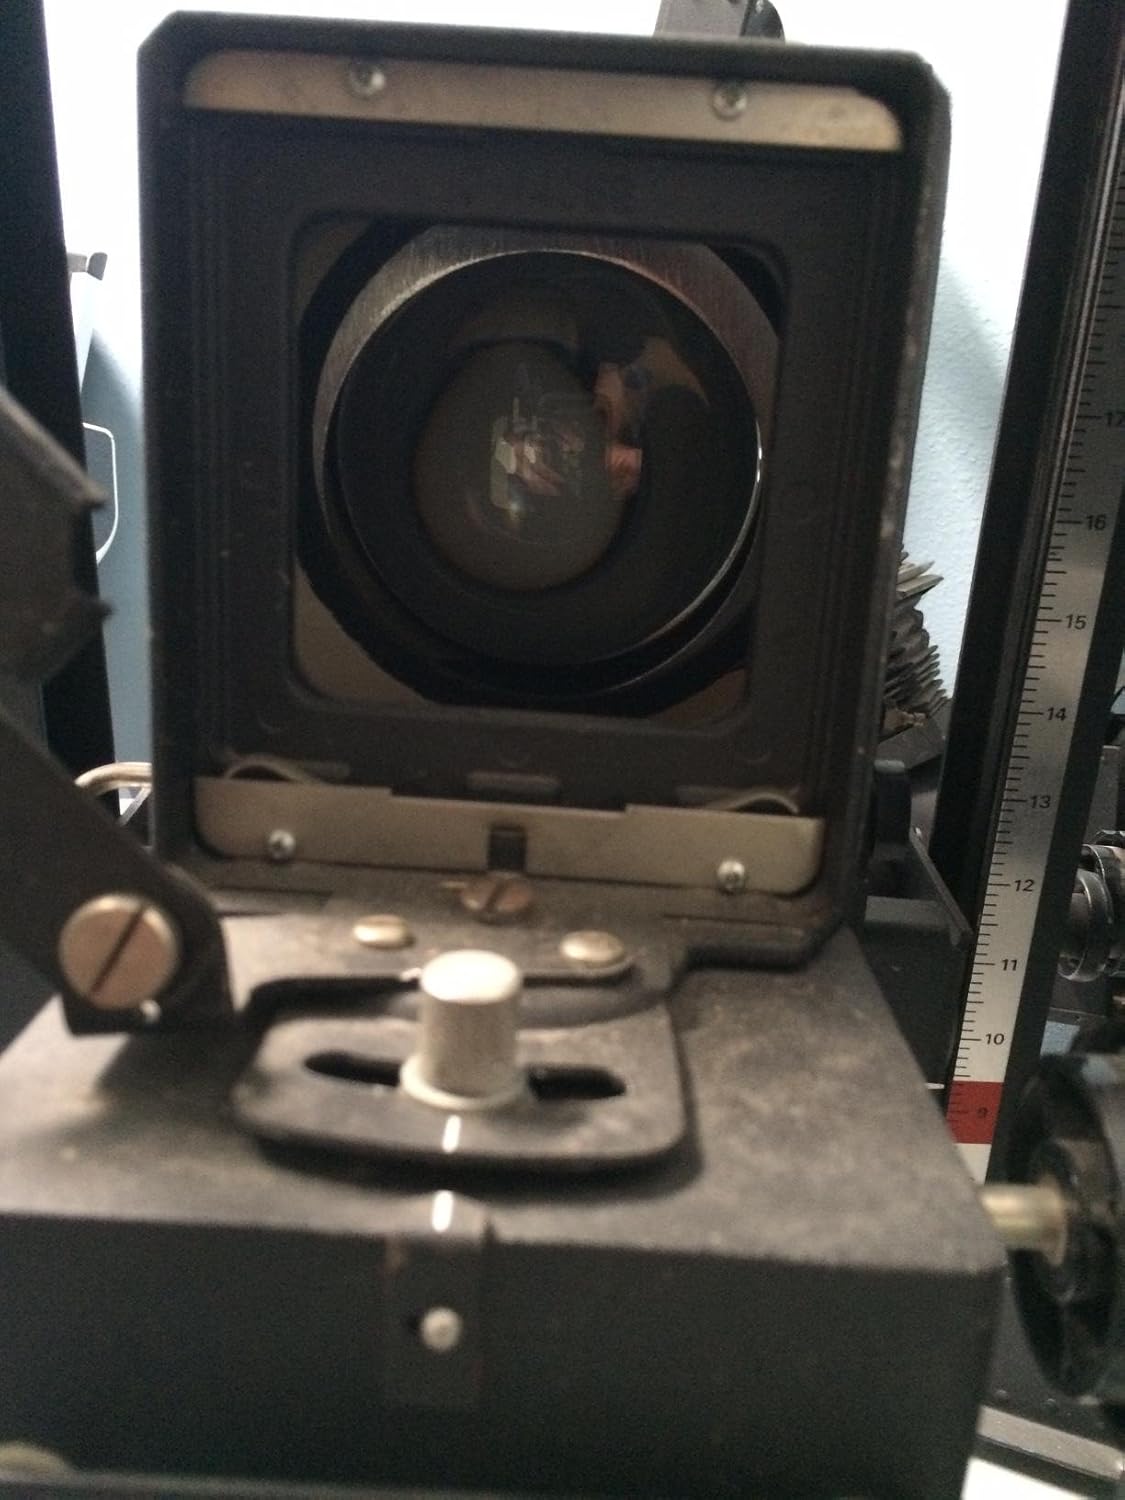
A view looking down into the enlarger head, illustrating the area where the condenser lenses are placed to optimize light distribution.
3.6 Lens Installation
Attach your enlarging lens to the lens board. Then, secure the lens board into the enlarger head below the negative stage. Ensure the lens is clean and free of dust.
This image provides a perspective from beneath the enlarger head, clearly showing the lens mount area where the enlarging lens is attached, and the extended bellows.
3.7 Power Connection
Connect the enlarger's power cord to a suitable electrical outlet. Ensure the power switch is in the 'off' position before connecting.
4. Operating Instructions
4.1 Inserting Negatives
Open the negative carrier and carefully place your negative into it, emulsion side down (dull side facing the lens). Close the carrier and insert it into the negative stage slot of the enlarger head.
4.2 Adjusting Magnification (Height)
Use the column height adjustment knob to raise or lower the enlarger head. This changes the distance between the lens and the baseboard, thereby adjusting the magnification of your print. Project the image onto your easel to determine the desired size.

This image illustrates the side of the enlarger, highlighting the column and the mechanism used to adjust the height of the enlarger head for magnification control.
4.3 Focusing
Once the desired magnification is set, use the focusing knob (typically located on the enlarger head) to bring the projected image into sharp focus on the easel. A grain focuser can be used for critical focusing.

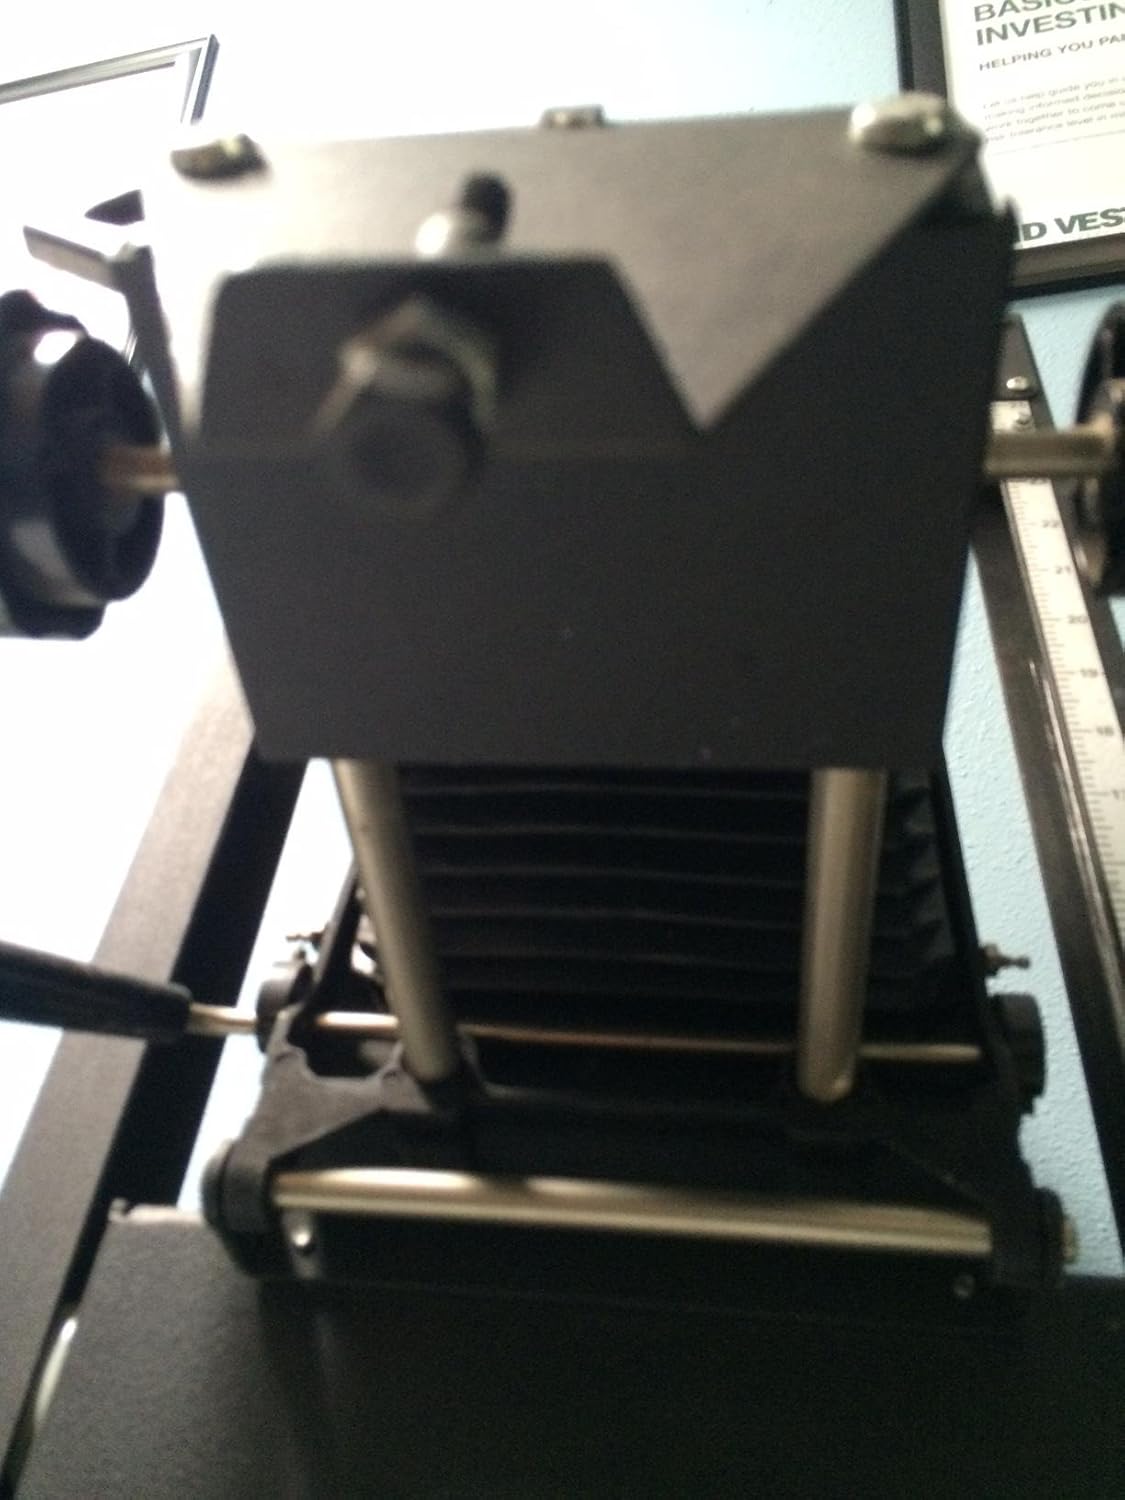
A close-up of the enlarger head, detailing the bellows system and the focusing knob, which is used to achieve sharp focus on the projected image.
4.4 Setting Aperture
Adjust the aperture ring on your enlarging lens to control the amount of light reaching the photographic paper and to influence depth of field. Typically, stopping down the lens by 2-3 stops from wide open provides optimal sharpness.
4.5 Exposure
With the negative in place, magnification and focus set, and aperture selected, use an enlarger timer to control the exposure duration. Perform test strips to determine the correct exposure time for your paper and negative combination.
5. Maintenance
5.1 Cleaning Lenses and Condensers
Regularly inspect and clean the enlarging lens and condenser lenses. Use a soft brush or compressed air to remove dust, followed by a lens cleaning solution and a microfiber cloth. Avoid abrasive materials that could scratch the optical surfaces.
5.2 Lamp Replacement
When the enlarger lamp burns out or significantly dims, replace it with a new lamp of the correct type and wattage. Ensure the enlarger is unplugged and the lamp has cooled before replacement. Handle the new lamp by its base or with a clean cloth to avoid leaving fingerprints on the glass.
5.3 General Cleaning
Keep the enlarger body and baseboard clean from dust and debris. Use a soft, dry cloth. Periodically check all screws and fasteners to ensure they are tight.
6. Troubleshooting
- No Light: Check if the enlarger is plugged in, the power switch is on, and the lamp is functional. Replace the lamp if necessary.
- Poor Focus: Ensure the negative is flat in the carrier and the lens is clean. Use a grain focuser for precise focus. Verify the lens is securely mounted.
- Uneven Illumination: Check that the lamp is correctly seated and the condensers are clean and properly aligned. Dust on condensers can cause uneven light.
- Dust on Prints: Clean the negative carrier, negative, lens, and condensers thoroughly. Use compressed air or a soft brush.
7. Specifications
| Model | Beseler 23c II XL |
| Negative Size Capacity | Up to 6 x 9 cm |
| Enlarger Type | Condenser |
| Item Weight | 66 pounds (approximately 29.9 kg) |
| Package Dimensions | 46 x 19 x 12 inches (approximately 116.8 x 48.3 x 30.5 cm) |
| Manufacturer | Beseler |
8. Warranty and Support
For information regarding warranty coverage or technical support, please refer to the documentation provided at the time of purchase or contact Beseler customer service directly. Keep your purchase receipt as proof of purchase.


