Introduction
This manual provides essential information for the safe and efficient installation, operation, and maintenance of your Honeywell 24-inch 30mV Universal Thermocouple. Please read this manual thoroughly before installation and keep it for future reference.
Safety Information
WARNING:
Improper installation, adjustment, alteration, service, or maintenance can cause property damage, injury, or death. Read the installation, operating, and maintenance instructions thoroughly before installing or servicing this equipment.
- Always disconnect power before servicing.
- Ensure all connections are secure and correct.
- This product is designed for 30 mV systems. Verify system compatibility before installation.
- Do not exceed the specified temperature ratings (Upper Temperature Rating: 120 Degrees Celsius).
- Consult a qualified service technician for any repairs or complex installations.
Product Overview
The Honeywell Universal Thermocouple is a reliable component designed for use in 30 mV pilot burner systems. It features a 24-inch length and is constructed from durable copper. Its universal design allows for easy mounting on most pilot burners, ensuring a swift installation process.
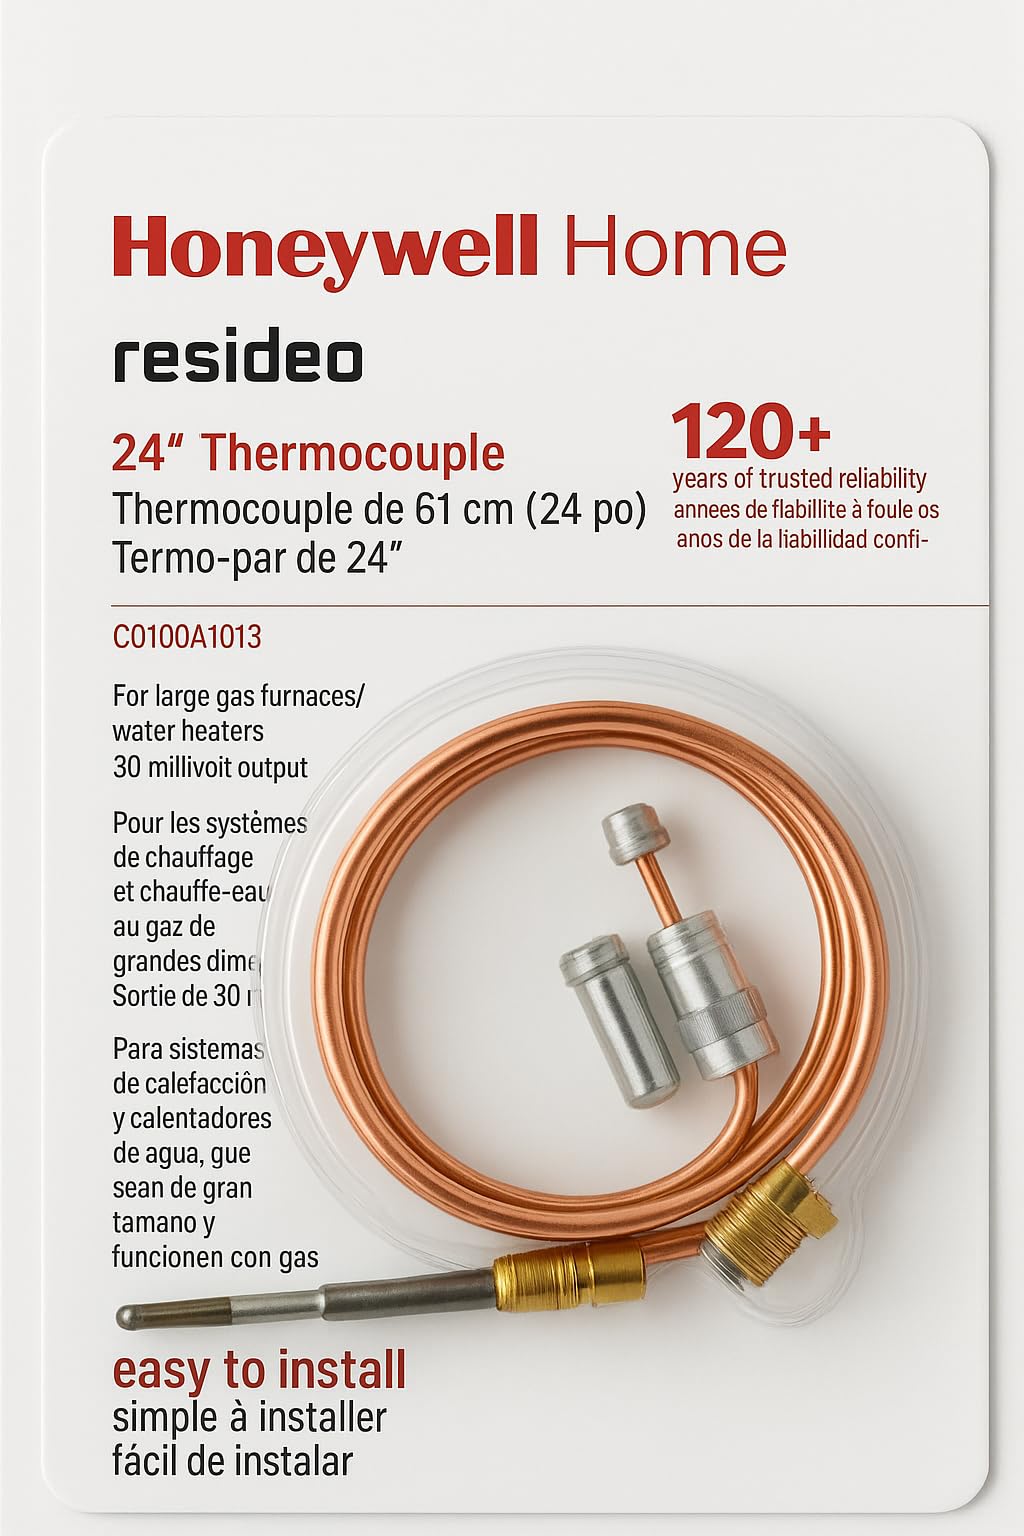
Figure 1: Honeywell 24-inch Universal Thermocouple. This image shows the thermocouple with its copper wire and connection ends.
Key Features:
- Universal adapter for easy mounting on most pilot burners.
- Designed specifically for 30 mV systems.
- 24-inch (60.96 cm) centerline length.
- Durable copper construction.
- Swift installation process.
Setup and Installation
Follow these general steps for installing your Honeywell Universal Thermocouple. Always refer to the specific appliance manufacturer's instructions for detailed guidance.
- Disconnect Power: Before beginning any installation, ensure that the power supply to the appliance is completely disconnected.
- Remove Old Thermocouple (if applicable): Carefully disconnect and remove the existing thermocouple from the pilot burner and the control valve.
- Mount New Thermocouple: The universal adapter allows for easy mounting. Secure the new thermocouple's tip firmly into the pilot burner bracket. Ensure the tip is positioned correctly within the pilot flame for optimal heating.
- Connect to Control Valve: Route the thermocouple wire to the control valve. Connect the thermocouple's lead to the designated terminal on the control valve. Ensure the connection is tight and secure.
- Verify Connections: Double-check all connections for tightness and correct placement.
- Restore Power and Test: Restore power to the appliance and test the pilot light and main burner operation according to the appliance manufacturer's instructions.
Operation
The Honeywell Universal Thermocouple operates passively by generating a small electrical voltage (approximately 30 mV) when its tip is heated by a pilot flame. This voltage signals the gas control valve to remain open, allowing gas to flow to the main burner. If the pilot flame extinguishes, the thermocouple cools, the voltage drops, and the gas valve closes, preventing unburned gas from accumulating.
No user interaction is required for the thermocouple's operation once correctly installed and the pilot flame is established.
Maintenance
The Honeywell Universal Thermocouple is designed for long-term reliability with minimal maintenance. However, periodic inspection can help ensure continued safe operation.
- Visual Inspection: Annually inspect the thermocouple tip for signs of corrosion, carbon buildup, or physical damage.
- Cleaning: If carbon buildup is present on the tip, gently clean it with a soft brush. Avoid abrasive materials that could damage the thermocouple.
- Connection Check: Ensure the connections to the pilot burner and control valve remain tight and free of corrosion.
- Replacement: If the thermocouple shows signs of damage, or if the pilot light frequently goes out without an obvious cause, it may need replacement.
Troubleshooting
If you experience issues with your appliance related to the pilot light or main burner ignition, the thermocouple may be a factor. Here are some common troubleshooting steps:
| Problem | Possible Cause | Solution |
|---|---|---|
| Pilot light won't stay lit. | Thermocouple tip not adequately heated by pilot flame. | Adjust pilot flame to fully engulf the thermocouple tip. Clean any carbon buildup on the tip. |
| Pilot light goes out intermittently. | Loose or corroded connections; weak thermocouple. | Check and tighten all connections. Clean any corrosion. If problem persists, replace thermocouple. |
| Main burner does not ignite after pilot is lit. | Thermocouple not generating sufficient voltage; faulty gas control valve. | Test thermocouple voltage (requires specialized equipment). If voltage is low, replace thermocouple. If thermocouple is good, consult a technician for gas valve inspection. |
If troubleshooting steps do not resolve the issue, contact a qualified service technician.
Specifications
| Specification | Detail |
|---|---|
| Brand | Honeywell |
| Model | Universal Thermocouple |
| Length | 24 Inches (60.96 cm) |
| Voltage Output | Designed for 30 mV systems |
| Material | Copper |
| Connector Type | Clamp |
| Mounting Type | Clamp-in |
| Number of Contacts | 3 |
| Number of Poles | 3 |
| Upper Temperature Rating | 120 Degrees Celsius |
| Manufacturer | Honeywell Consumer |
Warranty and Support
For warranty information and technical support, please refer to the official Honeywell website or contact Honeywell customer service. Keep your purchase receipt as proof of purchase.
Online Support: www.honeywell.com/us/en/support