
1. Introduction
This manual provides detailed instructions for the safe and proper installation and use of your Mounting Dream Fixed TV Wall Mount, model MD2361-K. This mount is designed for most 26-60 inch flat screen or curved TVs with a weight capacity of up to 100 LBS (45 kg) and VESA patterns from 75x75mm to 400x400mm. Please read this manual thoroughly before installation to ensure optimal performance and safety.
2. Safety Information
- Weight Capacity: Do not exceed the maximum weight capacity of 100 LBS (45 kg). Overloading can result in serious injury or property damage.
- TV Size: This mount is suitable for TVs between 26 and 60 inches. Ensure your TV falls within this range.
- VESA Compatibility: Verify your TV's VESA mounting pattern (distance between mounting holes on the back of the TV) is between 75x75mm and 400x400mm.
- Wall Type: This mount is designed for installation on wood studs (12" or 16" spacing), concrete walls, or brick walls. DO NOT mount on drywall alone. Concrete anchors are available upon request.
- Professional Installation: If you are unsure about the installation process or your wall type, consult a qualified professional.
- Cable Management: Ensure all cables are properly routed and secured to prevent accidental disconnections or damage.
- Periodic Check: Regularly check that the mount and all fasteners are secure and free from damage.
3. Package Contents
The package includes the TV wall mount components and a hardware kit. Please verify all parts are present before beginning installation.
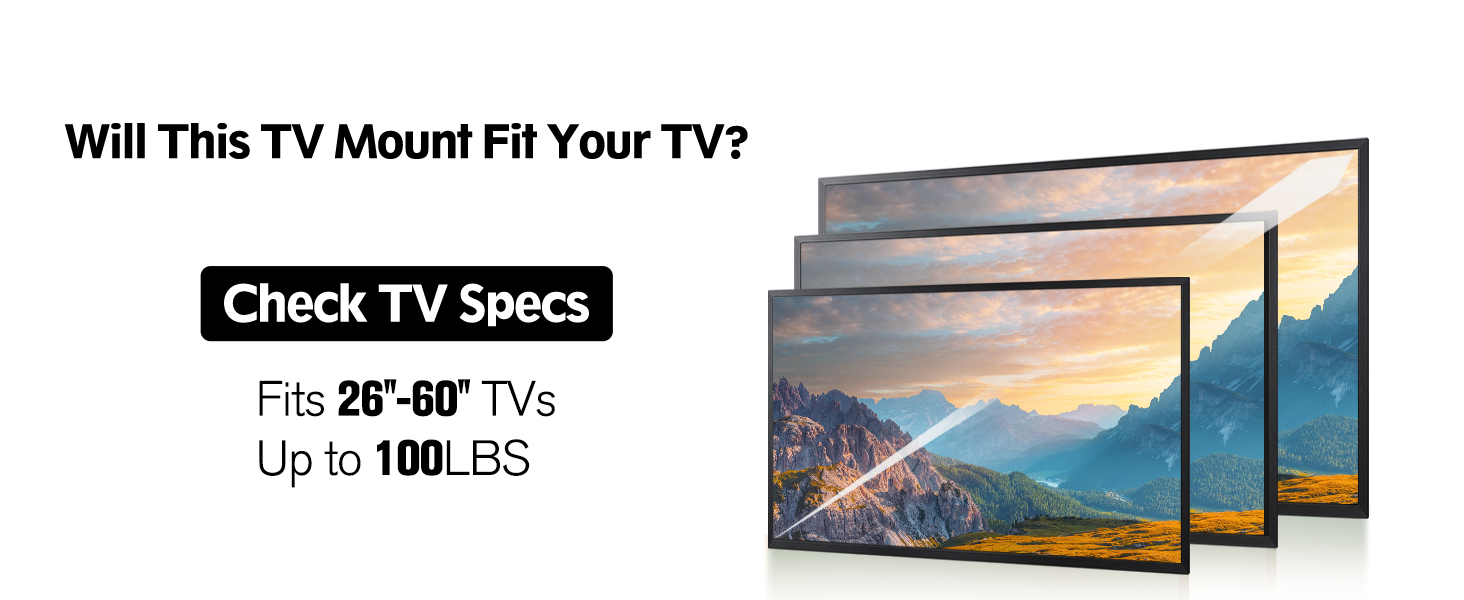
Image: Overview of the Mounting Dream MD2361-K package contents, showing the wall plate, TV brackets, and various hardware bags labeled for different screw sizes.
- Wall Plate (main mounting frame)
- TV Brackets (attach to the back of the TV)
- Hardware Kit (various screws, washers, spacers for TV and wall mounting)
- Bubble Level
- Installation Instruction Manual
4. Specifications
| Model | MD2361-K |
| Mounting Type | Fixed Wall Mount |
| TV Size Compatibility | 26 - 60 inches |
| Weight Capacity | Up to 100 LBS (45 kg) |
| VESA Compatibility | 75x75mm to 400x400mm |
| Profile from Wall | 1.1 inches (2.8 cm) |
| Material | Heavy-Duty Steel |
| Wall Type | Wood Studs (12"/16" spacing), Concrete, Brick |

Image: Wide compatibility details for the MD2361-K mount, illustrating supported VESA patterns and TV sizes.

Image: The 1.1 inch slim profile of the TV mount, designed to save space and provide a sleek appearance.
5. Installation Guide
Follow these steps carefully to install your TV wall mount. It is recommended to have two people for installation, especially when handling the TV.
5.1. Pre-Installation Checks
- Check TV VESA and Weight: Confirm your TV's VESA pattern and weight are within the mount's specifications.
- Check Wall Type: Identify your wall type (wood stud, concrete, or brick). Use a stud finder for wood studs.
- Check for Blocked Inputs: Ensure the mount will not block any necessary ports on your TV. The open wall plate design helps avoid outlet blockage.

Image: Instructions on checking TV VESA holes and ensuring cable outlets are not blocked by the mount.

Image: Guide to checking wall types for installation, showing wood studs, concrete, and brick walls.
5.2. Attach TV Brackets to TV
- Carefully place your TV face down on a soft, clean surface to prevent scratches.
- Identify the correct screws, washers, and spacers from the hardware kit that fit your TV's VESA holes.
- Attach the two TV brackets to the back of your TV using the selected hardware. Ensure they are securely fastened and evenly spaced.
Video: Official installation guide for the MD2361-K Fixed TV Wall Mount, demonstrating the process of attaching TV brackets and mounting the TV.
5.3. Mount Wall Plate to Wall
- Determine the desired height for your TV. Mark the center point on the wall.
- Position the wall plate against the wall, aligning its center with your marked point. Use the included bubble level to ensure it is perfectly horizontal.
- Mark the drilling locations through the holes on the wall plate.
- Drill pilot holes at the marked locations. The size of the drill bit will depend on your wall type and the anchors used.
- Secure the wall plate to the wall using the appropriate lag bolts and washers. Tighten all bolts firmly.
- Perform a wall plate installation integrity test by gently pulling on the mounted plate to ensure it is secure.

Image: Illustration of simple and fast installation, showing two individuals preparing to mount a TV onto the wall plate.
5.4. Hang and Secure TV
- With assistance, carefully lift the TV and hook the TV brackets onto the top edge of the wall plate.
- Gently lower the TV until the brackets engage with the wall plate.
- Locate the pulling straps at the bottom of the TV brackets. Pull them down to lock the TV securely to the wall plate. Ensure both sides are locked.
- Tuck the pulling straps behind the TV for a clean look.

Image: Easy lock and release mechanism using pulling straps for securing or detaching the TV.

Image: A securely mounted TV, demonstrating the reliable installation of the Mounting Dream mount.
6. Operating the Mount (TV Removal)
To remove your TV from the wall mount:
- Locate the pulling straps hanging from the bottom of the TV.
- Pull both straps downwards to disengage the locking mechanism.
- With assistance, carefully lift the TV off the wall plate.
7. Maintenance
- Periodically check all screws and connections to ensure they remain tight and secure.
- Inspect the mount for any signs of wear, damage, or corrosion. Replace any damaged parts immediately.
- Clean the mount with a soft, dry cloth. Avoid using abrasive cleaners or solvents.
8. Troubleshooting
| Problem | Possible Cause | Solution |
|---|---|---|
| TV is not level. | Wall plate not installed level. | Adjust the wall plate. Use the built-in level during installation. |
| TV does not fit the mount. | Incorrect VESA pattern or TV size/weight. | Verify your TV's specifications against the mount's compatibility. |
| Mount feels unstable. | Improper installation or loose fasteners. | Re-check all installation steps, ensuring all bolts are securely tightened into appropriate wall studs or anchors. Do not mount on drywall alone. |
| Cables are blocked. | TV ports are too close to the mount. | Ensure cable routing is planned before final mounting. Consider using right-angle adapters if space is limited. The open wall plate design is intended to help with this. |
9. Warranty and Customer Support
The Mounting Dream MD2361-K TV Wall Mount comes with a 10-year warranty, ensuring peace of mind regarding its quality and durability.
For any questions, concerns, or assistance with installation or product use, please contact our US-based customer service experts. They are available 7 days a week to provide responsive support tailored to your needs.
Refer to the product packaging or the official Mounting Dream website for specific contact details.