1. Introduction
This manual provides essential instructions for the safe and efficient operation of your Avanti MT09V0W 0.9 Cu. Ft. 900-Watt Compact Microwave Oven. Please read all instructions carefully before use and retain this manual for future reference.
The Avanti MT09V0W is designed for convenient countertop use, offering 900 watts of cooking power, 10 power levels, and 6 pre-programmed cooking settings. Its compact design includes a removable glass turntable for even cooking.
2. Important Safety Information
WARNING: To reduce the risk of fire, electric shock, injury to persons, or exposure to excessive microwave energy, observe the following basic precautions:
- Read all instructions before using the appliance.
- Do not attempt to operate this oven with the door open as this can result in harmful exposure to microwave energy.
- Do not place any object between the oven front face and the door or allow soil or cleaner residue on sealing surfaces.
- Do not operate the oven if it is damaged. Ensure the door closes properly and there is no damage to the door, hinges, latches, or sealing surfaces.
- The oven should not be adjusted or repaired by anyone except properly qualified service personnel.
- Always ensure the glass turntable is correctly positioned before operating the microwave.
- This appliance must be grounded. Connect only to a properly grounded outlet.
- Do not allow children to use the microwave without supervision. The unit features a child lock function for added safety.
For detailed safety instructions, refer to the full manual provided with your product.
3. Setup and Installation
3.1 Unpacking
Carefully remove all packaging materials from the microwave oven and its accessories. Inspect the unit for any damage. Ensure all components are present: microwave oven, glass turntable, and turntable ring assembly.

Figure 1: Front view of the Avanti MT09V0W Microwave Oven.
3.2 Turntable Assembly
Place the turntable ring assembly in the center of the oven cavity. Then, carefully place the glass turntable on top of the ring, ensuring it sits securely on the center hub.

Figure 2: Interior view of the microwave showing the glass turntable and roller ring assembly.
3.3 Placement
Place the microwave on a stable, flat surface. Ensure adequate ventilation by leaving at least 3 inches (7.5 cm) of space at the back, 12 inches (30 cm) at the top, and 3 inches (7.5 cm) on both sides. Do not block air vents.
3.4 Electrical Connection
Plug the microwave into a dedicated, grounded 3-prong electrical outlet. Do not use extension cords or adapters.

Figure 3: Rear view of the microwave, highlighting the power cord and product label with serial number A60262109092263000159.
4. Operating Instructions
4.1 Control Panel Overview
The electronic control panel features a digital display and various buttons for time cook, power level, defrost, and pre-set functions.
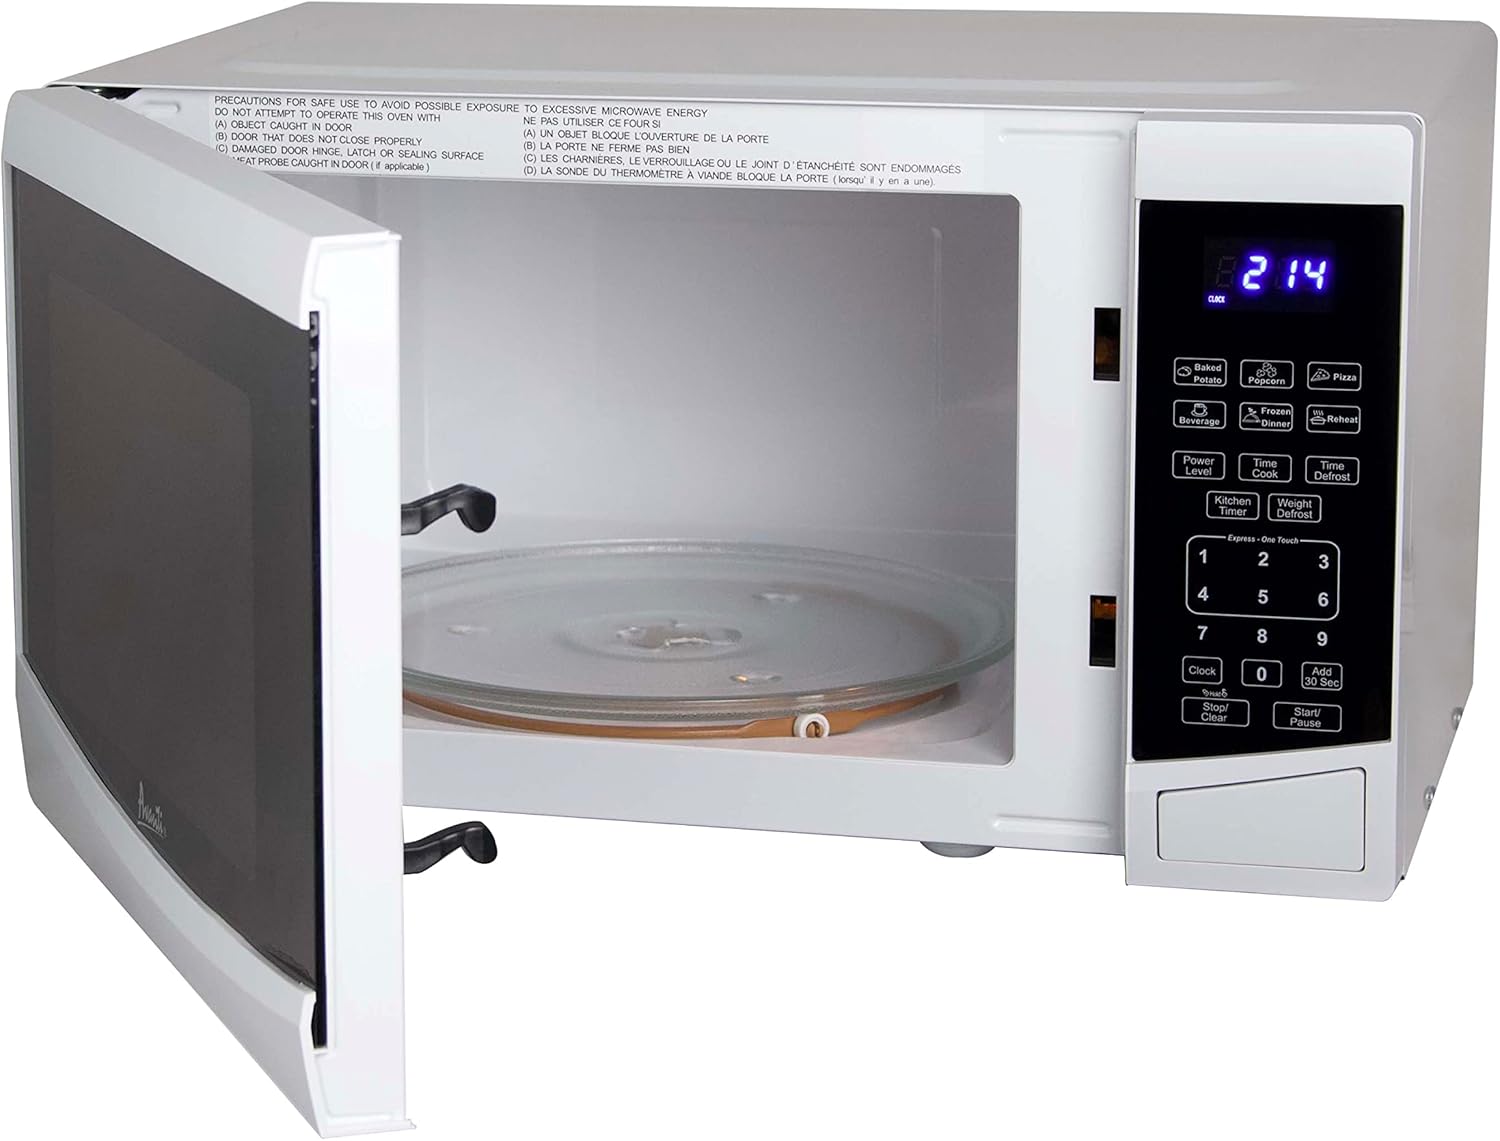
Figure 4: Detailed view of the microwave's control panel, showing buttons for various cooking functions and a digital display.
4.2 Basic Cooking
- Place food in a microwave-safe container on the glass turntable.
- Close the microwave door securely.
- Press the "Time Cook" button.
- Enter the desired cooking time using the number pad.
- Press the "Power Level" button and select a power level (1-10). Default is 10 (100%).
- Press "Start/+30 Sec" to begin cooking.
4.3 Express Cook
For quick cooking, simply press any number from 1 to 6 on the keypad for 1 to 6 minutes of cooking at 100% power. Press "Start/+30 Sec" to add 30 seconds to the cooking time.
4.4 Pre-Programmed Settings
The microwave includes 6 pre-programmed settings for common items:
- Popcorn
- Potato
- Pizza
- Frozen Vegetable
- Beverage
- Dinner Plate
Select the desired pre-set button and follow the display prompts for quantity or weight, then press "Start/+30 Sec".
4.5 Defrost Functions
The microwave offers "Time Defrost" and "Weight Defrost" options. For "Weight Defrost", enter the food's weight. For "Time Defrost", enter the desired defrosting time.
4.6 Child Lock
To activate the child lock, press and hold the "Stop/Clear" button for 3 seconds. The display will show "LOCK". To deactivate, press and hold "Stop/Clear" again for 3 seconds.

Figure 5: Illustration of the child safety lock feature, which prevents accidental operation.
This safety door lock feature reduces risks to young children by minimizing their chances of handling hot food or beverages. When the two-step door opening function is enabled, the oven door cannot be opened during cooking cycles or briefly afterward. You can choose to disable the two-step child safety lock; please refer to the instructions for more information.
Video 1: Demonstrates how to unlock the microwave door during a cooking cycle on Sharp Countertop Microwave Oven Push Button Models. This video is provided by Sharp Electronics Corporation.
Video 2: Demonstrates how to unlock the microwave door after a cooking cycle on Sharp Countertop Microwave Oven Push Button Models. This video is provided by Sharp Electronics Corporation.
5. Care and Maintenance
5.1 Cleaning the Exterior
Wipe the exterior with a damp cloth and mild detergent. Avoid abrasive cleaners or scouring pads.
5.2 Cleaning the Interior
Clean the interior cavity with a damp cloth after each use. For stubborn stains, place a bowl of water with lemon slices inside and microwave for a few minutes to loosen food particles, then wipe clean.
5.3 Turntable Care
The glass turntable and roller ring can be removed for cleaning. Wash them in warm, soapy water or in the dishwasher. Ensure they are dry before re-inserting.
6. Troubleshooting
| Problem | Possible Cause | Solution |
|---|---|---|
| Oven will not start | Door not closed properly; Power cord not plugged in; Fuse blown or circuit breaker tripped. | Ensure door is firmly closed; Plug in power cord; Check household fuse/circuit breaker. |
| Food not heating | Incorrect cooking time/power level; Door not closed properly. | Adjust cooking time/power level; Ensure door is firmly closed. |
| Turntable not rotating | Turntable not properly seated; Obstruction under turntable. | Re-position turntable and roller ring; Remove any obstructions. |
| Oven light not working | Bulb burned out. | Contact qualified service personnel for bulb replacement. |
If the problem persists after attempting these solutions, please contact customer service.
7. Specifications
| Feature | Detail |
|---|---|
| Model Number | MT09V0W |
| Capacity | 0.9 Cubic Feet |
| Wattage | 900 Watts (Cooking Power) / 700 Watts (Input Power) |
| Power Levels | 10 |
| Pre-Cooking Settings | 6 (Popcorn, Potato, Pizza, Frozen Vegetable, Beverage, Dinner Plate) |
| Defrost Functions | Speed Defrost, Cook and Defrost by Weight |
| Control Type | Electronic Touchpad |
| Turntable Material | Glass |
| Product Dimensions (D x W x H) | 14.5" x 19" x 11" (36.8 cm x 48.3 cm x 27.9 cm) |
| Item Weight | 26.5 lbs (12 kg) |
| Color | White |
| Voltage | 115 Volts |
8. Warranty and Customer Support
For warranty information, please refer to the warranty card included with your purchase or visit the official Avanti website. If you require technical assistance or have questions regarding your Avanti Microwave Oven, please contact Avanti customer support.
Avanti Customer Service: 1-800-220-5570
You can also visit the Avanti Store on Amazon for more products and information.


