
1. Introduction
Thank you for purchasing the Chicago Electric Power Tools Lamp and Appliance Timer. This device is designed to automatically turn your lamps and appliances ON and OFF at pre-set times, helping you save energy and enhance convenience. Please read this manual carefully before operating the timer to ensure proper use and to prevent damage.
Package Contents:
- 1 x Lamp and Appliance Timer
- 1 x Instruction Manual
2. Safety Instructions
To reduce the risk of electric shock, fire, or injury, always follow these basic safety precautions:
- Read all instructions: Before using the timer, read and understand all instructions.
- Indoor use only: This timer is designed for indoor use in dry locations. Do not expose to rain or moisture.
- Electrical rating: Do not exceed the electrical ratings of the timer (e.g., 125V AC, 15A, 1875W resistive/tungsten). Overloading can cause overheating and fire.
- Grounding: Ensure the timer is plugged into a properly grounded 3-prong outlet.
- Children: Keep out of reach of children. This is not a toy.
- Cleaning: Unplug the timer from the outlet before cleaning. Use a dry cloth only.
- Do not disassemble: Do not attempt to open or repair the timer. Refer all servicing to qualified service personnel.
3. Product Overview
The Chicago Electric Power Tools Lamp and Appliance Timer is a simple, mechanical timer designed for ease of use. It features a rotating dial for setting ON/OFF times and a manual override switch.
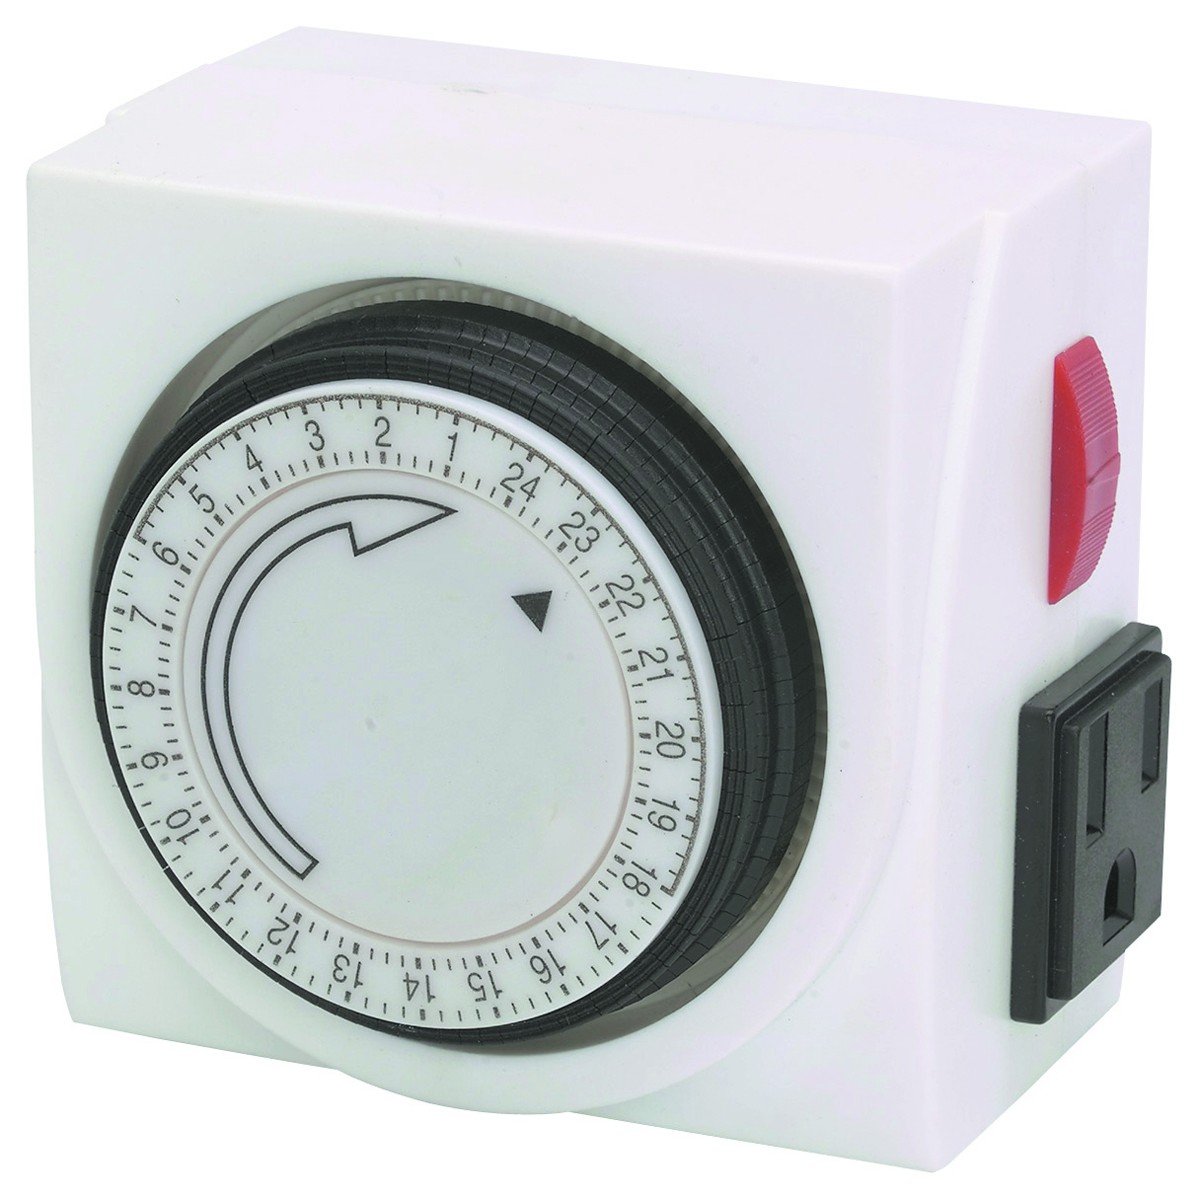
Image: Front view of the Chicago Electric Power Tools Lamp and Appliance Timer. It is a black, rectangular device with a circular dial on the front, featuring numbers and segments for setting time. There is a three-prong plug on the back and a three-prong outlet on the side.
Key Components:
- Timer Dial: Rotates to set the current time and program ON/OFF cycles.
- ON/OFF Pins: Small, push-down pins around the dial to set specific ON/OFF intervals.
- Manual Override Switch: Allows you to bypass the timer settings and manually turn the connected appliance ON or OFF.
- Outlet: Where you plug in your lamp or appliance.
- Power Plug: Connects the timer to a wall outlet.
4. Setup
Initial Setup:
- Unpack the timer and ensure all components are present.
- Plug the timer into a standard 125V AC wall outlet.
- Allow the timer to charge for approximately 30 minutes before setting the time and programming. This ensures the internal battery (if present) is sufficiently charged to maintain time during power outages.
Setting the Current Time:
- Rotate the entire timer dial clockwise until the current time aligns with the arrow indicator on the timer's face.
- The dial is typically marked in 15-minute or 30-minute increments, with darker segments often indicating nighttime hours (e.g., 6 PM to 6 AM).
Connecting an Appliance:
- Ensure the appliance you wish to control is turned OFF.
- Plug the appliance into the outlet on the side of the timer.
- Plug the timer into a wall outlet.
5. Operating Instructions
Setting ON/OFF Times:
The timer uses push-down pins around the dial to set the ON/OFF schedule. Each pin typically represents a 15-minute interval.
- Locate the small pins around the outer edge of the timer dial.
- Push down the pins corresponding to the time periods you want the appliance to be ON.
- Leave the pins in the UP position for the time periods you want the appliance to be OFF.
- For example, to turn an appliance ON from 7:00 PM to 10:00 PM, push down all pins between the 7 PM and 10 PM markings on the dial.
Manual Override:
The timer includes a manual override switch, usually located on the side or top of the unit.
- Timer ON: The appliance will remain ON, overriding any programmed OFF times.
- Timer OFF: The appliance will remain OFF, overriding any programmed ON times.
- Timer (or Auto): The timer will operate according to your programmed ON/OFF schedule.
Always return the switch to the 'Timer' or 'Auto' position for automatic operation.
6. Maintenance
Cleaning:
- Always unplug the timer from the wall outlet before cleaning.
- Wipe the exterior of the timer with a soft, dry cloth.
- Do not use liquid cleaners, aerosols, or abrasive cleaning agents, as these can damage the unit or create an electrical hazard.
Storage:
- When not in use, store the timer in a cool, dry place, away from direct sunlight and extreme temperatures.
- Keep the timer in its original packaging if possible to protect it from dust and damage.
7. Troubleshooting
If you encounter issues with your timer, refer to the following table for common problems and solutions:
| Problem | Possible Cause | Solution |
|---|---|---|
| Appliance does not turn ON/OFF at programmed times. |
|
|
| Timer dial is not rotating. |
|
|
| Appliance remains ON constantly. |
|
|
8. Specifications
- Model: B00PZZ85U2
- Manufacturer: Chicago Electric Power Tools
- Item Weight: 8 ounces
- Package Dimensions: 6.7 x 4.7 x 3.9 inches
- Color: Black
- Material: Plastic
- Number of Settings: 1 (referring to the single timer mechanism)
- Electrical Rating: (Typical for such timers, assuming 15A/1875W) 125V AC, 60Hz, 15A, 1875W Resistive/Tungsten
- Minimum ON/OFF Time: Typically 15 minutes (based on pin increments)
9. Warranty and Support
This product is manufactured by Chicago Electric Power Tools. For specific warranty information, please refer to the documentation included with your purchase or contact the retailer where the product was acquired. General warranty terms typically cover defects in materials and workmanship for a limited period from the date of purchase.
Customer Support:
For technical assistance, troubleshooting, or warranty claims, please contact the retailer or manufacturer directly. Keep your purchase receipt as proof of purchase.
