1. Introduction
This manual provides detailed instructions for the installation, operation, and maintenance of your D-Link DCS-8350LH 2K QHD Indoor Wi-Fi Camera. Please read this manual thoroughly before using the product to ensure proper setup and functionality.
The D-Link DCS-8350LH is designed to provide precise and detailed surveillance for your home or small office. It features 2K QHD resolution, color night vision, AI-based detection, and two-way audio for comprehensive monitoring.
2. Safety Information
- Ensure the camera is installed in a stable location to prevent it from falling.
- Use only the power adapter supplied with the camera.
- Do not expose the camera to water or moisture. This product is for indoor use only.
- Avoid placing the camera near heat sources or in direct sunlight.
- Do not attempt to open or repair the camera yourself. Refer all servicing to qualified personnel.
- Keep the camera and its accessories out of reach of children.
3. Product Overview
Familiarize yourself with the components of your D-Link DCS-8350LH camera.
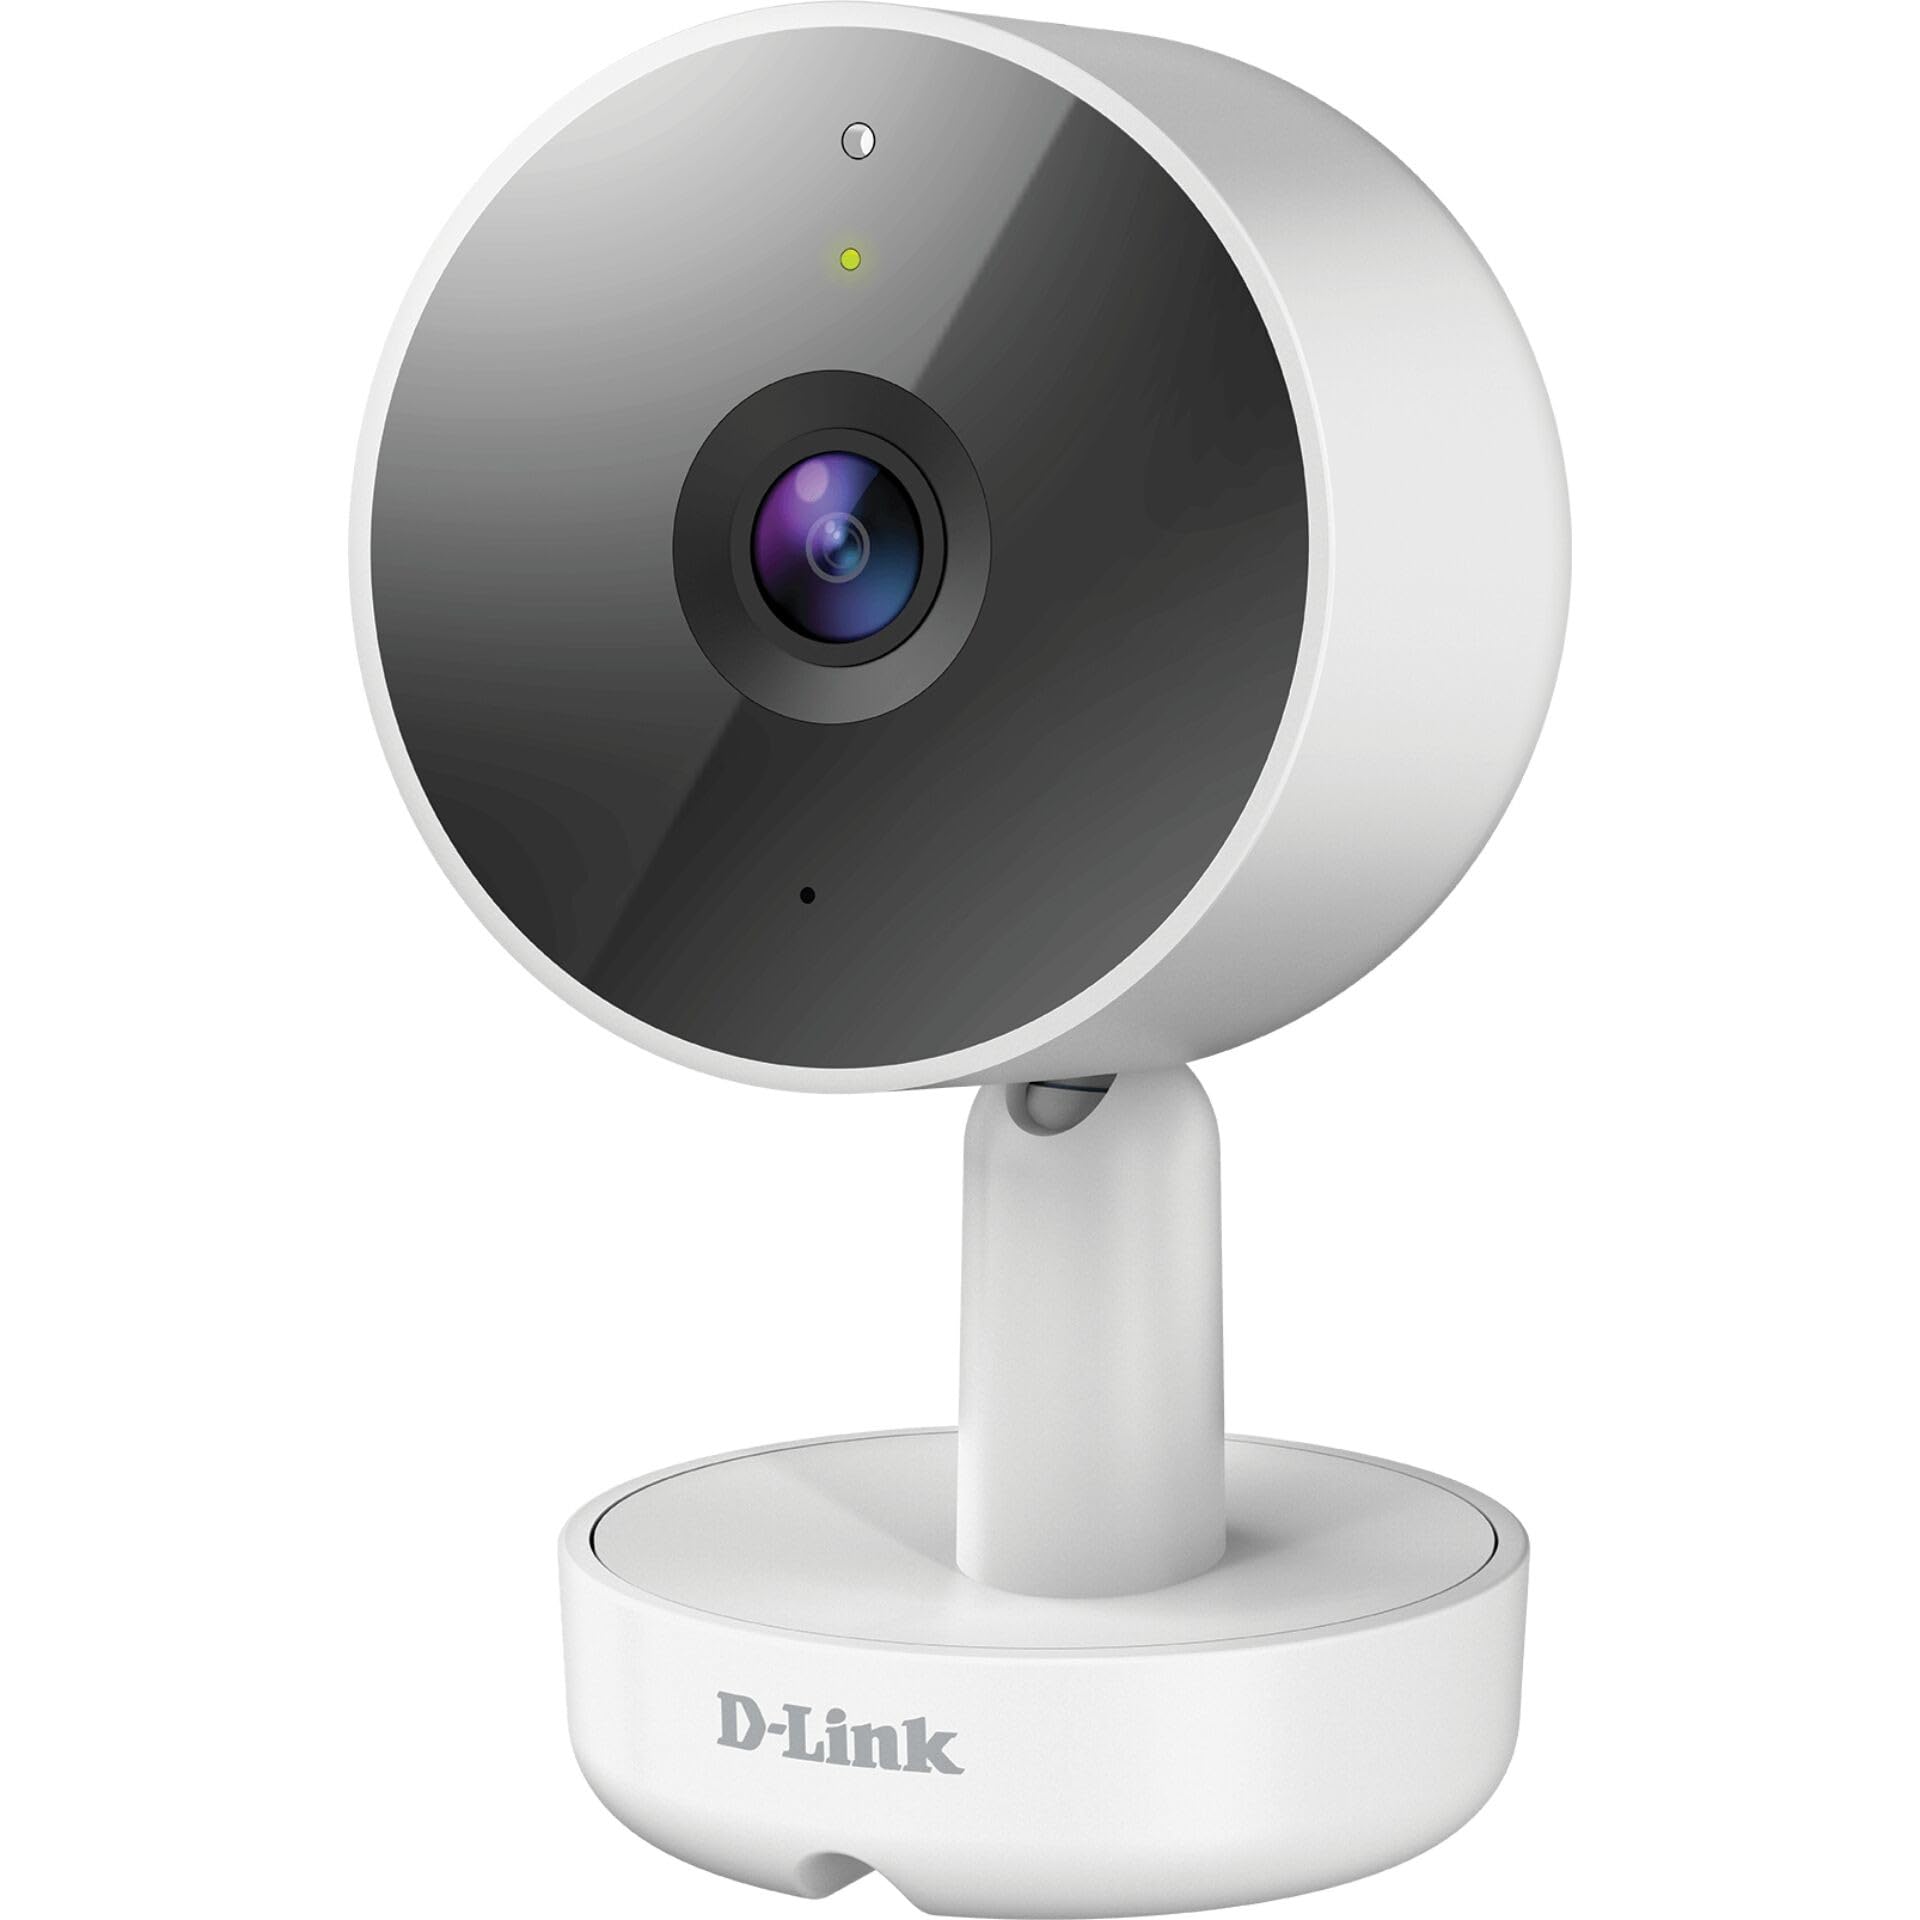
Figure 3.1: Front View of the Camera
- 1. Lens: Captures video.
- 2. Status LED: Indicates camera status (e.g., power, connection).
- 3. Microphone: Captures audio for two-way communication.
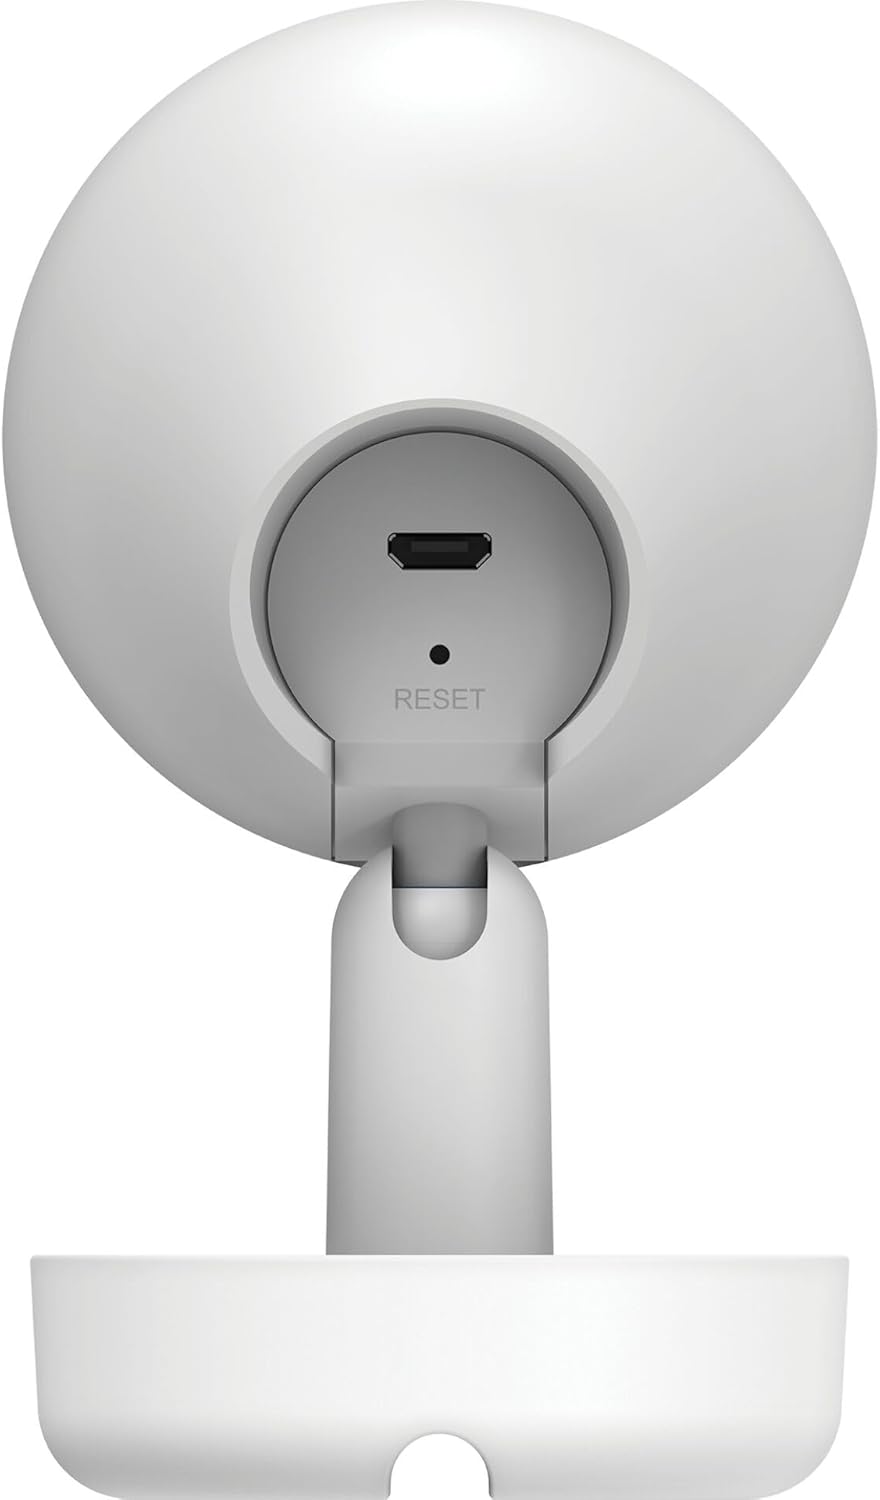
Figure 3.2: Rear View of the Camera
- 1. Micro USB Power Port: Connects to the power adapter.
- 2. Reset Button: Used to restore factory default settings.
- 3. Speaker: Outputs audio for two-way communication.
- 4. MicroSD Card Slot: For local video storage (located on the side or bottom, not visible in this specific image, but mentioned in features).
4. Setup
Follow these steps to set up your D-Link DCS-8350LH camera:
- Download the mydlink App: Search for "mydlink" on the App Store (iOS) or Google Play (Android) and download the official mydlink app.
- Create a mydlink Account: Open the app and follow the on-screen instructions to create a new mydlink account or log in if you already have one.
- Power On the Camera: Connect the provided power adapter to the camera's Micro USB port and plug it into a power outlet. The status LED will begin to blink.
- Add Device: In the mydlink app, tap the menu icon (usually three lines) and select "Add a Device". Scan the QR code located on the camera or its packaging.
- Connect to Wi-Fi: Follow the app's instructions to connect your camera to your home Wi-Fi network. Ensure your mobile device is connected to the same Wi-Fi network during setup.
- Placement: Position your camera in the desired indoor location.

Figure 4.1: Camera and mydlink App Integration
5. Installation
The D-Link DCS-8350LH camera supports wall mounting for optimal placement.
- Choose a Location: Select an indoor location with a clear view of the area you wish to monitor and within range of your Wi-Fi network.
- Mounting Surface: Ensure the wall or surface is strong enough to support the camera.
- Secure the Base: Use appropriate screws and anchors (not included) to secure the camera's base to the chosen surface.
- Adjust Angle: Once mounted, adjust the camera's angle to cover the desired viewing area. The camera has a 108-degree viewing angle.
6. Operating Instructions
Once set up, you can access and control your camera using the mydlink app.
6.1. Live View
Open the mydlink app and select your DCS-8350LH camera from the device list to view the live feed. The camera provides 2K QHD (1440p) resolution for clear images.
6.2. Color Night Vision
The camera automatically switches to color night vision in low-light conditions, allowing you to see detailed color video even when it's dark.
6.3. AI-based Event Detection
The camera features intelligent detection capabilities:
- Person Detection: Identifies human presence, reducing false alarms from pets or moving objects.
- Sound Detection: Alerts you to specific sounds, including carbon monoxide and smoke alarm sounds.
Configure detection zones and sensitivity settings within the mydlink app to customize alerts.
6.4. Two-Way Audio
Use the built-in microphone and speaker to communicate with people or pets near the camera. Tap the microphone icon in the live view within the mydlink app to speak.
6.5. Video Recording and Storage
The DCS-8350LH offers multiple recording options:
- MicroSD Card: Insert a microSD card (not included) into the camera's slot for local storage of recorded video clips.
- mydlink Cloud Recording: Utilize the mydlink Cloud service for secure off-site storage. Free and paid subscription plans are available.
- Smartphone Recording: Capture snapshots and video clips directly to your smartphone via the mydlink app.
7. Maintenance
7.1. Cleaning
To clean the camera, gently wipe the lens and exterior surfaces with a soft, dry cloth. Do not use liquid cleaners or abrasive materials.
7.2. Firmware Updates
Regularly check for firmware updates through the mydlink app. Keeping your camera's firmware up-to-date ensures optimal performance, security, and access to new features.
8. Troubleshooting
If you encounter issues with your D-Link DCS-8350LH camera, refer to the following common solutions:
- Camera Offline / Wi-Fi Disconnection:
- Ensure the camera is within range of your Wi-Fi router.
- Check your Wi-Fi network status.
- Restart the camera by unplugging and re-plugging the power adapter.
- If the issue persists, try resetting the camera to factory defaults (see below) and re-adding it to the mydlink app.
- Poor Video Quality:
- Ensure the camera lens is clean.
- Check your internet connection speed. A stable and fast connection is required for 2K QHD streaming.
- Adjust the camera's position to avoid glare or obstructions.
- Resetting the Camera:
To restore the camera to its factory default settings, use a paperclip or a thin object to press and hold the recessed Reset button (refer to Figure 3.2) for approximately 10 seconds while the camera is powered on. The status LED will change, indicating a reset. You will then need to reconfigure the camera through the mydlink app.
9. Specifications
| Feature | Detail |
|---|---|
| Model Name | DCS-8350LH |
| Video Recording Resolution | 1440p (2K QHD) |
| Viewing Angle | 108 Degrees |
| Connectivity Protocol | Wi-Fi |
| Wireless Communication Technology | Bluetooth (for initial setup) |
| Indoor/Outdoor Usage | Indoor |
| Power Source | Electric Cord |
| Power Consumption | 8 Watts |
| Form Factor | Dome |
| Mounting Type | Wall Mount |
| Material | Plastic |
| Item Dimensions (L x W x H) | 6.67 x 6.57 x 11.14 cm |
| Weight | 320 grams |
| Included Components | Indoor Camera |
| Controller Type | Amazon Alexa |
10. Warranty and Support
For warranty information, technical support, and further assistance, please visit the official D-Link website or contact D-Link customer service. Keep your purchase receipt as proof of purchase.
You can find the latest support resources, FAQs, and contact details at www.dlink.com.


