Introduction
This manual provides essential information for the safe and efficient operation, maintenance, and troubleshooting of your Orbegozo FHR 3050 A Ceramic Heater. Please read these instructions carefully before using the appliance and retain them for future reference.
Important Safety Instructions
WARNING: To avoid electric shock, fire, or injury, always follow basic safety precautions when using electrical appliances.
- Ensure the voltage indicated on the rating label matches your mains voltage before connecting the appliance.
- Do not operate the heater with a damaged cord or plug, or after the heater malfunctions or has been dropped or damaged in any manner.
- Keep combustible materials such as furniture, pillows, bedding, papers, clothes, and curtains at least 1 meter (3 feet) from the front and sides of the heater.
- Do not use the heater in bathrooms, laundry areas, or similar indoor locations where water may be present.
- Always unplug the heater when not in use.
- Do not insert or allow foreign objects to enter any ventilation or exhaust opening as this may cause an electric shock or fire, or damage the heater.
- This appliance is equipped with an automatic overheat protection system. If the heater overheats, it will automatically shut off.
- The heater is designed for floor mounting. Ensure it is placed on a stable, level surface.
Product Overview
The Orbegozo FHR 3050 A is a professional ceramic heater designed for efficient heating. It features a robust metal construction, a convenient transport handle, and intuitive controls.
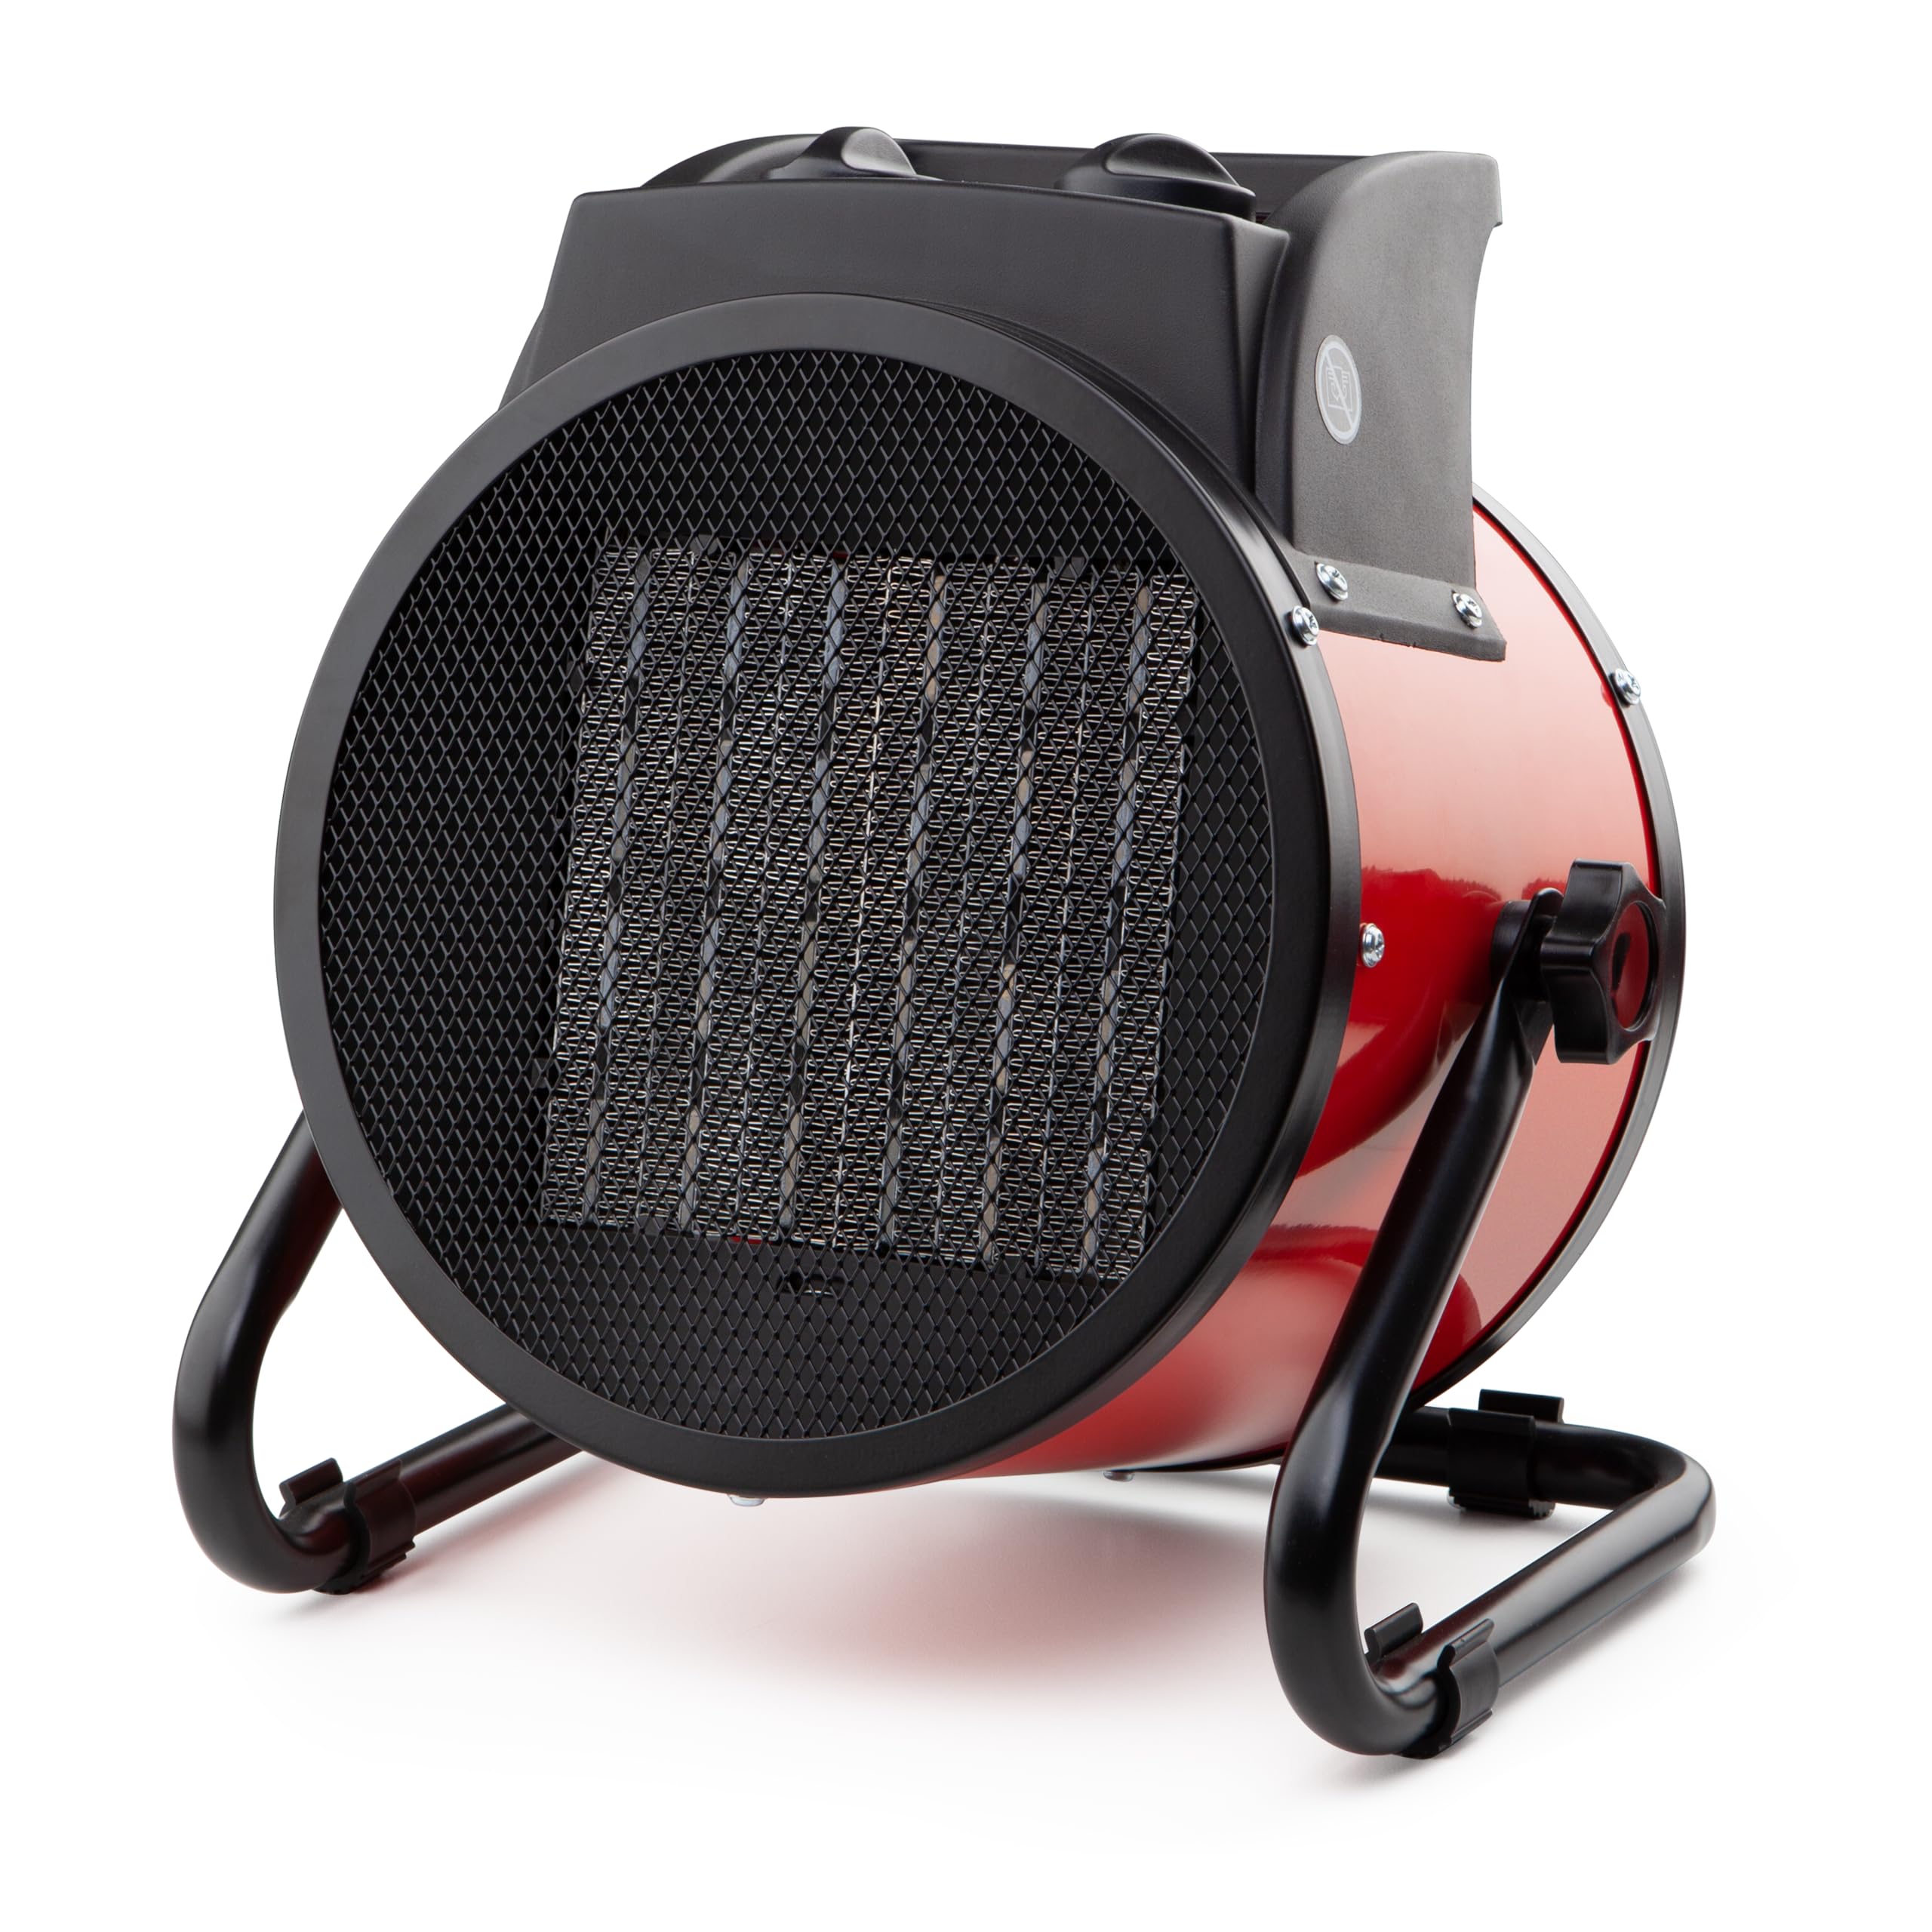
Figure 1: Front view of the Orbegozo FHR 3050 A Ceramic Heater, showing the control panel, handle, and heating grille.
Main Components:
- Control Panel: Located on the front, housing the power/mode selector and thermostat knob.
- Transport Handle: Integrated at the top for easy portability.
- Heating Grille: Front outlet for warm air.
- Non-slip Feet: Provide stability and prevent movement during operation.
- Power Cord: For electrical connection.
Controls and Indicators
The heater features two main control knobs and an indicator light:
Figure 2: Detailed view of the control panel, showing the power/mode selector, thermostat knob, and power indicator light.
- Power/Mode Selector Knob (Left):
- 0 (Off): Turns the heater off.
- Fan Only: Activates the fan without heat, suitable for air circulation.
- Heat Setting 1 (1500W): Provides low heat output.
- Heat Setting 2 (3000W): Provides high heat output.
- Thermostat Control Knob (Right):
- Adjusts the desired room temperature. Turn clockwise for higher temperature, counter-clockwise for lower. The heater will cycle on and off to maintain the set temperature.
- Power Indicator Light (Red LED):
- Illuminates when the heater is powered on and operating.
Setup
- Unpacking: Carefully remove the heater from its packaging. Retain packaging for storage or disposal.
- Placement: Place the heater on a firm, level surface. Ensure there is at least 1 meter (3 feet) of clear space around the heater to allow for proper ventilation and to prevent fire hazards. Do not place it directly under a power outlet.
- Power Connection: Ensure the power/mode selector knob is in the '0' (Off) position. Plug the power cord into a suitable 230V AC electrical outlet.
Operating Instructions
- Powering On: Turn the power/mode selector knob to your desired setting: 'Fan Only', 'Heat Setting 1' (1500W), or 'Heat Setting 2' (3000W). The power indicator light will illuminate.
- Adjusting Temperature: Turn the thermostat control knob clockwise to increase the desired temperature or counter-clockwise to decrease it. The heater will operate until the room reaches the set temperature, then cycle off. It will turn back on automatically when the room temperature drops.
- Fan-Only Mode: Select the 'Fan Only' setting for air circulation without heat.
- Powering Off: Turn the power/mode selector knob to the '0' (Off) position. Unplug the heater from the wall outlet when not in use.
Maintenance
Regular maintenance ensures optimal performance and longevity of your heater.
- Cleaning: Always unplug the heater and allow it to cool completely before cleaning. Use a soft, damp cloth to wipe the exterior surfaces. Do not use abrasive cleaners or solvents. Do not immerse the heater in water.
- Storage: If storing the heater for an extended period, clean it thoroughly and store it in its original packaging in a dry, cool place.
- Ventilation: Keep the air intake and exhaust grilles free from dust and debris to ensure proper airflow. Use a vacuum cleaner with a brush attachment to clean these areas.
Troubleshooting
| Problem | Possible Cause | Solution |
|---|---|---|
| Heater does not turn on. | No power supply; Power/mode knob is off; Overheat protection activated. | Check power outlet and plug connection. Ensure power/mode knob is on a heat or fan setting. Unplug, wait 10 minutes for cooling, then plug in again. |
| Heater produces no heat in heat mode. | Thermostat set too low; Overheat protection activated. | Increase thermostat setting. Unplug, wait 10 minutes for cooling, then plug in again. |
| Heater cycles on and off frequently. | Thermostat setting is close to room temperature; Obstruction of air intake/exhaust. | Adjust thermostat setting. Clear any obstructions from grilles. |
| Unusual noise or smell. | Dust accumulation; Internal component issue. | Unplug immediately. Clean grilles. If problem persists, contact customer support. |
If the problem persists after attempting these solutions, please contact Orbegozo customer support.
Specifications
| Brand | Orbegozo |
| Model Number | FHR 3050 A (Internal: 16417) |
| Color | Black/Red |
| Dimensions (L x W x H) | 30 x 17.5 x 30 cm |
| Weight | 1 kg |
| Power | 3000 Watts (2 heat settings: 1500W / 3000W) |
| Voltage | 230 Volts |
| Material | Metal |
| Special Features | Overheat Protection, Adjustable Temperature, Fan Function |
| Heating Method | Ceramic heating element with fan-assisted heat distribution |
| Mounting Type | Floor Mount |
Warranty and Customer Support
Your Orbegozo FHR 3050 A Ceramic Heater is covered by a manufacturer's warranty. Please refer to the warranty card included with your purchase for specific terms and conditions. For technical assistance, spare parts, or any inquiries, please contact Orbegozo customer support through their official website or the contact information provided in your purchase documentation.
Keep your purchase receipt as proof of purchase for warranty claims.


