Introduction
This manual provides essential information for the proper installation, operation, and maintenance of your Luber-finer PC263 PCV Valve. Please read these instructions carefully before proceeding with installation or service to ensure optimal performance and longevity of the product.
The Luber-finer PC263 PCV valve is designed to optimize fuel economy by enhancing engine output. It reprocesses usable fuel exhaust gases, contributing to improved mileage and engine power. Proper maintenance of this component prevents sludge formation and the condensation of corrosive acids, which can lead to engine wear.
Product Overview
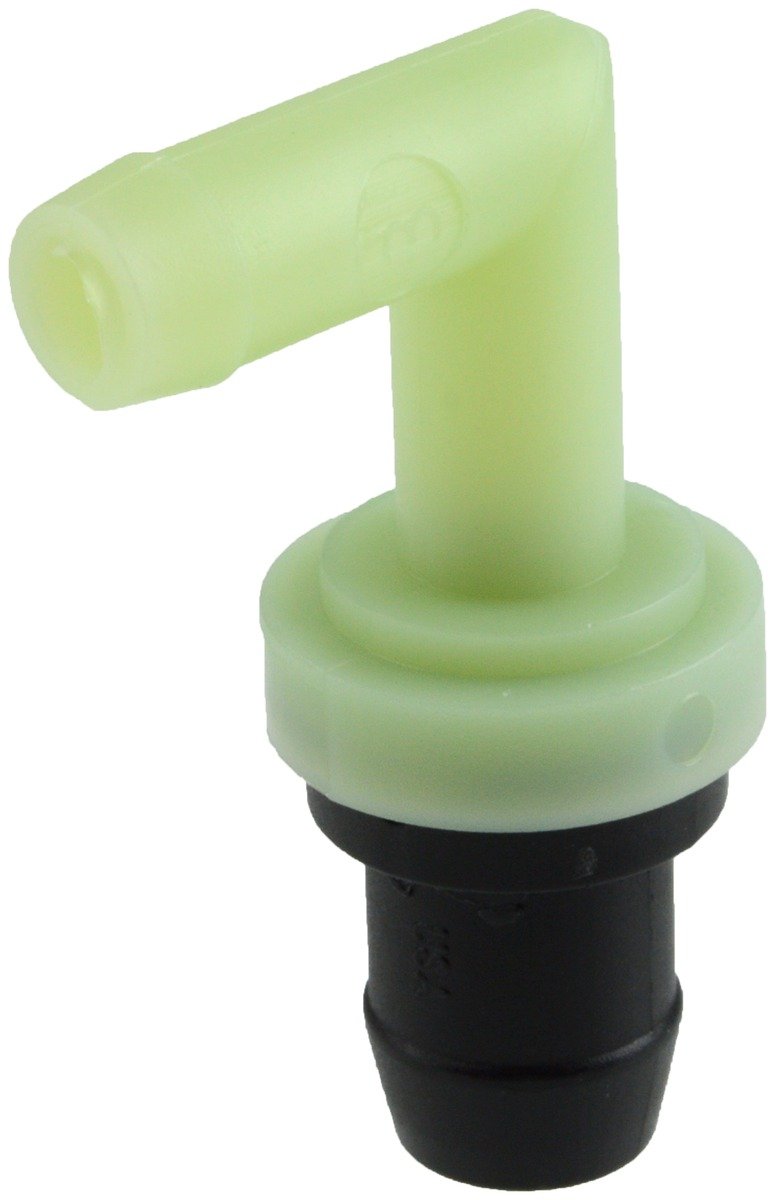
Figure 1: Luber-finer PC263 PCV Valve. This image displays the Luber-finer PC263 PCV Valve, which features a light green elbow-shaped upper section connected to a black cylindrical base. The valve is constructed from metal and designed for positive crankcase ventilation systems.
The Luber-finer PC263 PCV Valve is an automotive component engineered for high performance. Key features include:
- Advanced OEM (Original Equipment Manufacturer) design for precise fit and function.
- Designed to accurately return crankcase combustion gases to the air intake system.
- Meets applicable NIOSH, OSHA, and EPA air sampling standards.
- Delivers optimum airflow performance for efficient engine operation.
- Compatible with both foreign and domestic vehicle applications.
Safety Information
Always follow vehicle manufacturer's service procedures and safety precautions when working on automotive systems. Wear appropriate personal protective equipment, such as safety glasses and gloves. Ensure the engine is cool and the vehicle is securely supported before beginning any work.
Installation (Setup)
- Locate the Existing PCV Valve: Refer to your vehicle's service manual to identify the location of the PCV valve. It is typically found on the valve cover or intake manifold.
- Disconnect Hoses: Carefully disconnect any hoses attached to the existing PCV valve. Note their orientation for correct reinstallation.
- Remove Old PCV Valve: Depending on the vehicle, the PCV valve may be threaded in, pressed in, or secured with a grommet. Gently twist and pull, or use an appropriate wrench to remove the old valve.
- Inspect Grommet (if applicable): If a grommet is used, inspect it for cracks or hardening. Replace if necessary to ensure a proper seal.
- Install New PCV Valve: Insert the Luber-finer PC263 PCV Valve into the designated port. Ensure it is seated firmly and securely.
- Reconnect Hoses: Reattach the hoses to the new PCV valve, ensuring they are securely connected and not kinked.
- Verify Installation: Double-check all connections and ensure the valve is properly installed before starting the engine.
Note: If you are unsure about any step, consult a qualified automotive technician.
Operation
The PCV (Positive Crankcase Ventilation) valve is a crucial component of your engine's emission control system. It regulates the flow of crankcase gases back into the engine's intake manifold to be re-burned. This process prevents harmful vapors from escaping into the atmosphere and helps maintain engine cleanliness.
When the engine is running, the PCV valve opens to allow crankcase gases to be drawn into the intake manifold. The valve's design ensures that the correct amount of gas is recirculated under various engine operating conditions, such as idle, cruise, and acceleration.
Maintenance
The PCV valve is a wear item and requires periodic inspection and replacement to ensure proper engine function and emission control. Over time, the valve can become clogged with oil sludge and carbon deposits, which can impair its operation.
- Inspection Frequency: Consult your vehicle's owner's manual for the recommended PCV valve inspection and replacement intervals. Generally, it is advisable to inspect the PCV valve every 12,000 to 20,000 miles or annually.
- Checking for Clogs:
- With the engine off, remove the PCV valve from its grommet or hose.
- Shake the valve. A properly functioning valve should produce a distinct rattle. If no rattle is heard, the valve is likely clogged and requires replacement.
- Alternatively, with the engine running at idle, carefully remove the PCV valve from its grommet (do not disconnect the hose). You should feel a strong vacuum at the valve's inlet. If there is no vacuum, the valve or hose may be clogged.
- Replacement: If the PCV valve is found to be clogged or faulty, replace it with a new Luber-finer PC263 PCV Valve. Do not attempt to clean a clogged valve, as this may not restore its proper function and could introduce debris into the engine.
Troubleshooting Common Issues
| Symptom | Possible Cause | Solution |
|---|---|---|
| Rough idle or engine stalling | Clogged or faulty PCV valve, vacuum leak | Inspect and replace PCV valve. Check PCV hoses for cracks or disconnections. |
| Increased oil consumption | Stuck open PCV valve, allowing excessive oil vapor into intake | Replace PCV valve. |
| Engine oil leaks | Clogged PCV valve causing excessive crankcase pressure | Replace PCV valve. Inspect engine seals for damage. |
| Check Engine Light (CEL) illuminated | PCV system malfunction (e.g., vacuum leak, clogged valve) | Scan for diagnostic trouble codes (DTCs). Address specific PCV system codes. |
If troubleshooting steps do not resolve the issue, it is recommended to seek assistance from a certified automotive technician.
Specifications
- Model: PC263
- Brand: Luber-finer
- Material: Metal
- Exterior Finish: Machined
- Inlet Connection Type: Positive Crankcase Ventilation
- Number of Ports: 2
- Specification Met: OSHA
- Item Weight: Approximately 1.28 ounces (36.3 grams)
- Package Dimensions: Approximately 3 x 1.5 x 1.5 inches (7.6 x 3.8 x 3.8 cm)
- Manufacturer Part Number: PC263
- UPC: 038568702500
Warranty Information
Luber-finer products are manufactured to high-quality standards. For specific warranty details, please refer to the official Luber-finer warranty statement available on their website or contact their customer support. Keep your proof of purchase for any warranty claims.
Support and Contact
For technical assistance, product inquiries, or support, please contact Luber-finer customer service through their official channels. Visit the Luber-finer website for the most current contact information.
Website: www.luberfiner.com


