1. Product Overview
The Walker 51110 Exhaust Flex Connector is a universal-fit component designed for automotive exhaust systems. Its primary function is to dampen vibrations and accommodate movement within the exhaust system, thereby preventing stress on other components and inhibiting leaks. Constructed from durable aluminized steel, this flex connector ensures a long service life and features a burr-free finish for precise fitment when connecting exhaust pipes or tubing.
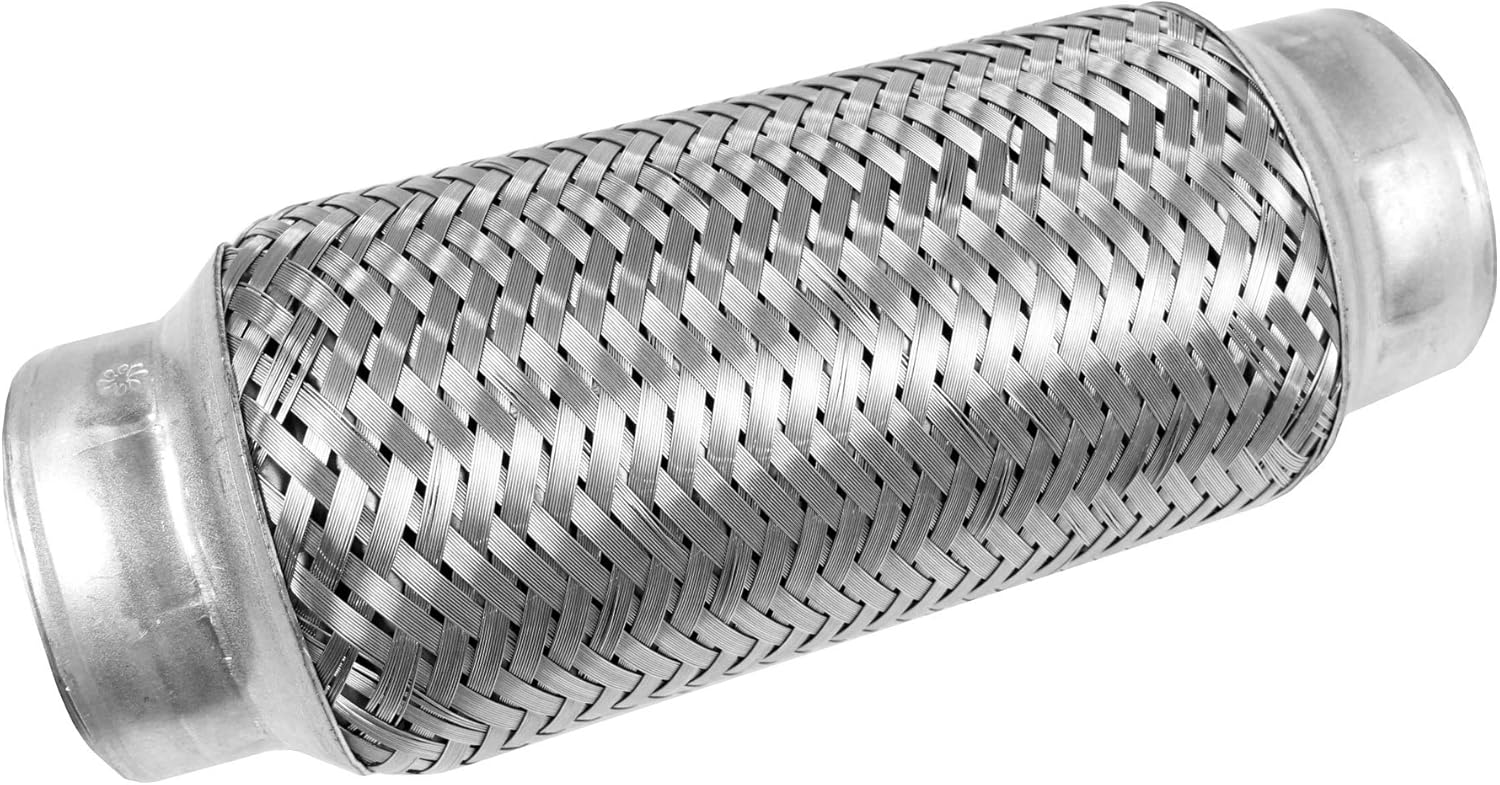
Image 1.1: The Walker 51110 Exhaust Flex Connector, featuring its braided construction.
Key Features:
- Universal Fit: Designed for broad compatibility across various vehicle applications.
- Vibration Dampening: Flex-lock construction effectively dampens exhaust system vibrations and movement.
- Leak Prevention: Inhibits leaks by allowing controlled flexibility within the exhaust path.
- Durable Construction: Manufactured from aluminized steel for enhanced durability and extended product life.
- Precise Connection: Engineered for connecting exhaust pipes and tubing with a smooth, burr-free finish.
2. Setup and Installation
Proper installation is crucial for the performance and longevity of the Walker 51110 Exhaust Flex Connector. It is recommended that installation be performed by a qualified professional. Always ensure the vehicle is safely supported on a lift or jack stands before beginning work.
2.1 Pre-Installation Checks
- Vehicle Compatibility: Verify that the flex connector dimensions (2.25" Inlet/Outlet ID) are appropriate for your vehicle's exhaust system. Consult your vehicle's service manual or a qualified mechanic.
- Inspect Components: Examine the flex connector for any shipping damage or manufacturing defects.
- Gather Tools: Ensure all necessary tools for cutting, welding (if applicable), clamping, and securing exhaust components are available.

Image 2.1: A hand measuring an exhaust pipe to ensure correct fitment.
2.2 Installation Steps (General Guidance)
- Remove Old Component: Carefully remove the existing flex pipe or section of exhaust that is being replaced. Use appropriate cutting tools if necessary.
- Prepare Surfaces: Clean and deburr the ends of the existing exhaust pipes where the new flex connector will be installed. Ensure a smooth, tight fit.
- Position Flex Connector: Slide the Walker 51110 flex connector onto the prepared exhaust pipes. Ensure proper alignment and that there is no undue stress on the component.
- Secure Connection: The flex connector can be installed using either welding or appropriate exhaust clamps. For a permanent and leak-free seal, welding is often preferred. If using clamps, ensure they are tightened to the manufacturer's specifications.
- Check for Leaks: After installation, start the vehicle and check for any exhaust leaks around the newly installed flex connector. Address any leaks immediately.

Image 2.2: A welder performing an exhaust system installation, demonstrating a method for securing the flex connector.

Image 2.3: An illustration showing the various components of a typical exhaust system, including the location of a flex connector.
2.3 Related Components and Accessories
For a comprehensive exhaust system upgrade or repair, consider using other Walker components and accessories. These include catalytic converters, mufflers, and various connection hardware.

Image 2.4: A collection of Walker exhaust components, illustrating how they work together for a complete system.

Image 2.5: An assortment of exhaust pipes and a flex connector, highlighting the variety of available sizes and shapes.
3. Operating Principles
The Walker 51110 Exhaust Flex Connector is a passive component designed to integrate seamlessly into your vehicle's exhaust system. Its primary function is to provide flexibility and absorb movement. During vehicle operation, the engine and exhaust system experience vibrations and thermal expansion/contraction. Without a flex connector, these movements can cause stress on rigid exhaust pipes, manifolds, and catalytic converters, potentially leading to cracks, leaks, or premature failure.
The braided construction of the flex connector allows for controlled movement in multiple directions, effectively isolating vibrations from the engine and drivetrain, and accommodating shifts in the exhaust system due to road conditions or vehicle dynamics. This results in a quieter operation and extended lifespan for the entire exhaust assembly.
4. Maintenance
The Walker 51110 Exhaust Flex Connector is designed for durability and typically requires minimal maintenance. However, regular inspection of the entire exhaust system, including the flex connector, is recommended to ensure optimal performance and prevent potential issues.
4.1 Inspection Schedule
- Inspect the exhaust system, including the flex connector, during routine vehicle maintenance (e.g., oil changes, tire rotations).
- Perform an inspection immediately if you notice any unusual noises, vibrations, or exhaust odors.
4.2 What to Look For
- Visible Damage: Check for cracks, holes, or severe corrosion on the braided section and end pipes of the flex connector.
- Exhaust Leaks: Look for black soot marks around the connections or listen for a hissing sound, which indicates an exhaust leak.
- Excessive Movement: While some flexibility is normal, excessive or uncontrolled movement of the flex connector may indicate internal damage or a compromised connection.
- Mounting Hardware: Ensure all clamps or welds are secure and free from corrosion or damage.

Image 4.1: A hand wearing a glove installing an exhaust component, emphasizing careful handling during maintenance or replacement.
5. Troubleshooting
If you experience issues with your exhaust system after installing the Walker 51110 Flex Connector, consider the following troubleshooting steps. For complex issues, professional diagnosis and repair are recommended.
5.1 Common Issues and Solutions
| Symptom | Possible Cause | Solution |
|---|---|---|
| Loud exhaust noise / Hissing sound | Exhaust leak at the flex connector or connections. | Inspect connections for proper sealing. Re-tighten clamps or re-weld if necessary. Check for cracks in the flex pipe. |
| Excessive vibration from exhaust | Damaged flex connector (internal failure of braiding) or loose exhaust hangers. | Inspect the flex connector for visible damage. Check all exhaust hangers for security and integrity. Replace damaged components. |
| Rattling or banging noise | Exhaust system components (including the flex connector) are hitting the vehicle chassis or other parts due to loose hangers or improper installation. | Inspect the entire exhaust system for clearance issues. Adjust hangers or re-position components as needed. |
6. Specifications
| Attribute | Specification |
|---|---|
| Model Number | 51110 |
| Inlet Diameter (ID) | 2.25 inches |
| Outlet Diameter (ID) | 2.25 inches |
| Item Weight | 1.54 pounds |
| Product Dimensions | 8 x 3.5 x 3.5 inches |
| Material | Alloy Steel (Aluminized Steel) |
| Installation Type | Bolt-On (or Weld-On) |
| Shape | Round |
| UPC | 086387511100 |
7. Official Product Video
Watch the official video from Walker to learn more about their commitment to quality and engineering standards.
Video 7.1: "Walker Exhaust Systems | The Walker Way" - This video highlights Walker's manufacturing processes, quality control, and commitment to engineering excellence in exhaust system components.
8. Warranty Information
Warranty coverage for the Walker 51110 Exhaust Flex Connector is provided by the manufacturer, Walker. Specific terms, conditions, and duration of the warranty may vary. Please refer to the warranty documentation included with your purchase or visit the official Walker website for detailed information regarding warranty claims and policies.
9. Support
For technical assistance, installation questions, or warranty inquiries regarding your Walker 51110 Exhaust Flex Connector, please contact Walker customer support directly. Contact information can typically be found on the product packaging or on the official Walker website (www.walkerexhaust.com).


