
1. Introduction
This manual provides essential information for the safe and effective installation, operation, and maintenance of the Allen-Bradley 100-FA31 Front Mounting Auxiliary Contact Block. This device is designed to expand the contact capabilities of compatible contactors and control relays, providing additional normally open (NO) and normally closed (NC) contacts for control circuit applications.
2. Safety Information
Always adhere to local and national electrical codes and regulations when installing or servicing electrical equipment. Failure to do so may result in personal injury, equipment damage, or death.
- Disconnect Power: Ensure all power is disconnected and locked out before installing, wiring, or performing any maintenance on the contact block or associated equipment.
- Qualified Personnel: Installation and servicing should only be performed by qualified and authorized personnel.
- Proper Tools: Use appropriate insulated tools for electrical work.
- Environmental Conditions: Do not expose the device to conditions outside its specified operating environment (e.g., excessive moisture, extreme temperatures, corrosive atmospheres).
- Inspect for Damage: Before installation, visually inspect the contact block for any signs of physical damage. Do not install damaged components.
3. Product Overview
The Allen-Bradley 100-FA31 is a front-mounting auxiliary contact block designed for use with Allen-Bradley 100-C contactors and 700-C control relays. It provides additional switching contacts for control circuits, enabling more complex control logic and signaling.


3.1. Contact Configuration
The 100-FA31 features a 3 Normally Open (NO) and 1 Normally Closed (NC) contact configuration. This means it provides three sets of contacts that are open when the main contactor is de-energized and close when it is energized, and one set of contacts that is closed when the main contactor is de-energized and opens when it is energized.
4. Specifications
Refer to the product label and the table below for detailed technical specifications.

| Attribute | Value |
|---|---|
| Model Number | 100-FA31 |
| Contact Configuration | 3 Normally Open (NO) / 1 Normally Closed (NC) |
| Number of Poles | 4 |
| Rated Current (AC-12) | 10 Amps @ 690V |
| Rated Voltage (AC-12) | 690 Volts AC max |
| Rated Voltage (AC-15) | 230V, 240V, 400V, 415V, 500V, 690V |
| Connector Type | Screw Terminals |
| Mounting Type | Front Mounting (Panel Mount) |
| Material | Nylon, Plastic |
| Color | Beige |
| Product Dimensions | 7.09 x 6.3 x 8.27 inches |
| Product Weight | 1.32 Pounds |
| Certifications | UL Listed, SP, IEC/EN 60947-5-1 |
| Compatibility | For use with contactors types 100-C and control relays 700-C |
| Origin | Made in Switzerland |
5. Setup and Installation
The 100-FA31 auxiliary contact block is designed for front mounting onto compatible Allen-Bradley contactors or control relays.
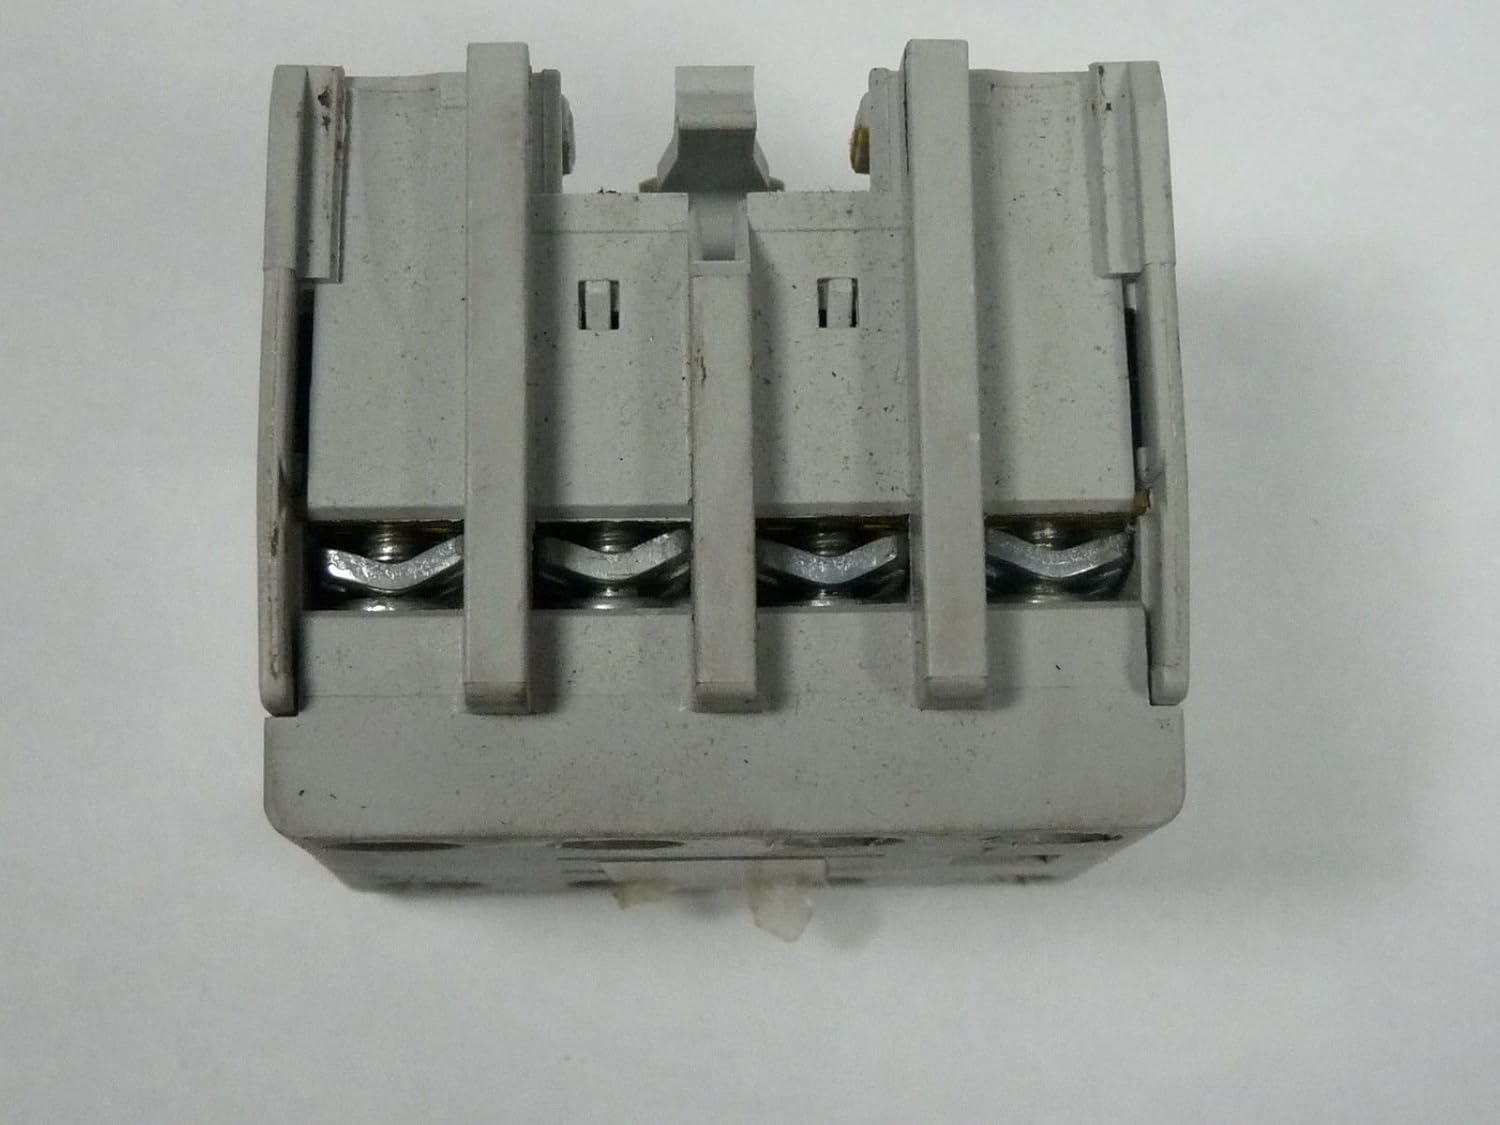
5.1. Mounting Procedure
- Verify Compatibility: Ensure the main contactor or control relay is compatible with the 100-FA31 front mounting auxiliary contact block. Refer to the main device's documentation for auxiliary contact compatibility.
- Power Disconnection: Before beginning, ensure all power to the main contactor/relay circuit is disconnected and verified to be off.
- Align: Align the auxiliary contact block with the designated mounting slots on the front of the main contactor/relay. The block is typically keyed to ensure correct orientation.
- Attach: Gently push the auxiliary contact block onto the main device until it clicks securely into place. Ensure it is firmly seated and does not wobble.
5.2. Wiring
Wire the auxiliary contacts according to your control circuit diagram. The terminals are clearly marked with their contact type (NO for Normally Open, NC for Normally Closed) and terminal numbers.
- Terminal Identification: Identify the specific NO and NC terminals required for your application. For example, NO 61-62, NC 73-74, NO 83-84.
- Wire Gauge: Use appropriate wire gauge for the rated current and circuit length.
- Secure Connections: Ensure all wire connections are tight and secure to prevent loose connections, which can lead to overheating or intermittent operation. Do not overtighten the screw terminals.
- Insulation: Ensure proper insulation of all wires and connections.
6. Operating Instructions
The 100-FA31 auxiliary contact block operates in conjunction with the main contactor or control relay to which it is attached. Its contacts change state simultaneously with the main device's operation.
- Normally Open (NO) Contacts: These contacts are open when the main contactor/relay coil is de-energized and close when the coil is energized. They are typically used for signaling that the main device is active or for enabling subsequent control actions.
- Normally Closed (NC) Contacts: These contacts are closed when the main contactor/relay coil is de-energized and open when the coil is energized. They are commonly used for interlocking, indicating that the main device is inactive, or for disabling other circuits when the main device is active.
No direct user interaction is required with the auxiliary contact block itself during normal operation, as its function is entirely dependent on the state of the main contactor or relay.
7. Maintenance
The Allen-Bradley 100-FA31 Auxiliary Contact Block is generally maintenance-free under normal operating conditions. However, periodic inspection is recommended to ensure continued reliable performance.
- Visual Inspection: Periodically inspect the contact block for any signs of physical damage, discoloration, or excessive dust accumulation.
- Connection Integrity: Check terminal screw tightness to ensure all wire connections remain secure. Do this only after disconnecting power.
- Cleanliness: If necessary, gently clean the exterior of the contact block with a dry, lint-free cloth. Do not use solvents or abrasive cleaners.
- Environmental Check: Ensure the operating environment remains within specified limits (temperature, humidity, absence of corrosive agents).
8. Troubleshooting
If the auxiliary contact block is not functioning as expected, consider the following troubleshooting steps:
- No Contact Change:
- Verify that the main contactor/relay is operating correctly and its coil is being energized/de-energized as expected.
- Ensure the auxiliary contact block is securely mounted to the main device. A loose connection may prevent proper mechanical actuation.
- Check the wiring to the auxiliary contacts for continuity and correct connections.
- Intermittent Operation:
- Inspect all terminal connections for tightness. Loose connections can cause intermittent contact.
- Check for any foreign debris or dust interfering with the mechanical operation of the contacts.
- Overheating/Discoloration:
- This indicates excessive current or poor connections. Immediately disconnect power and investigate the circuit. Ensure the load connected to the auxiliary contacts does not exceed their rated current.
- Replace the unit if signs of overheating or damage are present.
If issues persist after performing these checks, contact Allen-Bradley technical support or a qualified electrician.
9. Warranty and Support
For information regarding product warranty, technical support, or service, please refer to the official Allen-Bradley (Rockwell Automation) website or contact your authorized Allen-Bradley distributor. Warranty terms and conditions may vary by region and product type.
Online Resources: Visit the Allen-Bradley website for product documentation, FAQs, and support contacts.


