Introduction
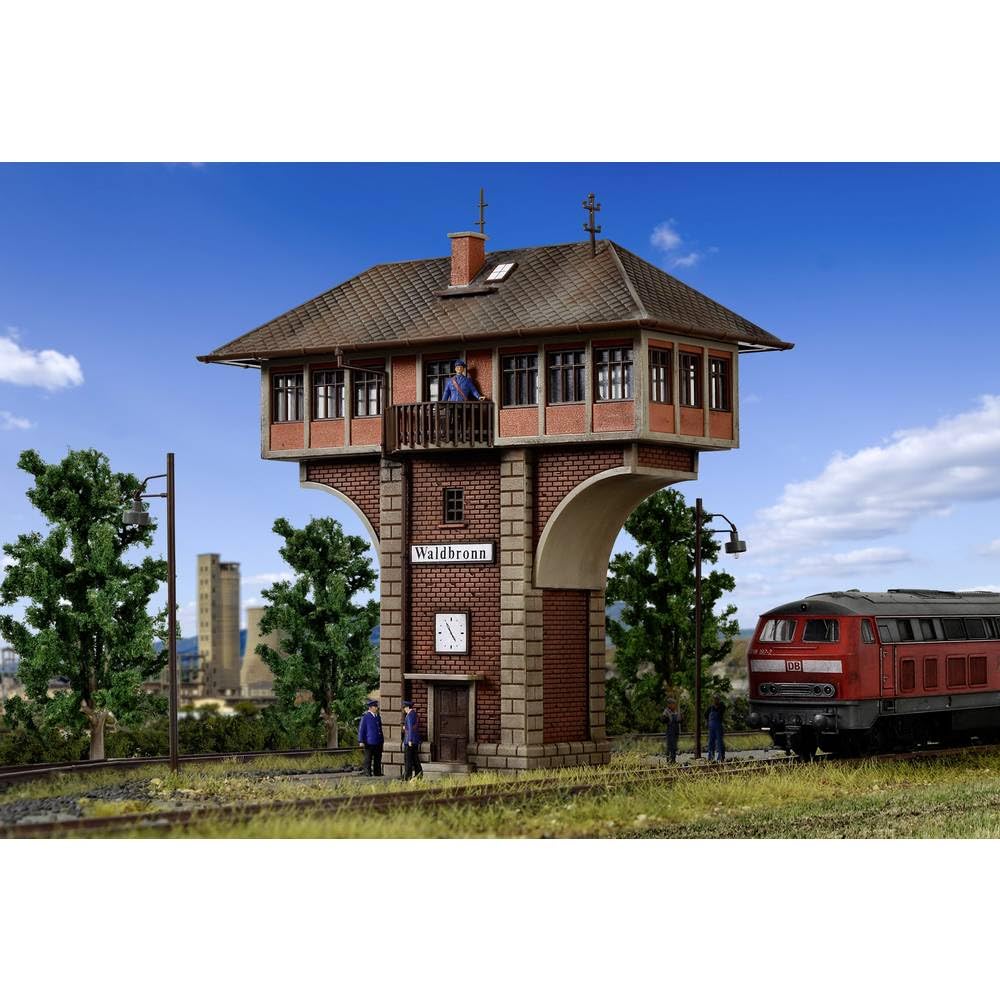
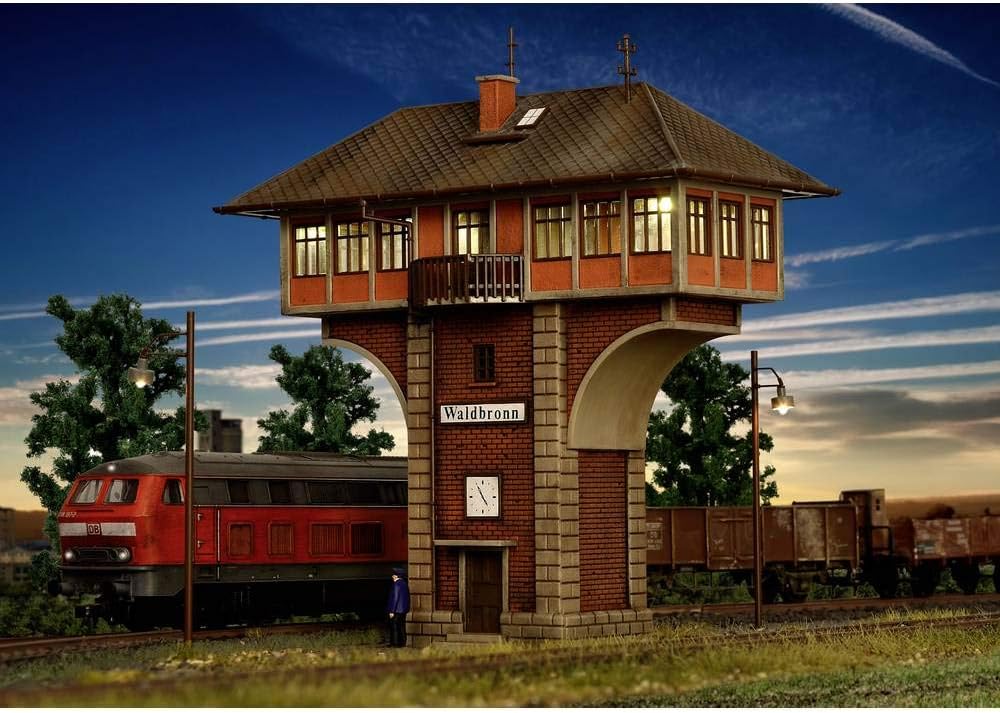
This manual provides detailed instructions for the assembly, placement, and care of your Vollmer 1491246 H0 Signal Box Waldbronn model kit. This highly detailed model is designed for H0 scale model railway layouts and is intended for experienced model builders. Please read all instructions carefully before beginning assembly.
Safety Information
WARNING: Not suitable for children under 14 years old.
This product contains small parts which may pose a choking hazard. Keep all components and tools out of reach of young children. When assembling, use appropriate ventilation if working with adhesives or paints. Exercise caution with sharp tools such as hobby knives and tweezers. Always follow the safety guidelines provided with any glues, paints, or tools used during assembly.
Setup and Assembly
The Vollmer 1491246 H0 Signal Box Waldbronn is a model kit requiring assembly. Follow the included diagrams and instructions for best results.
1. Unpacking and Inspection
Carefully unpack all components from the box. Verify that all parts listed in the kit contents are present and undamaged. If any parts are missing or damaged, please contact customer support before proceeding.
2. Tools Required
- Model adhesive (plastic cement recommended)
- Hobby knife or sprue cutters
- Fine-point tweezers
- Small files or sandpaper (fine grit)
- Paint and brushes (optional, for detailing)
3. Assembly Steps
- Carefully detach all parts from the sprues using a hobby knife or sprue cutters. Trim any excess plastic (flash) with a hobby knife or fine sandpaper.
- Dry-fit components before applying adhesive to ensure proper alignment and fit.
- Apply a small amount of model adhesive to the joining surfaces and press the parts together firmly. Hold in place until the adhesive begins to set.
- Follow the numbered steps and diagrams provided in the kit's specific assembly guide. Pay close attention to the orientation of windows, doors, and roof sections.
- Allow sufficient drying time for all adhesive joints before handling or moving the assembled sections.
- Once the main structure is assembled, you may proceed with optional painting and detailing as desired.
Operating (Placement on Layout)
Once assembled, your Signal Box Waldbronn is ready for integration into your H0 scale model railway layout.
1. Choosing a Location
Select a suitable location on your layout that complements the signal box's design. Typically, signal boxes are positioned near railway tracks, junctions, or station areas. Consider the overall aesthetic and historical context of your layout.
2. Securing the Model
To prevent accidental movement or damage, secure the model to your layout base. This can be done using a small amount of model adhesive on the base of the signal box, or by creating a recessed area for it to sit firmly.
3. Integration with Scenery
Enhance the realism by integrating the signal box with surrounding scenery elements such as ballast, grass, trees, and other railway structures. This will help the model blend seamlessly into your miniature world.
Maintenance
Proper maintenance will ensure the longevity and appearance of your Vollmer model.
1. Cleaning
Regularly dust the model using a soft brush or a can of compressed air. Avoid using harsh chemicals or abrasive materials, as these can damage the paint or plastic. For stubborn dirt, a slightly damp cloth with plain water can be used, but ensure the model is completely dry afterwards.
2. Handling
Always handle the model carefully, grasping it by its base or sturdy sections. Avoid applying pressure to delicate parts like railings, antennas, or windows.
3. Storage
If the model needs to be stored, place it in its original packaging or a secure container to protect it from dust, light, and physical damage. Store in a cool, dry place away from direct sunlight.
Troubleshooting
Here are some common issues and their solutions for model kits.
Missing or Damaged Parts
If you discover any missing or significantly damaged parts upon opening the kit, please contact Vollmer customer support immediately with your purchase details and a description of the issue.
Parts Not Fitting Correctly
- Check Orientation: Ensure the parts are oriented correctly according to the assembly diagrams. Many parts are designed to fit only one way.
- Trim Excess Plastic: Sometimes, small amounts of flash (excess plastic from the molding process) can prevent parts from fitting flush. Carefully trim these areas with a hobby knife.
- Slight Warping: In rare cases, plastic parts may slightly warp. Gentle pressure or careful application of heat (e.g., warm water, not direct flame) can sometimes correct minor warping, but proceed with extreme caution.
Adhesive Issues
Ensure you are using the correct type of adhesive for plastic models. Apply adhesive sparingly to avoid excess squeeze-out, which can damage the model's finish. Allow adequate drying time as specified by the adhesive manufacturer.
Specifications
| Feature | Detail |
|---|---|
| Product Dimensions | 6.1 x 2.95 x 6.69 inches (155 x 75 x 170 mm) |
| Item Weight | 0.32 ounces |
| Item Model Number | 1491246 |
| Manufacturer Recommended Age | 14 years and up |
| Scale | H0 |
| Contents | 1 model kit |
Warranty Information
Vollmer products are manufactured to high-quality standards. For specific warranty details regarding manufacturing defects or missing parts, please refer to the documentation included with your product or visit the official Vollmer website. Typically, warranties cover defects in materials and workmanship under normal use.
Customer Support
If you have any questions, require assistance with assembly, or need to report missing/damaged parts, please contact Vollmer customer service. Contact information can usually be found on the product packaging or on the official Vollmer website.
Manufacturer: Vollmer


