1. Introduction
Thank you for choosing the Lenovo 4XB0G80308 Solid State Drive. This manual provides essential information for the proper installation, operation, and maintenance of your new internal storage device. Please read this manual thoroughly before proceeding with installation to ensure optimal performance and longevity of your SSD.
2. Safety Information
Always observe the following safety precautions when handling electronic components:
- Electrostatic Discharge (ESD) Protection: Electronic components are sensitive to static electricity. Always wear an anti-static wrist strap or frequently touch a grounded metal object before handling the SSD.
- Power Off: Ensure your computer system is completely powered off and unplugged from the electrical outlet before installing or removing the SSD.
- Handle with Care: Avoid dropping or subjecting the SSD to physical shock. Hold the SSD by its edges to prevent touching the circuit board or connectors.
- Ventilation: Ensure adequate ventilation within your computer case to prevent overheating of components.
3. Package Contents
Verify that your package contains the following items:
- Lenovo 4XB0G80308 2.5-Inch SATA Solid State Drive
- Mounting screws
- SATA cable
If any items are missing or damaged, please contact your retailer or Lenovo support.
4. Setup and Installation
Follow these steps to install your Lenovo 2.5-inch SATA SSD into a compatible system, such as a ThinkCentre desktop:
- Prepare Your System: Power off your computer completely and unplug the power cord from the wall outlet. Open the computer case according to your system's manufacturer instructions.
- Locate a Drive Bay: Identify an available 2.5-inch drive bay in your computer case. Some cases may require a 3.5-inch to 2.5-inch adapter bracket (not included) if only 3.5-inch bays are available.
- Mount the SSD: Carefully slide the SSD into the drive bay. Secure it using the provided mounting screws. Ensure the SATA data and power connectors are facing the correct direction for easy access.
- Connect Cables:
- Connect one end of the provided SATA data cable to the SATA data port on the SSD. Connect the other end to an available SATA data port on your computer's motherboard.
- Connect a SATA power cable from your computer's power supply unit (PSU) to the SATA power port on the SSD.
- Close Case and Power On: Once all connections are secure, close your computer case. Reconnect the power cord and power on your computer.
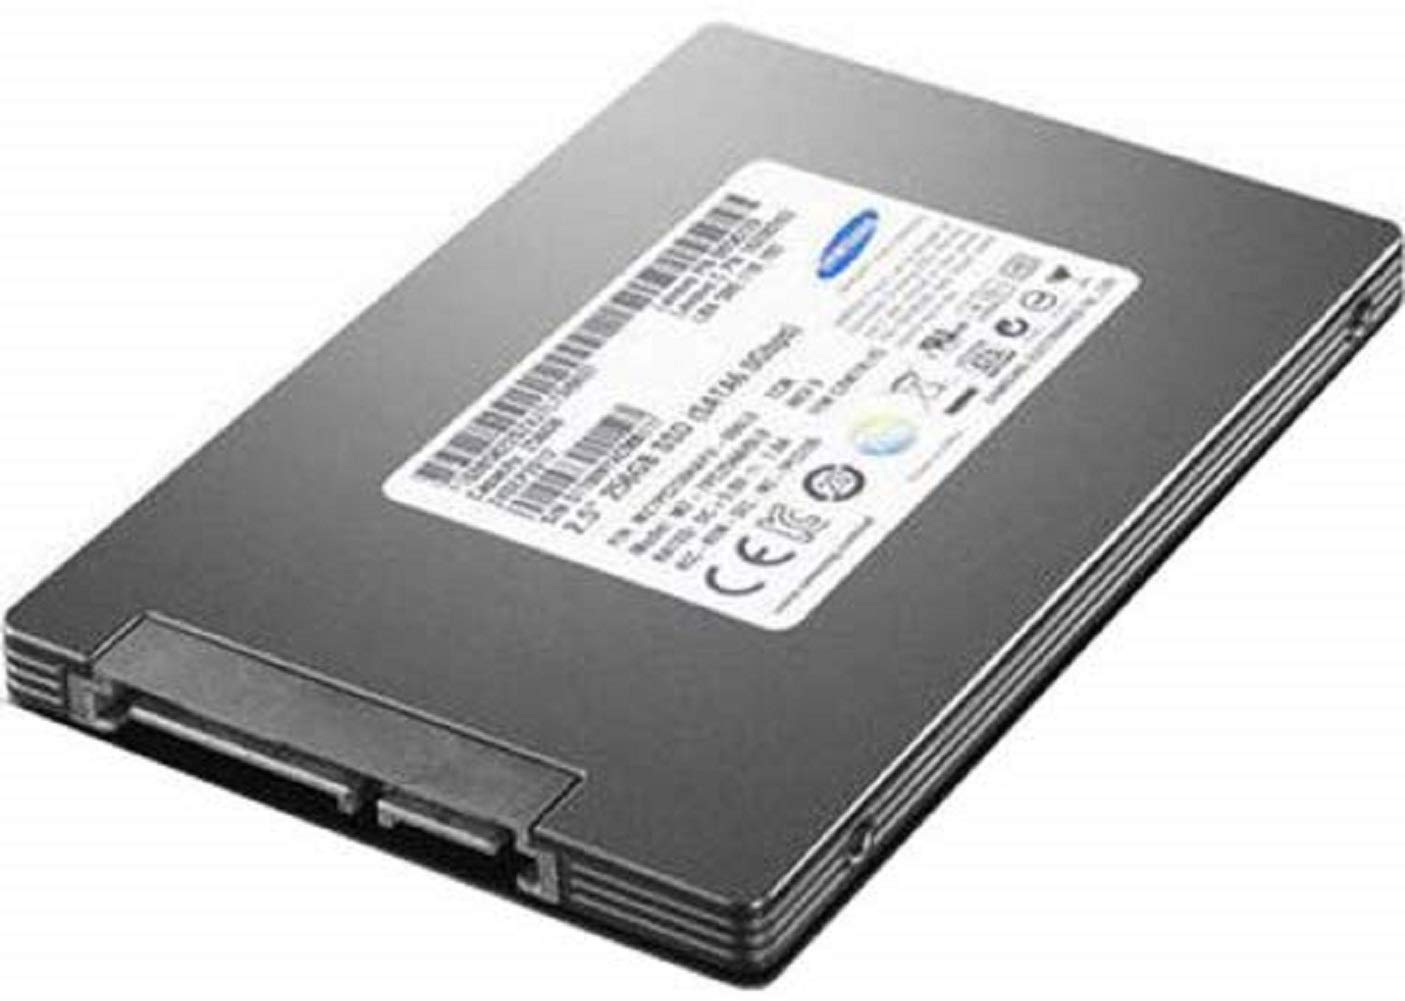
Image: The Lenovo 4XB0G80308 2.5-inch SATA Solid State Drive. This image shows the compact form factor and standard SATA data and power connectors on the device.
5. Operating the SSD
After physical installation, the SSD needs to be initialized and formatted by your operating system before it can be used for storage. The process varies slightly depending on your operating system (Windows, macOS, Linux).
5.1. Initializing and Formatting (Windows Example)
- Right-click on the Start button and select 'Disk Management'.
- You should see your new SSD listed as 'Disk [number]' and marked as 'Unallocated'.
- Right-click on the unallocated space of the new SSD and select 'Initialize Disk'. Choose GPT (GUID Partition Table) for modern systems.
- After initialization, right-click on the unallocated space again and select 'New Simple Volume'. Follow the wizard to create a new partition, assign a drive letter, and format it (NTFS is common for Windows).
Once formatted, the SSD will appear as a usable drive in 'This PC' or 'My Computer'.
6. Maintenance
Solid State Drives generally require less maintenance than traditional Hard Disk Drives. However, consider the following for optimal performance and longevity:
- Firmware Updates: Periodically check the Lenovo support website for any available firmware updates for your SSD model. Firmware updates can improve performance, stability, and compatibility.
- TRIM Command: Ensure your operating system supports and has the TRIM command enabled. TRIM helps the SSD manage its storage space efficiently, maintaining performance over time. Most modern operating systems enable this by default.
- Avoid Full Capacity: While not strictly necessary, avoiding filling the SSD to its absolute maximum capacity can help maintain performance, as the drive needs some free space for wear leveling and garbage collection.
- Regular Backups: As with any storage device, regularly back up your important data to prevent data loss in case of unforeseen issues.
7. Troubleshooting
If you encounter issues with your SSD, try the following troubleshooting steps:
- SSD Not Detected:
- Check all SATA data and power cable connections. Ensure they are securely seated at both ends (SSD and motherboard/PSU).
- Verify that the SATA port on the motherboard is enabled in the system's BIOS/UEFI settings.
- Try connecting the SSD to a different SATA port or using a different SATA cable.
- Ensure the SSD is properly initialized and formatted as described in Section 5.
- Slow Performance:
- Confirm that the SSD is connected to a SATA 6Gb/s port on your motherboard. Older SATA 3Gb/s ports will limit performance.
- Check if TRIM is enabled for your operating system.
- Ensure your SSD firmware is up to date.
- Avoid running too many background applications that consume disk I/O.
- Operating System Errors: If you are experiencing operating system errors related to the drive, consider running disk check utilities (e.g., `chkdsk` on Windows) or reinstalling the operating system if the SSD is your boot drive.
If problems persist, consult the Lenovo support website or contact technical support.
8. Specifications
| Feature | Specification |
|---|---|
| Model Number | 4XB0G80308 |
| Capacity | 128 GB |
| Form Factor | 2.5 Inches |
| Interface | Serial ATA-600 (SATA 6Gb/s) |
| Hardware Platform | PC |
| Item Weight | 11.2 ounces (approx. 317.5 grams) |
| Product Dimensions (LxWxH) | 9 x 0.75 x 5.25 inches (approx. 22.86 x 1.91 x 13.34 cm) |
| Manufacturer | Lenovo (United States), Inc. |
9. Warranty and Support
For detailed warranty information regarding your Lenovo 4XB0G80308 SSD, please refer to the warranty card included with your purchase or visit the official Lenovo support website. Warranty terms and conditions may vary by region and retailer.
For technical assistance, driver downloads, firmware updates, or further support, please visit the official Lenovo support portal:


