
Introduction
The Retevis RT9000D is a compact and portable high-power mobile two-way radio designed for reliable communication in vehicles such as trucks and RVs. Operating on the 70cm band, this transceiver offers a wide range of features including 200 memory channels, CTCSS/DCS coding, and various scanning functions. Its robust design and user-friendly interface make it suitable for both amateur radio enthusiasts and professional users requiring long-range communication. This manual provides detailed instructions for the proper setup, operation, and maintenance of your RT9000D mobile radio.
Safety Information
Please read and understand all safety precautions before operating the Retevis RT9000D mobile radio. Failure to do so may result in injury or damage to the device.
- High Temperature Warning: The radio's surface can become hot during prolonged use. Avoid touching the radio's heat sink or chassis after extended operation to prevent burns.
- Power Supply: Use only a stable 13.8V DC power supply. Ensure correct polarity when connecting the power cable.
- Antenna: Always connect a suitable antenna before transmitting to prevent damage to the radio's final amplifier.
- Vehicle Installation: When installing in a vehicle, ensure the radio is securely mounted and does not obstruct airbags or driver visibility.
- Water Exposure: This device is not water-resistant. Avoid exposure to rain, moisture, or liquids.
- Servicing: Do not attempt to disassemble or service the radio yourself. Refer all servicing to qualified technicians.
What's in the Box
Verify that all components are present upon unboxing:
- 1 x Retevis RT9000D Mobile Radio
- 1 x Microphone
- 1 x Mobile Mounting Bracket
- 1 x DC Power Cable with Fuse Holder
- 1 x Screws & User Manual

Image: The Retevis RT9000D mobile radio and its included accessories, neatly laid out, showing the main unit, microphone, mounting bracket, power cable, and user manual.
Product Overview
Familiarize yourself with the various parts and controls of your RT9000D mobile radio.
Front Panel

Image: The Retevis RT9000D mobile radio, showcasing its compact design, front panel display, and the connected microphone.
- LCD Display: Backlit screen showing frequency, channel number, and various status indicators. Brightness is adjustable from 0 to 32 levels.
- Power Button: Turns the radio on or off.
- Volume Knob: Adjusts the audio output level.
- Channel Selector Knob: Used to select channels or adjust frequency.
- Function Keys (P1-P5): Customizable buttons for quick access to frequently used functions.
- Microphone Connector: Port for connecting the supplied microphone.
- Data Terminal: For programming the radio via computer.
Microphone
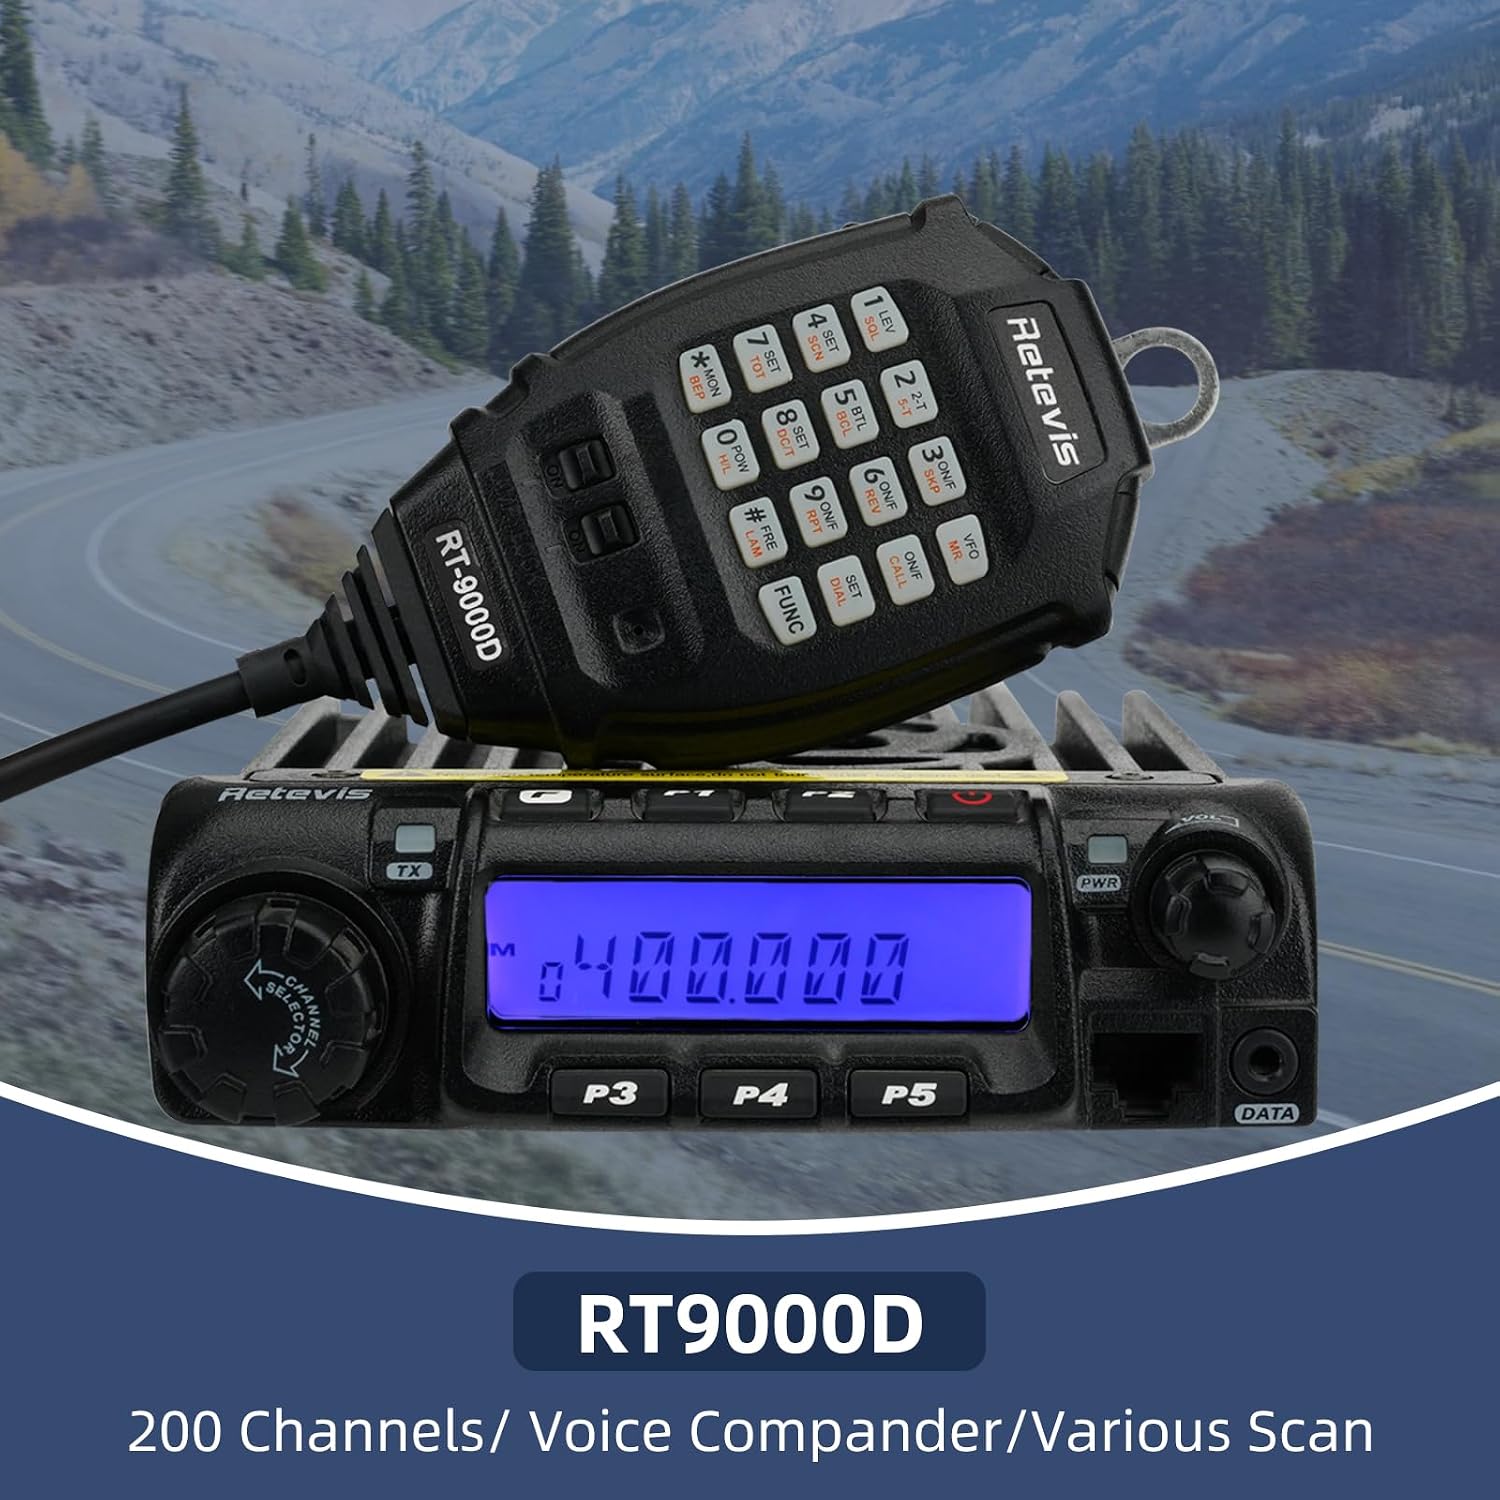
Image: The microphone for the RT9000D, featuring a numeric keypad and function buttons, connected by a coiled cable.
- PTT (Push-To-Talk) Button: Activates transmission when pressed.
- Numeric Keypad: Used for direct frequency input, channel selection, and menu navigation.
- Up/Down Keys: Navigate through menus or adjust frequency/channel.
- Function Keys: Additional programmable keys on the microphone for enhanced control.
- Speaker: Built-in speaker for audio output.

Image: A detailed diagram labeling the various buttons, knobs, and ports on both the RT9000D radio unit and its hand microphone, including the antenna jack, external speaker jack, and data terminal.
Setup
Follow these steps for initial setup of your RT9000D mobile radio.
1. Mounting the Radio
- Choose a secure and accessible location in your vehicle, away from direct sunlight and heat sources.
- Use the provided mobile mounting bracket as a template to mark drilling locations.
- Drill pilot holes and secure the bracket using the supplied screws.
- Slide the RT9000D radio into the bracket until it clicks into place.
2. Power Connection
- Connect the red wire of the DC power cable to the positive (+) terminal of your vehicle's 13.8V DC power source (e.g., battery or fuse box).
- Connect the black wire to the negative (-) terminal or a good chassis ground point.
- Ensure the fuse holder is properly installed in the positive line.
- Plug the power cable connector into the power input port on the rear of the RT9000D.
3. Antenna Connection
- Connect a suitable 70cm band antenna (not included) to the antenna jack (SL16-J/M type) on the rear of the radio.
- Ensure the antenna cable is routed safely and securely, avoiding sharp bends or pinching.
- Important: Never transmit without a properly connected antenna to prevent damage to the radio.
4. Microphone Connection
- Plug the microphone's RJ45 connector into the microphone port on the front panel of the radio.
Operating Instructions
Power On/Off and Volume
- Power On: Press the PWR button on the front panel. The LCD display will illuminate.
- Power Off: Press and hold the PWR button until the display turns off.
- Volume Adjustment: Rotate the VOL knob clockwise to increase volume and counter-clockwise to decrease it.
Channel Selection and Frequency Input
- Channel Mode: Rotate the CHANNEL SELECTOR knob to cycle through programmed memory channels.
- VFO Mode (Frequency Mode): Press the VFO/MR button on the microphone to switch between Channel Mode and VFO (Variable Frequency Oscillator) Mode. In VFO mode, you can directly input frequencies.
- Direct Frequency Input: In VFO mode, use the numeric keypad on the microphone to enter the desired frequency. Press ENT (or a similar confirmation key) to confirm.
Programming the Radio
The RT9000D can be programmed manually via the keypad or using software on a computer.
- Manual Programming: Refer to the detailed instructions in the included user manual for step-by-step guidance on setting frequencies, CTCSS/DCS tones, and other parameters directly from the radio's keypad and microphone.
- Software Programming (CHIRP Compatible): For easier and more comprehensive programming, use the dedicated programming software (available from Retevis website) and the supplied programming cable. The radio is compatible with CHIRP software, which supports Windows XP/7/8/10/11 systems. This method allows for quick setup of 200 memory channels, custom key assignments, and other advanced features.
CTCSS/DCS (Tone Squelch)
The RT9000D supports 50 CTCSS and 1024 DCS codes to filter out unwanted signals and ensure clearer communication. You can set these tones for each channel to communicate with other radios using the same frequency and tone settings.
- Setting Tones: Access the menu (usually via a FUNC or MENU button) and navigate to the CTCSS/DCS settings. Select the desired tone or code.
- CTCSS/DCS Scan: The radio supports scanning for CTCSS/DCS tones, which can help identify the correct tone used on a busy channel.
Scan Functions
The RT9000D offers various scan functions to monitor active channels.
- Channel Scan: Scans through all programmed memory channels.
- Frequency Scan: Scans a range of frequencies in VFO mode.
- CTCSS/DCS Scan: Scans for active CTCSS/DCS tones on a frequency.
- To activate scan, typically press a dedicated SCAN button or access it through the menu.
Emergency Alarm
The emergency alarm function can be activated in critical situations to alert others.
- Refer to your manual for specific instructions on how to activate and configure the emergency alarm feature, often assigned to a custom key.
VOX (Voice Operated Transmit)
VOX allows for hands-free transmission by detecting your voice. Adjust the VOX sensitivity to prevent accidental transmissions or missed voice activations.
- Enable VOX through the radio's menu system.
- Adjust the VOX sensitivity level to suit your environment and voice.
Custom Buttons (P1-P5)
The RT9000D features 5 customizable buttons (P1-P5) on the front panel. These can be programmed to quickly access frequently used functions, enhancing operational convenience.
- Programming custom buttons is typically done via the radio's menu or the programming software.
DTMF Signaling
The radio supports DTMF (Dual-Tone Multi-Frequency) signaling, including DTMF ANI, 2-Tone, and 5-Tone. This allows for selective calling and automatic calling identification.
- DTMF tones can be sent using the microphone's keypad.
- Configure DTMF ANI or 5-Tone ANI settings through the radio's menu for automatic identification.
Maintenance
Proper care and maintenance will ensure the longevity and optimal performance of your RT9000D mobile radio.
- Cleaning: Use a soft, damp cloth to clean the radio's exterior. Do not use harsh chemicals, solvents, or abrasive cleaners.
- Dust and Debris: Regularly inspect and clean the microphone connector and other ports to prevent dust and debris buildup.
- Storage: When not in use for extended periods, store the radio in a cool, dry place, away from direct sunlight and extreme temperatures.
- Connections: Periodically check all cable connections (power, antenna, microphone) to ensure they are secure.
Troubleshooting
This section addresses common issues you might encounter with your RT9000D mobile radio.
| Problem | Possible Cause | Solution |
|---|---|---|
| Radio does not power on. | No power, loose power cable, blown fuse, incorrect polarity. | Check power source, ensure power cable is securely connected, inspect and replace fuse if necessary, verify correct polarity. |
| No audio from speaker. | Volume too low, squelch too high, external speaker connected (if applicable). | Increase volume, decrease squelch level (0-9 levels), check external speaker connection or disconnect it. |
| Cannot transmit or receive. | Incorrect frequency/channel, antenna not connected/damaged, CTCSS/DCS mismatch, busy channel lockout enabled. | Verify frequency/channel, ensure antenna is properly connected, check CTCSS/DCS settings, disable busy channel lockout. |
| Poor audio quality (noisy). | Weak signal, high interference, squelch too low, voice compander off. | Check antenna system, move away from interference sources, increase squelch level, ensure voice compander is enabled. |
| Display is dim or unreadable. | Display brightness setting too low. | Adjust LCD display brightness (0-32 levels) through the radio's menu. |
Specifications
Key technical specifications for the Retevis RT9000D mobile radio:
| Model Number | RT9000D |
| Frequency Range | 400-490MHz (70cm band) |
| Number of Channels | 200 |
| CTCSS/DCS Codes | 50 CTCSS / 1024 DCS |
| Operating Voltage | 13.8 Volts DC |
| Item Weight | 2.65 pounds (approx. 1200 grams) |
| Product Dimensions | 7.48 x 5.71 x 1.85 inches |
| Display Type | LCD (Backlit) |
| Talking Range Maximum | 5 Kilometers (under ideal conditions) |
| Special Features | High Power Mobile Radio, Squelch, Long Range, Voice Compander, Emergency Alarm, VOX, Custom Keys, CHIRP Compatible |
Warranty and Support
Retevis provides comprehensive support for your RT9000D mobile radio.
- Warranty Period: The radio body is covered by a 2-year warranty, and accessories are covered by a 1-year warranty.
- Return Policy: A 30-day no-reason return policy is offered.
- Post-Warranty Service: Even beyond the warranty period, maintenance services are available, with buyers responsible for associated costs.
- Contact Support: For any inquiries, technical assistance, or warranty claims, please contact Retevis customer service through the Amazon platform. They aim to reply within 12 hours.
- Online Resources: Visit the official Retevis website for updated software, drivers, and additional support resources.